Cocoa Marble Chiffon Cake

Recently, I was in the mood to bake chiffon cakes. Inspiration continued from my last chiffon. I baked a pandan chiffon earlier but it didn't turn out well because my oven was too cold, which resulted my chiffon cake with a waist and a layer of starch was formed.


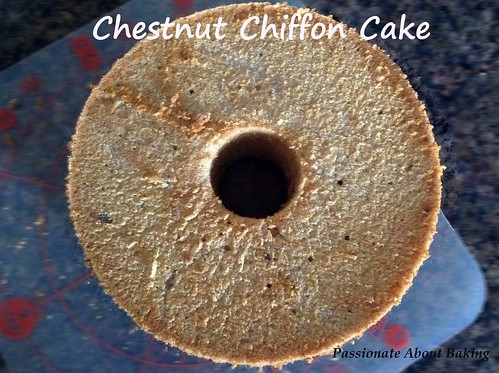
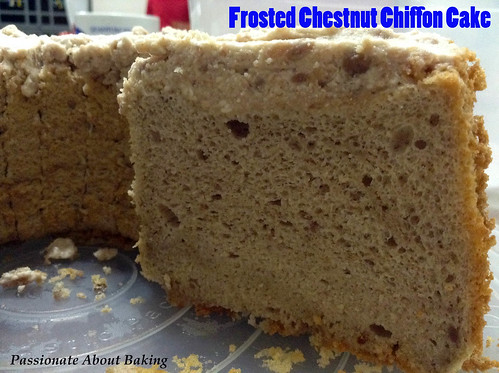
I shared with my transport mate the chestnut chiffon, and she was very kind to loan me her chiffon recipe book called: 戚风蛋糕零失败by曾美子. This recipe book is very interesting. It mixed egg whites with egg yolk batter and flour separately. The title of this book means "Chiffon cake zero failure" in direct translation whereas the English title for this book is Super Chiffon Cake.
chiffon_book01

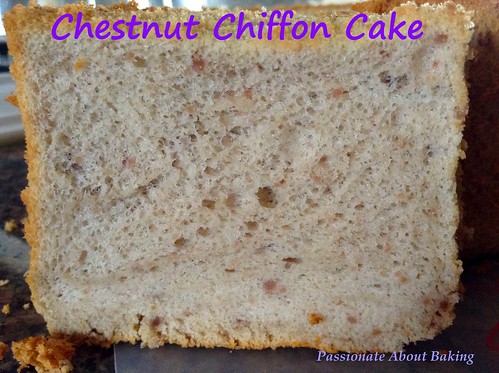
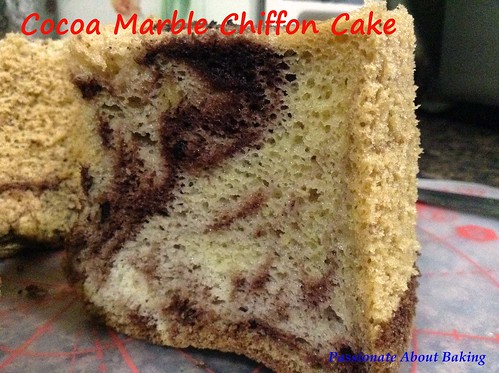
As it is, the chiffon cake which I tried from this recipe was really soft and nice. However, when making this recipe, you need to use a lot of bowls. A bit troublesome though. It's interesting to learn another method of baking chiffon cakes. Try it and you'll know what I mean.
chiffon_cocoa04
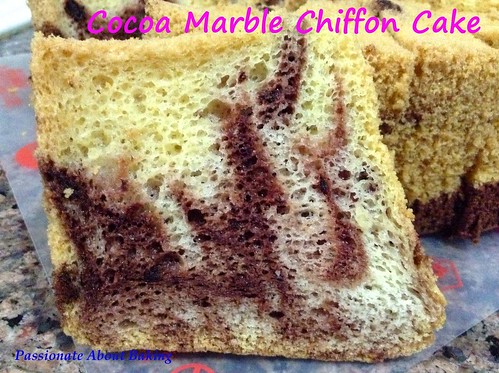
Recipe for Cocoa Marble Chiffon Cake, adapted from 戚风蛋糕零失败by曾美子.
(Makes a 8" tube pan)


Ingredients
6.5”
8”
A
Egg yolks
Caster sugar
3
30g
5
50g
B
Vegetable oil
Water
Vanilla extract
Brandy/Rum
50g
50g
1/2tps
10g
80g
80g
1tsp
15g
C
Egg whites
Caster sugar
Salt
5
60g
pinch
7
90g
pinch
D
Top flour
Baking powder
70g
2g
105g
3g
E
Cocoa powder
Hot water
10g
15g
15g
20g

Method:

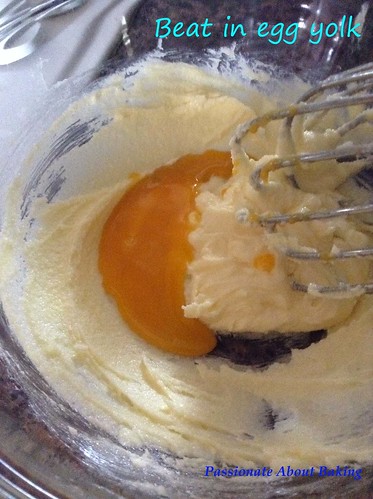
1. Beat ingredients A until light yellow.
2. Place ingredients B in a bowl and placed into another bowl of hot water to heat up till 38C. I heat them up in microwave oven for about 10secs to warm it up.
3. Slowly pour into ingredients A and mix well.
4. In a separate bowl, beat egg whites with salt. Then slowly add in caster sugar in three batches until stiff peak.
5. Sift ingredients D two to three times.
6. Mix ingredients E.
7. Mix ingredients C and D alternatively into ingredients A - Egg whites, flour, egg whites, flour and egg whites.
8. Scoop out a quarter of #7 batter into ingredients E. Mix well.
9. Then pour the batter from #7 into the prepared tube pan.
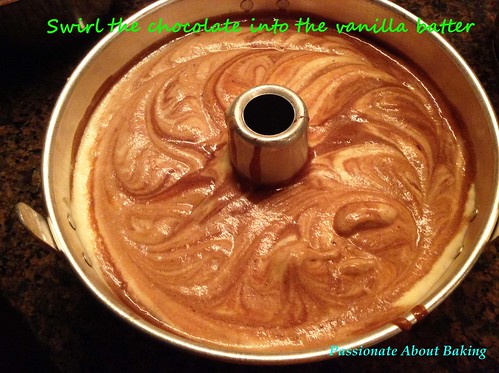
10. Scoop out the chocolate batter and drop them into the tube pan. Using a chopstick, swirl the chocolate batter into the original batter without mixing them.
chiffon_cocoa01
11. Bang the tube pan on the table top to remove any big bubbles.
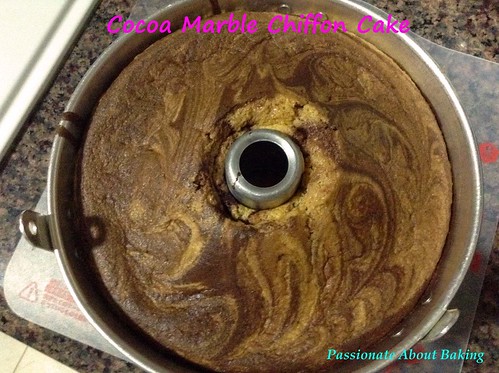
12. Bake it into preheat fan oven of 180C for 45mins.
chiffon_cocoa02 chiffon_cocoa03 chiffon_cocoa05 chiffon_cocoa06

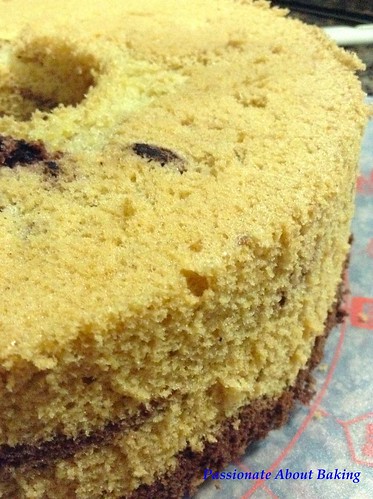
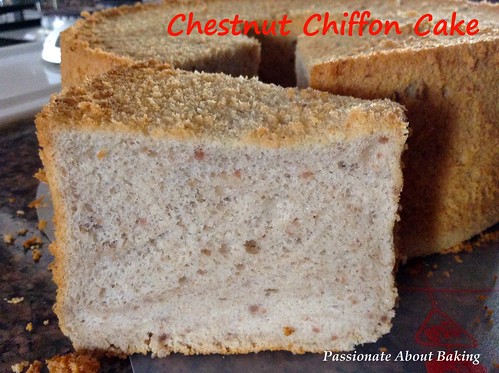
Note: I had overbeaten my egg whites, resulted in bigger holes.

Chestnut Chiffon Cake

chiffon_chestnut04
There seemed to have some chiffon cake baking craze lately. It reminded me that I had not baked chiffon cake for quite sometime. Since Honey Bee Sweets Chestnut Chiffon Cake is a new flavour for me, I decided to try this out as I have the necessary ingredients. I also frosted my chiffon cake this time, and it became a totally new kind of cake experience. All this time, I like to eat my chiffon cake as it is...didn't really like to frost it. However, after frosting, it tasted good too! This is a really easy and nice chiffon cake to make...I baked two in a row! ;)

chiffon_chestnut05chiffon_chestnut02
Recipe for Chestnut Chiffon Cake, adapted from HBS.
(Makes a 8" tube size pan)

Ingredients:
4 Egg yolks (approx. 70g)
70g Water
70g Vegetable oil
125g Chestnut puree
40g Milk
100g Top flour
  
4 Egg whites (approx. 190g)
80g caster sugar 

Chestnut Frosting (optional)
120 Chantilly cream
80g Chestnut puree

Method:

  1. In a large mixing bowl, add egg yolk, water, oil and mix well. Mix the milk into the chestnut puree, and add into the yolk batter. 
  2. Stir till all is incorporated. Lastly, stir in the the top flour with a whisk and making sure there is no lumps when all is combined.
  3. In a separate mixing bowl, add in all the egg whites and beat till foamy. Gradually add in the caster sugar and beat till mixture reaches stiff peaks.
  4. Add in 3 separate portions of the egg whites to the egg yolk mixture till all is incorporated and no visible white lumps.
  5. Pour cake batter into tube pan. Use a tooth pick or chop stick to run through the batter to release any air or bubble trapped inside.
  6. Bake in the preheated oven of 160C for 45mins.
  7. Remove cake from oven and invert to cool completely before unmoulding.
  8. Once cake is completely cooled, remove from pan.
  9. Mix the chantilly cream and chestnut puree, spread it on the cake gently.
  10. Refrigerate and serve chilled.
chiffon_chestnut01
chiffon_chestnut03 chiffon_chestnut06
Have a slice and enjoy it!

Yuzu Cream Cheese Mille Crêpe Cake

Having to make two cakes in a week is quite a stressful thing. One is for my sister's 40th birthday bash, the other is for my mum. I had to bake the cake first, then to frost them later. Since I baked a Red Velvet Cake for my sister, I used the same Cream Cheese frosting for the Mille Crêpe Cake.

I've tried a Mille Crêpe cake from Moonlight previously and like the taste. So I decided to make this cake for my mum. The tedious work is in making the thin crepe. I was able to make it first, then keep them in individual layer in the fridge, and frost them later. My cake didn't turn up tall, they were shorter because I made a 7" cake instead of the 6" as I do not have a 6" frying pan.

My crêpes were not very thin, therefore, it was a little on the tough side when eaten. Also, I think it will be better with fresh cream, though the cream cheese was nice too. I'm not sure if I will try this cake again...I might just buy from the bakery when I feel like eating!
crepes_yuzucake04
Recipe for Yuzu Cream Cheese Mille Crêpe Cake, adapted from Cook.Bake.Love.
(Makes a 7" cake)

Ingredients:
(A)
3 Eggs
560g Whole milk
3 tbsp LIV unsalted butter, melted
1 tsp Vanilla extract
Pinch of salt (omit if using salted butter)
(B)
210g Plain flour

Fillings:
1x Cream Cheese frosting recipe
Yuzu Jam

Method:

1. Mix (A) and sift in (B), mix well (you can use a blender to blend everything till smooth too). Strain the batter and let it rest for at least 30 mins.
2. Heat a 7" non-stick pan over medium low heat until hot. Butter the pan and add batter to the center of the pan. Then use a ladle to scoop out the batter and quickly swift the batter around to fill the bottom of the pan. Pour away excess batter (save for next crepe), if any.
3. When the crepe no longer appears wet on top it's ready to flip. Use a silicone spatula to peel up an edge then carefully use fingers and spatula to peel away and flip the crepe  and continue to fry for a few seconds (it should take much lesser time than the first side).
4. Repeat till all batter is finished. Stir the batter once in a while before pan frying.
5. As I didn't assemble immediately, I cut out plastic bags and layer each crepe between the plastics and kept them in the fridge.

Assembly:
6. Before assembly, remove the crepes from the fridge.
7. Spread Yuzu jam on the first crepe thinly, followed by cream cheese.
crepes_yuzucake01
8. Cover with another piece of crepe and repeat. Continue layering, saving the best-looking crepe for the top layer. Refrigerate for a few hours before serving.
crepes_yuzucake02 crepes_yuzucake03 9. My crepe cake has 17 layers.
crepes_yuzucake05

Cassava Cheese Cookies

When I first tried this cheese cookies from a reputable bakery/confectionery chain here, I like it very much. However, one tin of this cheese cookies isn't cheap. I bought it for a few years before I decided not to get it anymore. Then I decided to try this when I first saw the recipe at Corner Cafe. I thought it isn't too difficult to do. The method of frying the tapioca starch sounds like Kueh Bangkit method. Then I thought that maybe, to make a melt in the mouth texture, the flour had to be fried first (or heated up). However, I didn't follow the instructions clearly. As I didn't have pandan leaves, I omitted the first step. :p

Then I neglected the low temperature required. That was why I ended up with first batch being overbaked. Thinking why it was so crispy and brown. Actually, after eating, I found that the crispy cookies tasted better in terms of texture. The suppose to be melt-in-the-mouth version was soft and didn't melt in the mouth. Likely was because I didn't fry the flour. So in comparision, the crispy cookies was better. :p
cookies_cheese07
Recipe for Cassava Cheese Cookies, adapted from Corner Cafe.
(Makes approx. 75 small cookies)

Ingredients:
(my modification in brackets)

85g LIV unsalted butter, softened
85g Caster sugar (75g, which was still too sweet for me)
1 Egg, separated

170g Tapioca starch *
2 Pandan leaves (I omitted this)
50g Parmesan cheese powder
15g Coconut milk powder

* I actually started with just over 170g of starch, after drying in microwave oven and sifting, I ended with just about 155g of dry tapioca starch. (I didn't microwave it because I don't have pandan leaves)

Method:

1. Wash and dry the pandan leaves, and then cut into short sections. Put tapioca starch and pandan leaves on a piece of kitchen paper and put into the microwave. Cook on HIGH for 1 minute. Remove from microwave and transfer onto a new piece of kitchen paper. Put back into microwave and cook on HIGH for another minute. Remove the tapioca starch and sift it into a mixing bowl; set aside to cool. Preheat oven to 150°C. (I omitted this step because I don't have pandan leaves)

2. In the meantime, cream softened butter and sugar until pale and fluffy. Beat in egg yolk until well mixed.
cookies_cheese01
3. Add sifted tapioca starch, parmesan cheese powder and coconut milk powder to the creamed mixture. Mix well. The dough will be crumbly at this stage.
cookies_cheese02
4. Lightly beat the egg white and add gradually to the crumbly dough until it just clumps into a smooth dough. You may not need all of the egg white; or you may need more. (I used up the whole egg white)
cookies_cheese03
cookies_cheese04
5. Transfer the dough into a piping bag fitted with a 1cm star nozzle. Pipe out into small flower shapes.
cookies_cheese05
6. Bake for about 18-20 minutes; the cookies should remain light golden in colour, so don’t let the cookies get too brown. (I over-baked my first batch as I put it to 180C, without noticing the temperature should be low.)
cookies_cheese06
cookies_cheese08

Coffee Butter Cookies

This post is sponsored by Liv butter. Try Liv today!
Liv Butter - Salted & Unsalted-001
I like buttery melt-in-the-mouth cookies. Sonia's Butter Cookies are a good example. Since I discovered this recipe, I've been baking it for Chinese New Year. This year is no different. However, I decided to enhance the flavour by adding coffee powder. The coffee cookies were very well received by my colleagues. They loved the subtle coffee buttery melt-in-the-mouth texture. I love it too! Make a tub today!
cookies_coffeebutter
Recipe for Coffee Butter Cookies, adapted from Nasi Lemak Lover.
(Makes a small canister)

Ingredients:

200g Liv Unsalted butter
45g Icing sugar
150g Plaim flour
50g Corn flour
2 tsps (good) Coffee powder dissolved in 1 1/2 tbsp Kahlua

Method: 

1. Beat butter and icing sugar till creamy.
2. Sift in flour and corn flour, mix well to a soft dough.
3. Add in coffee powder paste. Mix well.
4. Scoop dough into piping bag and pipe dough evenly on baking tray.
5. Bake at preheated fan oven at 160C for 13-15 minutes or browned.

Wish all my Chinese readers,

祝大家
恭喜发财!身体健康!万事如意!到成功,
上有钱,發啊發啊!!