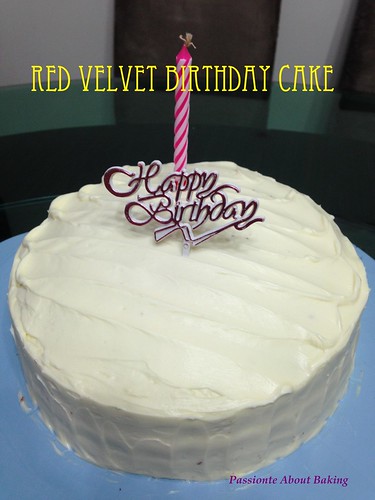
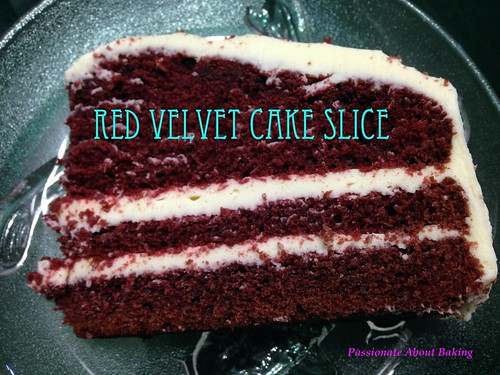
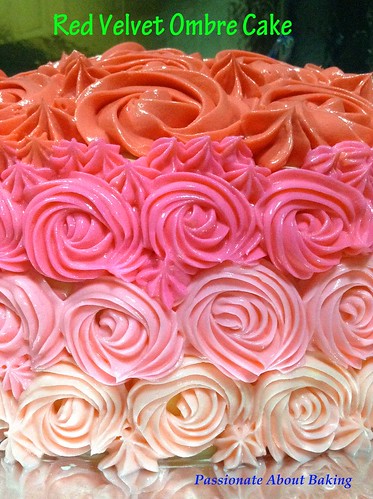
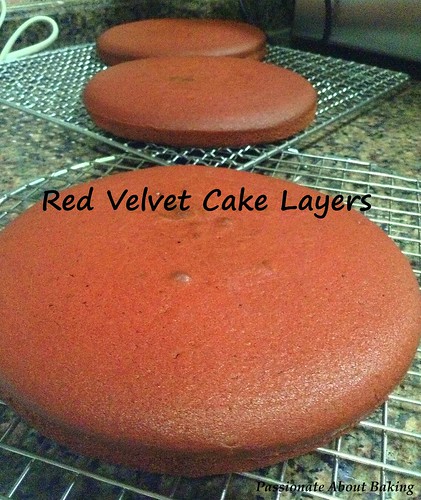
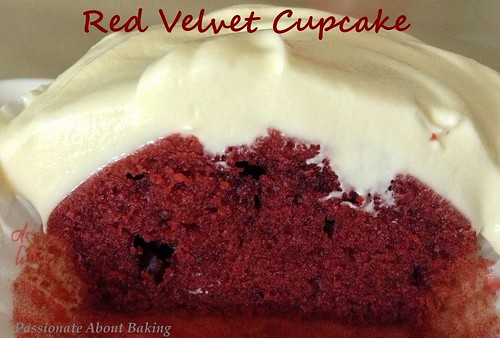
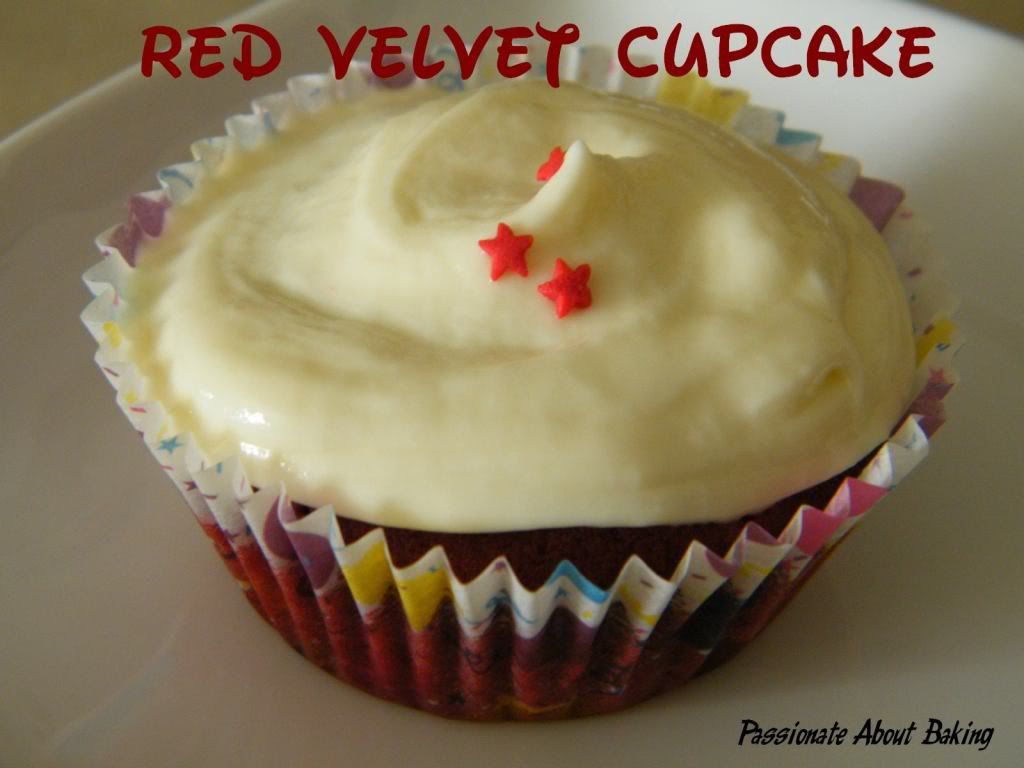
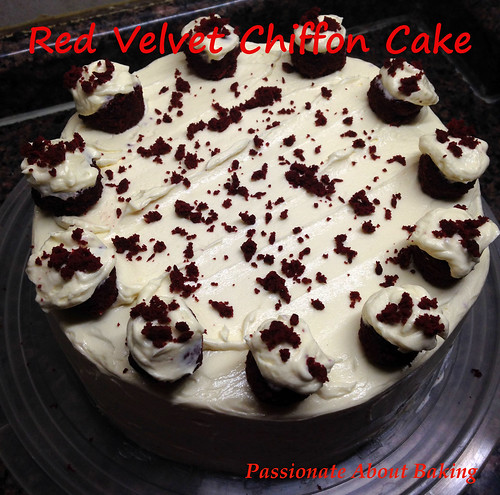
Red Velvet Cake craze has never died off in my family for their birthday request. For the past years, it was those dense sponge cakes which are pretty heavy. This year, my sister's boyfriend happened to be in town and he requested for Red Velvet Cake again. I went online to check if there is a lighter version.
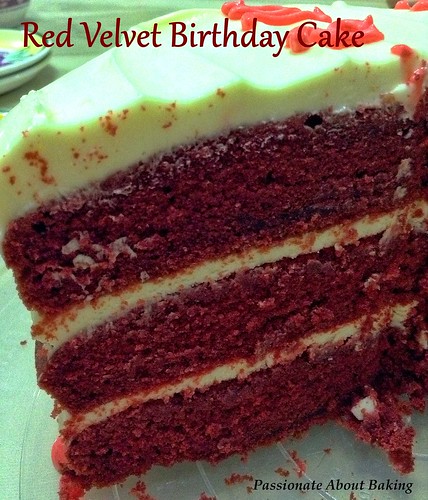
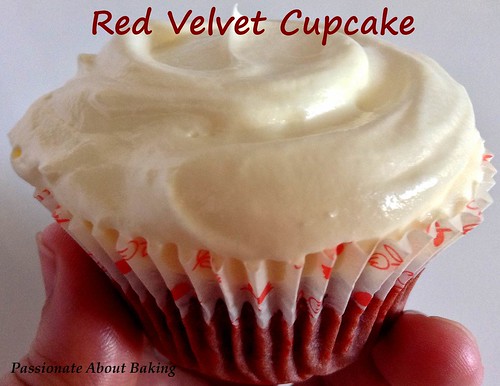
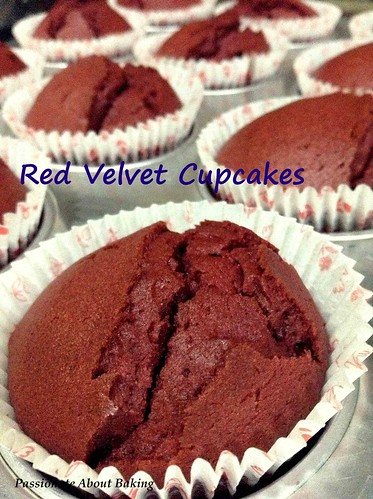
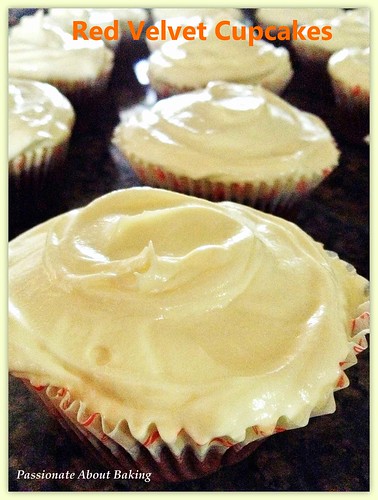
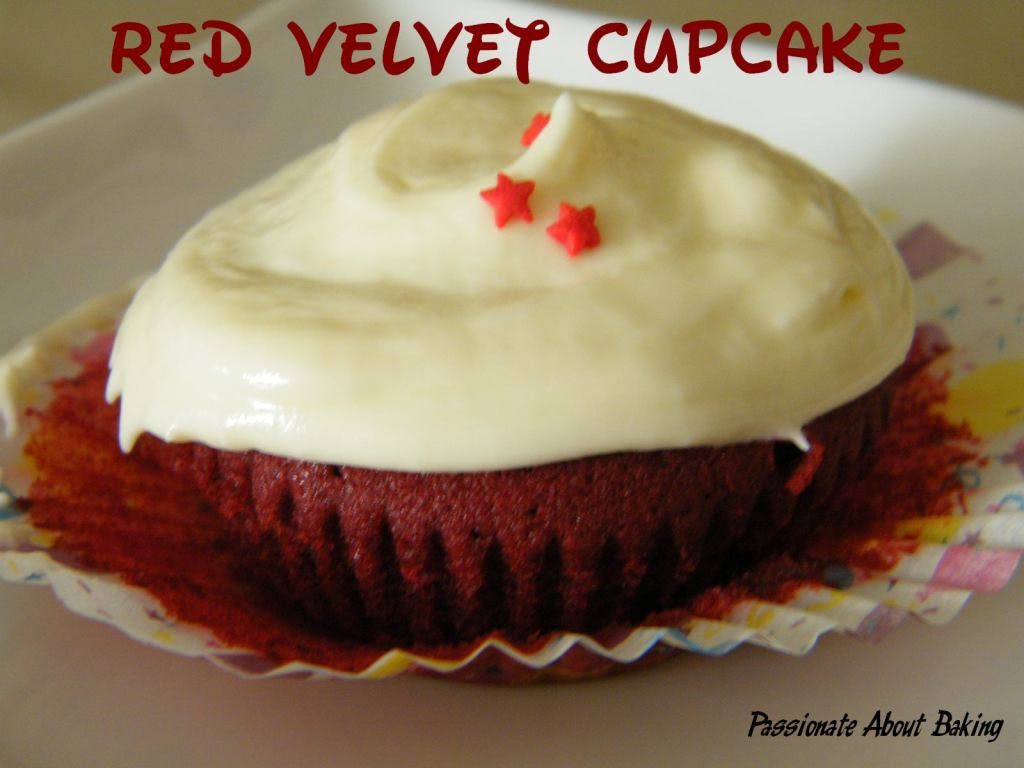
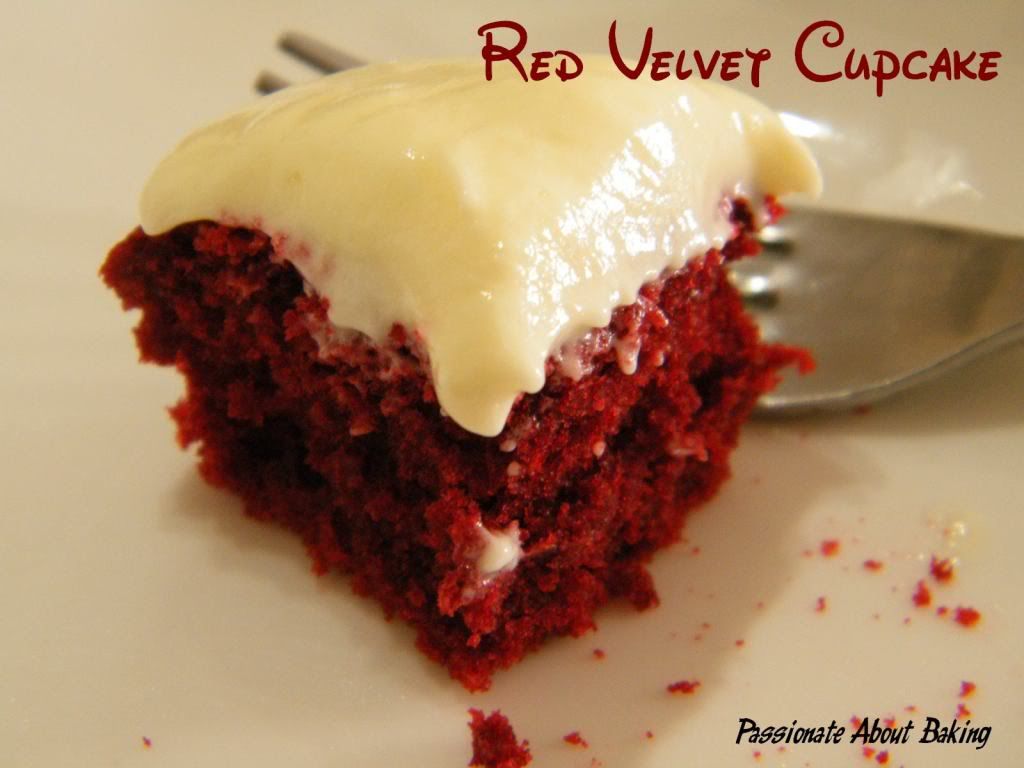
I found a Red Velvet Chiffon Cake recipe and decided to modify it. I used this cake as my sponge cake base. I also modified the usual cream cheese frosting to make it lighter for the chiffon sponge. This cake was very well received by my family members. They liked the light cake texture with the lighter cream cheese frostings. They added that this cake shall be the future RVC for them.
Recipe for Red Velvet Chiffon Cake
(Makes an 8" round cake)
Chiffon Cake, modified from LY's Kitchen Ventures.
Ingredients:
48g Unsweetened cocoa powder
112g Hot water
68g Buttermilk (64g whole milk + 4g fresh lemon juice)
80g LIV unsalted butter
1/2 tsp Fine rock salt
1 1/2 tsp Vanilla extract
2 tsp Red colouring gel
144g Cake flour
8 Egg yolks, room temperature
8 Egg whites, room temperature
170g Caster sugar
1 tsp Corn flour
Method:
1. Preheat oven to 160C. Prepare two 8" round cake pans. Line the bottom but do not grease.
2. Dissolve the cocoa powder in the hot water.
3. In a small pot over low heat, warm the milk, butter, salt and cocoa mixture to about 60C or until the butter melts completely.
4. Add the vanilla extract and red colouring gel. Stir and ensure everything is mixed thoroughly. Remove from heat. Set aside.
5. In a large mixing bowl, add the flour and colouring mixture and whisk thoroughly. The batter will become slightly thick.
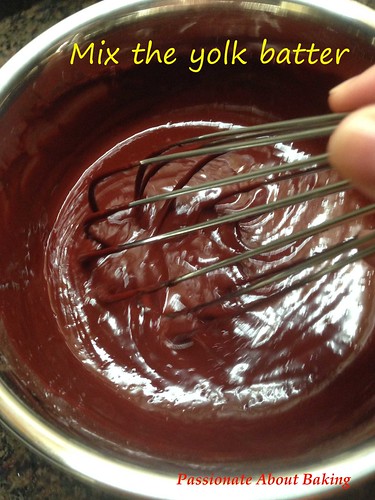
6. Next, add the egg yolks one by one while whisking the mixture. Set it aside.
7. Using a mixer on medium speed, beat the egg whites. Mix corn flour into the sugar well.
8. When they turn foamy, add the sugar and flour mixture gradually until soft peaks. Fold 1/3 of the egg whites into the red velvet batter using a whisk. When the mixture is just combined, pour the batter into the meringue and fold well.
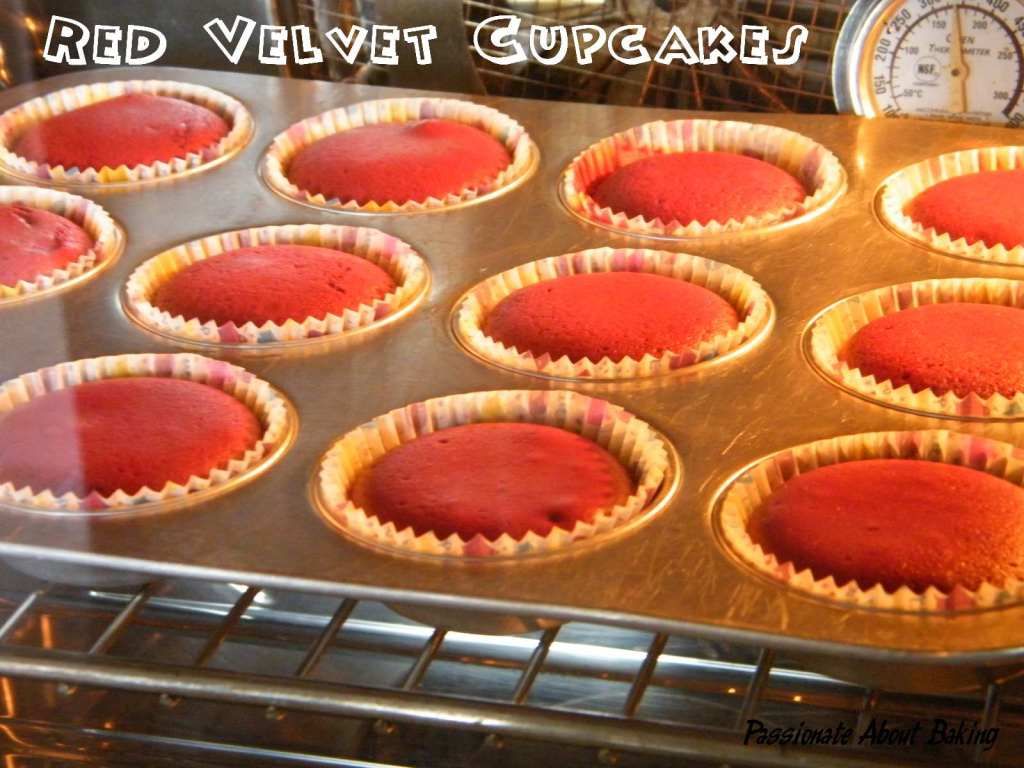
9. Pour half the batter into the two pans respectively. Bang slightly to remove bigger air bubbles.
10. Bake for 10 minutes before reducing the temperature to 150C for another 27 minutes. This prevents the cake from burning. DO not open the oven door while baking or the cake will deflate.
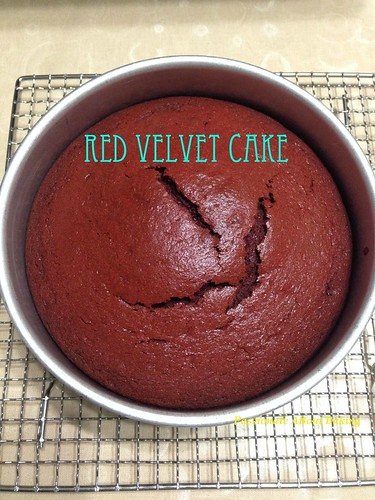
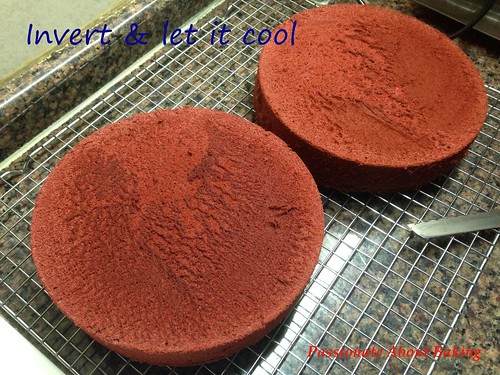
11. Check if the cake is done by piercing a skewer through it. The skewer should come out clean. Remove the cake from the oven and invert them. Remove the pans and let them cool completely.
12. Refrigerate to enable easier slicing.
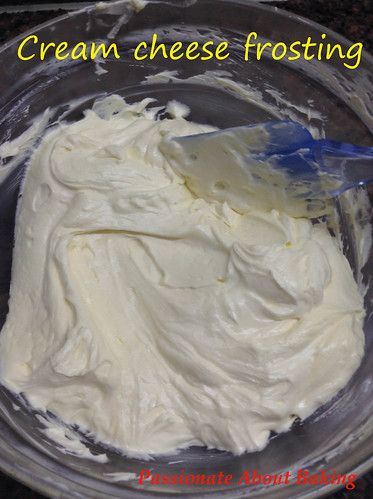
Cream Cheese Frosting
500g Cream cheese, room temperature
125g Liv unsalted butter, room temperature
120g Whipping cream
1 1/2 tsp Vanilla extract (I used lemon oil)
200g Icing sugar (I used only 70g as I had ran out of them.)
Method:
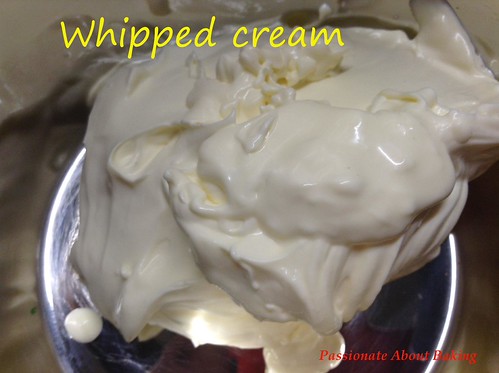
1. In a cold mixing bowl, beat whipping cream till stiff. Transfer to a smaller bowl and keep in the fridge for later use.
2. In the same bowl, combine the cream cheese and butter on medium speed, just until blended.
3. Stop and scrape down the sides of the bowl. Add the vanilla and beat until combined. With the speed on low, add the icing sugar in 4 batches, beating until smooth between each addition.
4. Fold in whipped cream. Chilled if not ready to frost yet.
To Assemble:
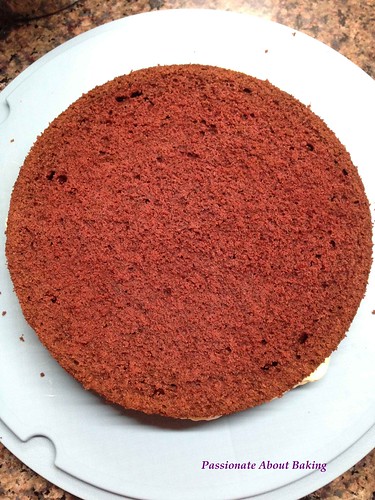
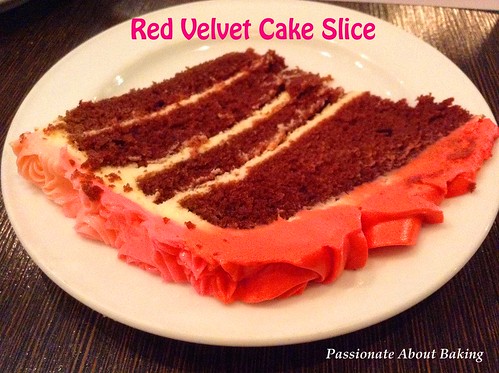
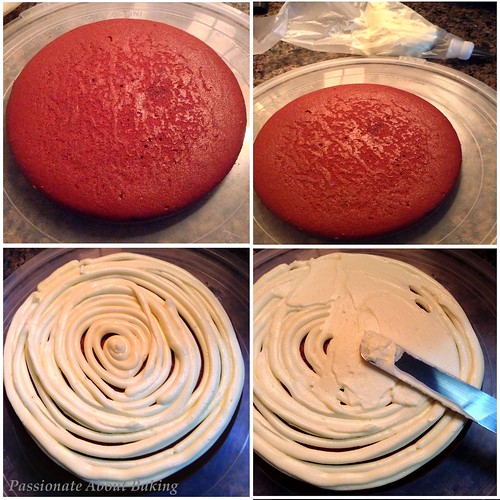
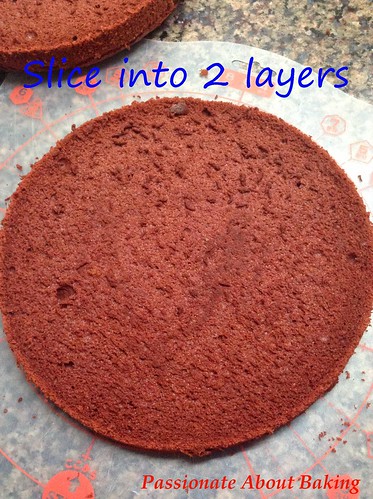
1. Slice each chilled cake into two equal layers. Slice the dome off for decoration later.
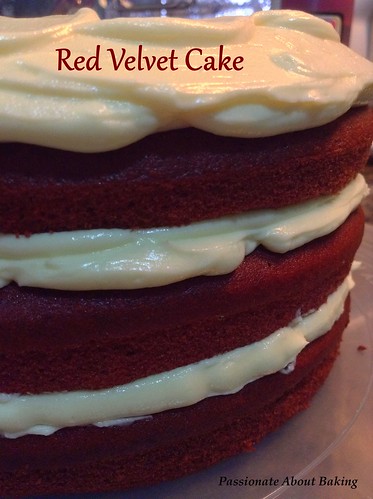
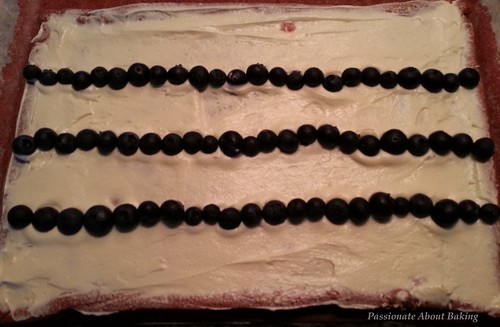
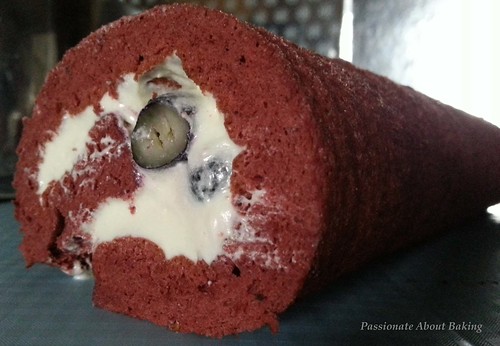
2. Place one cake layer on a serving plate/tray and spread some cream cheese evenly. Repeat this process until all cake layers are stacked.
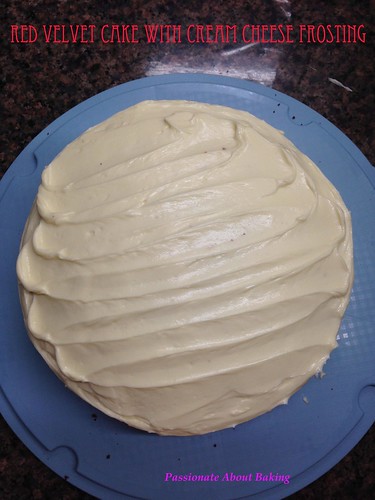
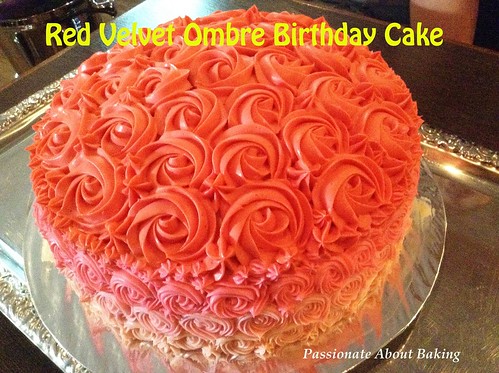
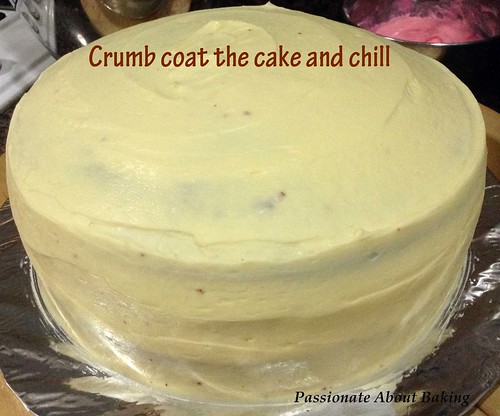
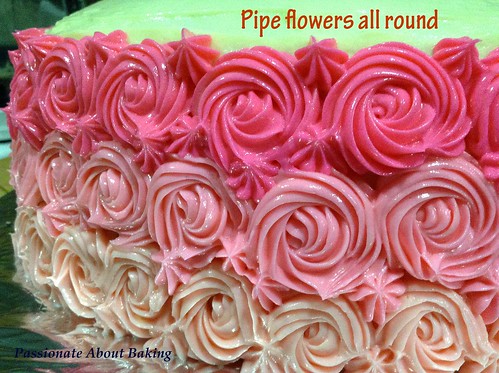
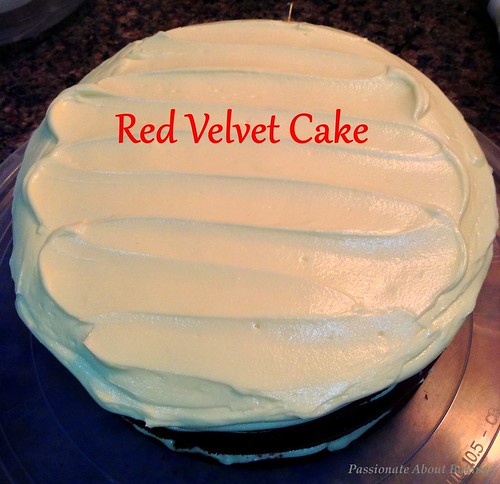
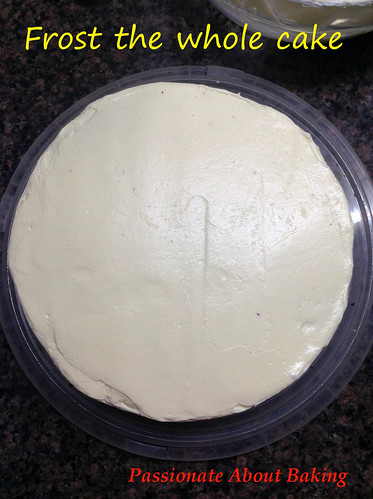
3. Frost the cake completely.
4. With the remaining cake crumbs, add in some frosting, mix well and roll into 12 balls (I rolled 11).
5. Topped the balls with some frosting and placed it around the cake as decoration.
4. Chill the cake to set the frosting. Need not thaw before consuming.