Showing posts with label Aspiring Bakers. Show all posts

Red Velvet Ombre Cake

My younger sister turned 40 years old last month. She decided to have a birthday bash for family members and some very close friends. She requested for a birthday cake which can serve up to 30 people. We discussed for quite a while, and I couldn't think of any good cake which I baked, that can serve her guests. Most of the cakes were meant for "internal" consumption. I baked my mum's 70th birthday cake, but decided the size was too big for her guests. Furthermore, she wasn't a big fan of blackforest cake. My initial proposal was to bake Tiramisu, since her birthday lunch was to be held in an Italian restaurant. Then I changed my mind because I didn't have most of the ingredients.

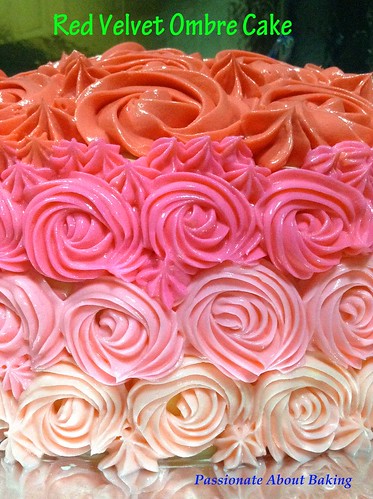
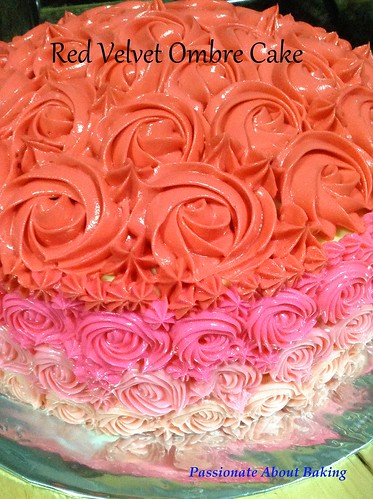
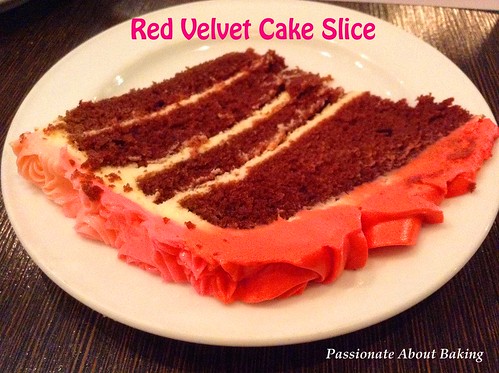
Finally, two days before her birthday party, I decided to bake her a (surprise) Red Velvet Cake. I know she loves my Red Velvet Cake and Chocolate Cupcakes. Instead of just frosting it normally, I decided to make an ombre rose frosting for her.

"Ombre refers to colors that blend into each other, often from dark to light." - Kind Arthur Flour. I'm very often awe by beautiful colours of ombre cakes and rainbow cakes. I've finally pick up the courage to try this ombre frosting. The Red Velvet Cake turned out to be really good. Her guests were very impressed with the beautiful frosting, and the great tasting cake I made. My sister was also very pleased and delighted. I was so happy to have made the right last minute decision.
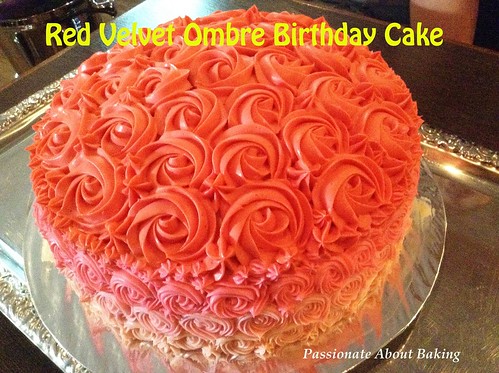
cake_RVOC05
Recipe for Red Velvet Ombre Cake, recreated from Joy of Baking and previous post.
Makes a 4-layered 9" round cake 


Red Velvet Cake
Ingredients:
500g Cake flour, sifted
1 tsp Fine salt 

30g Dutch-processed cocoa powder
227g Liv unsalted butter, at room temperature
280g Caster sugar
4 large Eggs
2 tsps Vanilla extract
480g Buttermilk (480g whole milk + 2 tsps fresh lemon juice)
2 tsp Liquid red food coloring
2 tsp White distilled vinegar
2 tsp Baking soda

Method:


  • Grease two 9" round cake pans and line the bottoms of the pans with parchment paper. Set aside.
  • In a mixing bowl sift together the flour, salt, and cocoa powder. Set aside.
  • In bowl of your electric mixer, beat the butter until soft (about 1-2 minutes). Add the sugar and beat until light and fluffy (about 2-3 minutes).
  • Add the eggs, one at a time, beating well after each addition. Scrape down the sides of the bowl. Add the vanilla extract and beat until combined.
  • In a measuring cup whisk the buttermilk with the red food coloring. With the mixer on low speed, alternately add the flour mixture and buttermilk to the butter mixture, in three additions, beginning and ending with the flour.
  • In a small cup combine the vinegar and baking soda. Allow the mixture to fizz and then quickly fold into the cake batter. 
  • Working quickly, divide the batter evenly between the three prepared pans and smooth the tops with an offset spatula or the back of a spoon. 
  • Bake in the preheated fan oven of 160C for approximately 25 minutes, or until a toothpick inserted in the center of the cakes comes out clean. 
  • Cool the cakes in their pans on a wire rack for 10 minutes. Place a wire rack on top of the cake pan and invert, lifting off the pan. Once the cakes have completely cooled, wrap in plastic and place the cake layers in the refrigerator for at least an hour (or overnight).


  • Cream Cheese Frosting (adapted from Martha Stewart)
    750g Cream Cheese
    500g Liv unsalted Butter, softened
    210g Icing sugar, sifted
    3 tsp Vanilla extract

    Method:
    1. With an electric mixer on medium-high speed, beat butter and cream cheese until fluffy, 2 to 3 minutes.
    2. Reduce speed to low. Add sugar, in three batches, then add vanilla, and mix until smooth and combined, scraping down sides of bowl as needed. If not using immediately, frosting can be refrigerated up to 3 days in an airtight container. Before using, bring to room temperature and beat on low speed until smooth again.

    To assemble:

    1. Slice both the cakes into 2 layers, making a total of 4 layers.
    2. Place one layer on the cake board, spread with cream cheese frosting.
    3. Repeat for 2nd, 3rd and 4th layer.
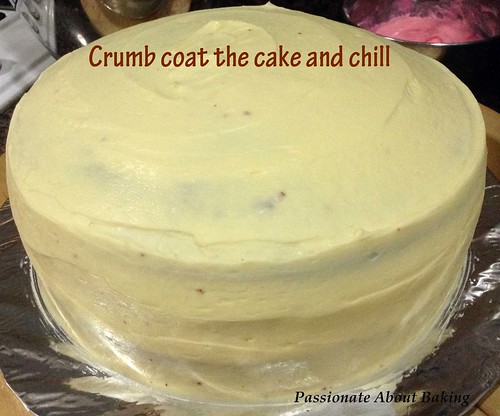
    4. Then crumb coat the whole cake, ie. frost the cake all over with cream cheese frosting.
    5. cake_RVOC01
    6. Refrigerate it for at least 30mins.
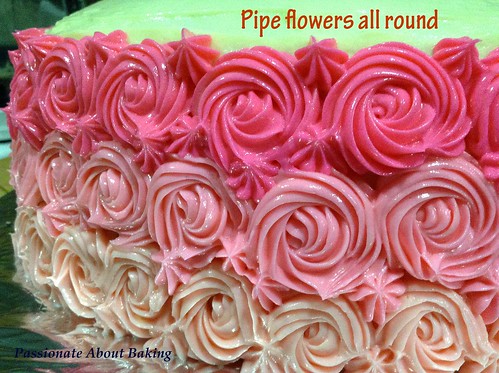
    7. Meanwhile, take about 100g (or 120g) of the cream cheese, mix with your desired colour. In my case, it's pink. I used a toothpick, insert into my Wilton gel colour lightly, then stir it into my bowl of cream cheese.
    8. Using a nozzle tip #21, pipe a flower at the side of the cake, starting at the bottom. Filling up gaps as you piped.
    9. cake_RVOC02
    10. When completed 1st layer, with the remaining cream cheese, add in slightly more colour, adding more cream cheese as desired.
    11. Continue piping the second layer.
    12. Repeat #8 & #9 for the 3rd layer flowers.
    13. Then using the remaining colour of the cream cheese, add in more cream cheese, and add in red colour. Mix well.
    14. Using nozzle #1M. Pipe roses all round the top. Filling up gaps as you go.
    15. cake_RVOC03
    16. Chill it before serving.
    cake_RVOC04 cake_RVOC06
    I'm submitting this post to Aspiring Bakers #40: Rainbow and Ombre Party! (March 2014) hosted by Cynthia of The Baking Biatch.

    Black Pepper Bak Kwa 黑胡椒肉干

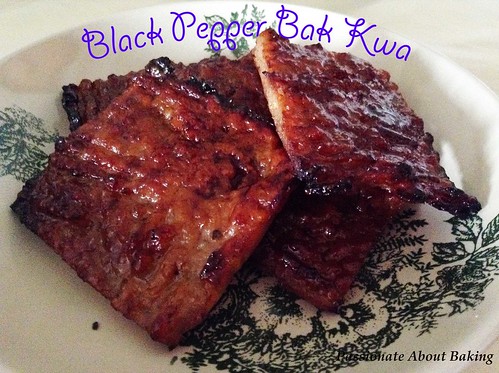
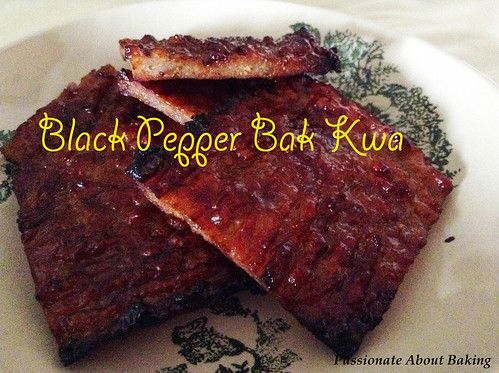
    I took great interest when I saw this recipe online - Black Pepper Bak Kwa. I've tried the normal Bak Kwa before from Sonia's blog. I thought it will be interesting to make a Black Pepper version. If there is a chilli version, I would very much want to try it too! The bak kwa is sweet and has a subtle black pepper taste. It is really nice, something different from the normal bak kwa. I will strongly encourage you to try if you are adventurous. I did some modification to the method to make it easier.
    bakkwa04
    Recipe for Black Pepper Bak Kwa 黑胡椒肉干, adapted from Epicure Asia.

    Ingredients:
    1.5kg Minced pork (I use pork loin and ask the service staff to mince)
    380g Sugar
    5 tbsp Light soya sauce
    5 tbsp Fish sauce
    5 tbsp Hua Diao Jiu 花雕酒(Chinese cooking wine)
    2 tbsp Black pepper, crushed
    1 tsp Five-spice powder
    ½ tsp Red colouring powder (I omitted this)
    ½ tsp White pepper powder
    ½ cup Honey, diluted with 4 tbsp hot water to make a runny glaze

    Method:

    1. Combine the minced pork with all the ingredients (except honey) in a deep dish. Mix the ingredients in a circular motion until the red hue is even, about 15 minutes. The mixture should be of a slightly gluey consistency. Cover the dish with cling wrap and refrigerate for one day.
    2. Using a fork, spread the meat mixture thinly (about 5mm).
    3. Place the bak kwa in a preheated oven of 160°C for 15 mins. 
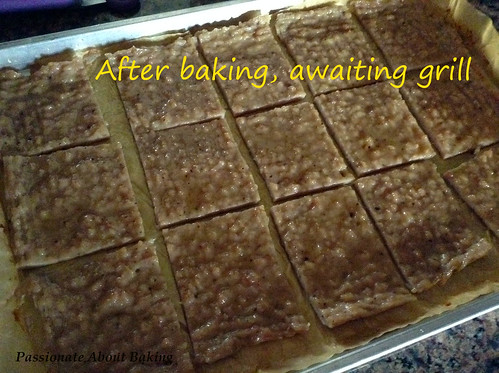
    4. Remove and let it cool slightly. Then cut into desired shapes (squares or rectangles). Meanwhile, switch the oven to grill and turn the temperature to 220°C.
    bakkwa01
    5. Brush with with honey and grill for 8 mins or until the edges start to char slightly and caramelised. Remove the tray from the oven, turn the meat over and brush with honey.
    6. Continue to grill for another 8 mins. Remove and let it cool completely before serving.
    bakkwa02
    bakkwa03
    I'm submitting this post to Aspiring Bakers #39: CNY Rock and Roll! (January 2014) hosted by Food Playground.

    Lavender Cream Cheese Pound Cake

    This post is sponsored by Liv butter. Try Liv today!
    Liv Butter - Salted & Unsalted-001
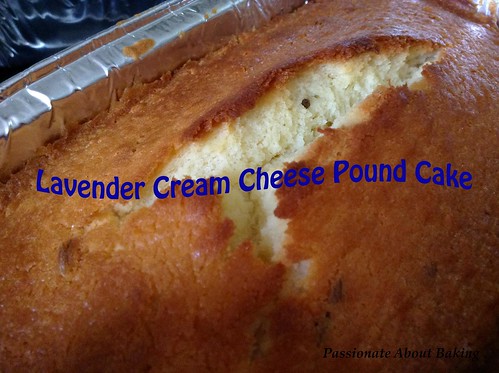
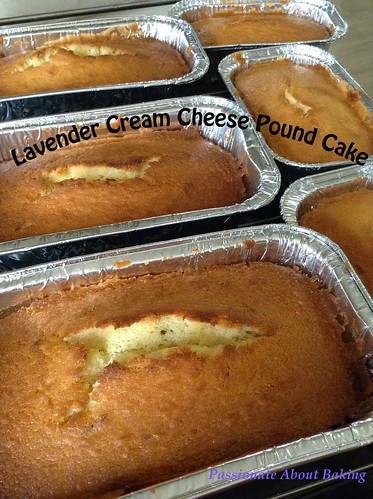
    Good as a gifts for Christmas. :)
    cake_pound02
    Recipe for Lavender Cream Cheese Pound Cake, adapted from Honey Bee Sweets.
    (Makes 3 small and 3 mini loaves)

    Ingredients:
    330g Plain Flour
    340g LIV unsalted butter, room temperature
    250g Cream cheese, room temperature
    6 Whole eggs
    240g Castor Sugar
    1½ tbsp Rum
    1 tsp Salt
    1½ tsp Dried Lavender

    Method:
    1. Preheat fan oven to 160°C. With a k-beater, beat butter and cream cheese until smooth. Add sugar; beat until light and fluffy, about 5 minutes.
    2. Add eggs, one at a time, beating well after each addition. Mix in rum and lavender.
    3. With mixer on low, add flour and salt in three additions, beating until just combined.
    4. Pour batter into the prepared pans. Even the top with a spatula.
    5. Bake until golden and a toothpick inserted in the centers comes out almost clean, approximately 40-43mins.
    6. Cool them in the pan completely before serving.
    cake_pound01
    I'm submitting this post to  Aspiring Bakers #38: Boozy-licious (December 2013) hosted by Jasline of Foodie Baker.

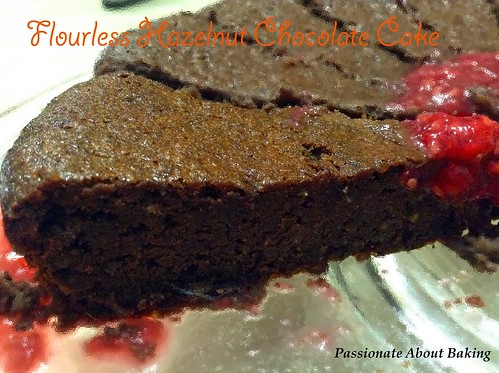
    Flourless Hazelnut Chocolate Cake

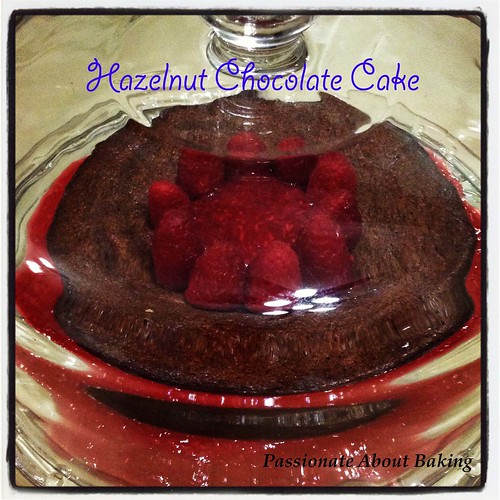
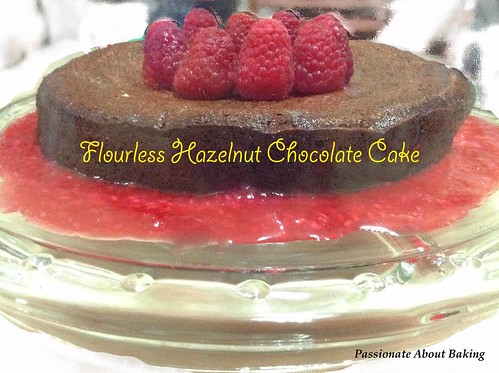
    My daughter requested for Chocolate Cake for her birthday celebration. I had actually decided to bake a Chocolate Fudge Cake, ensuring that I had evaporated milk. Then when I saw Ann's post on Flourless Chocolate Cake, I changed my mind and decided that a flourless cake will be more popular with my family members. True enough, this was hit with my family members. The cake was soft, and you can feel the grainy hazelnut texture. Coupled with the raspberry coulis, it was a perfect combination of taste and texture. This is a sure keeper for me!
    cake_hazelnutchoc02
    Recipe for Flourless Hazelnut Chocolate Cake, adapted from Anncoo.
    (Makes a 8" cake)

    Ingredients:
    100g Dark chocolate buttons (66%)
    100g LIV unsalted butter, cubed
    80g Caster sugar
    2 tbsp Kahlua liqueur
    100g Ground hazelnuts
    1 tbsp Instant coffee granules with 1 tbsp hot water
    4 Eggs (approx 55g each), separated

    Raspberry coulis
    120g Fresh raspberries
    50g Water
    40g Caster sugar

    Method:
    1. Preheat fan oven to 150C. Grease deep 8" round cake pan and line base.
    2. Melt chocolate and butter in mixing bowl over a pot of simmering water, stirring until mixture is combined and chocolates melted.
    3. Combine chocolate mixture with sugar, kahlua, ground hazelnuts and coffee. Add in egg yolks, one at a time. Stir well to mix.
    4. Whisk egg whites with electric mixer until peak forms (not too stiff); gently fold into chocolate mixture in two batches.
    5. Pour mixture into pan; bake for 35 minutes or skewer inserted into cake comes out clean. Cool cake in pan.
    6. In a small pot boil raspberries, sugar and water together and stir over medium heat.
    7. Reduce heat and simmer for 5-7 minutes, mash raspberries with a spatula. Leave aside to cool totally.
    8. Decorate with some raspberries on top of the cake and raspberry coulis before serving.
    cake_hazelnutchoc01
    I'm submitting this post to  Aspiring Bakers #38: Boozy-licious (December 2013) hosted by Jasline of Foodie Baker.

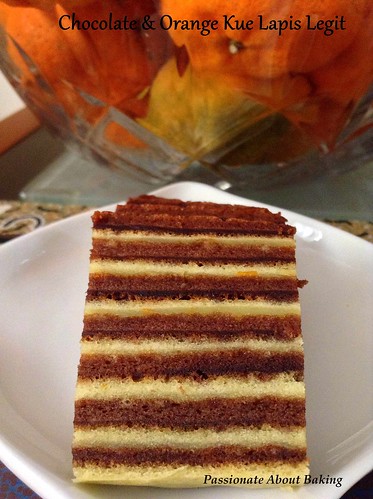
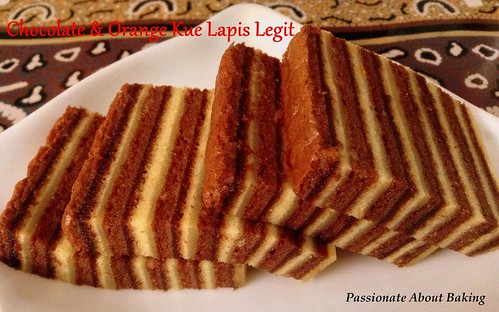
    Chocolate & Orange Kue Lapis Legit

    This post is sponsored by Liv butter. Try Liv today!
    Liv Butter - Salted & Unsalted-001
    When it comes to Chinese New Year, no matter how busy I am in baking my cookies, I will always allocate some time to bake Kek Lapis or Cake Lapis or Kue Lapis Legit. Having tried several flavours over the years, I decided to do a Chocolate & Orange Kue Lapis, a combination which I always like!

    A recipe which I always fall back to is from Florence. In many kue lapis that I've ever attempted over the years, I modified from her recipe. I like her recipe very much because (1) it doesn't use an exorbitant amount of condensed milk and even I replaced it with whole milk and it worked fine, (2) the quantity of egg yolks and butter used is reasonably acceptable. These are in comparison with other recipes, though kue lapis cake uses a lot of butter and egg yolks in the first place! So here is my modified version.
    cake_lapis04
    Recipe for Chocolate & Orange Kek Lapis Legit
    Makes a 21cm x 21cm square cake pan. Filled to the brim.

    Orange Layers
    Ingredients:
    250g Liv Unsalted butter, room temperature
    50g Caster sugar

    10 Egg yolks
    60g Caster sugar
    1 tbsp Grand Marnier (or any orange liquor of your choice)
    2 tsp Orange extract
    1 large orange zest
    2 tbsp Whole milk

    66g Cake flour (I used superfine flour)
    1/4 tsp Baking powder

    5 Egg whites
    30g Caster sugar
    1/2 tsp Cream of tartar

    Method:
    1. Cream butter with sugar until creamy.
    2. Beat egg yolks with sugar till thick. Stir in orange zest, orange extract, liquor and milk.
    3. Sieve flour and baking powder into an empty bowl.
    4. Mix butter and egg yolk mixture well.
    5. Fold in flour mixture in two batches and mix well. (I used the beater to mix in the flour.)
    6. In a separate bowl, beat egg whites till foamy. Add cream of tartar into the sugar and mix well. Gradually add in sugar and beat till stiff.
    7. Fold egg white into egg yolk mixture and mix well.
    8. Set aside.
    cake_lapis03
    Chocolate Layers
    Ingredients:
    250g Liv Unsalted butter, room temperature
    50g Caster sugar

    10 Egg yolks
    60g Caster sugar
    1 tbsp Rum (or brandy)
    2 tbsp Whole milk

    40g Cake flour (I used superfine flour)
    26g Cocoa powder (I used Belcolade)
    1/4 tsp Baking powder

    5 Egg whites
    30g Caster sugar
    1/2 tsp Cream of tartar

    For method, follow Orange Layers #1-8 above.
    cake_lapis02
    To bake:
    1. Using a laddle, scoop the orange layer evenly into the paper-lined and butter-greased cake pan.
    2. Turn the oven to bake function at 180C.
    3. Bake the first layer for 5mins. Switch to grill and continue to grill at 6mins.
    4. Remove the pan from the oven and scoop the chocolate layer evenly onto the cake pan. Even it out.
    5. Grill this layer for 7 mins.
    6. Continue to alternate the layers and grill at 7mins.
    7. After 3/4 of the pan, reduce the grill timing to 6mins.
    8. After grilling the last layer, turn the temperature to 160C and bake the cake for 8-10mins to ensure it is thoroughly baked.
    9. Remove from the oven and let it to cool in a wire rack for 10mins. Then remove from cake pan and let it cool completely on a wire rack.
    cake_lapis01
    Notes:
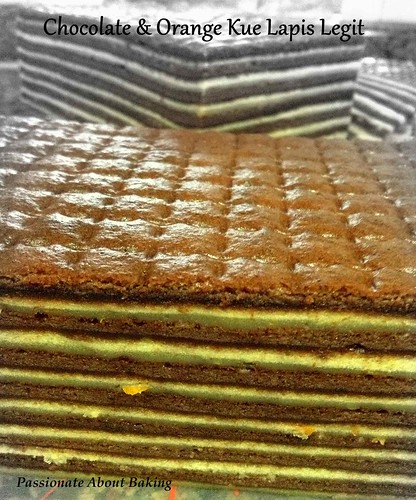
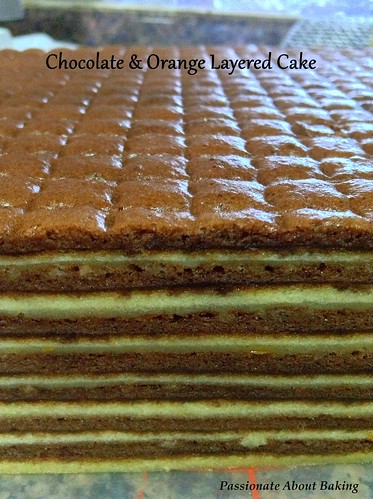
    • I realised that each layer was slightly too thick to cook through. That was why there was a transparent layer.
    • Possibility good to turn down the grill temperature to 160C, and grill up to 9 mins for each layer to let it cook through.
    • Alternatively, I will have to reduce the quantity in each layer to make it thinner and easier to grill.
    • Also, noticed the orange zest in the lighter layer.
    Overall, the taste of this lapis legit cake was very good. The orange taste came through even though chocolate was more prominent. Orange taste was very subtle, but powerful! With the addition of the extra egg white, the cake was very soft. I like it very much.
    cake_lapis05
    I'm submitting this to: 

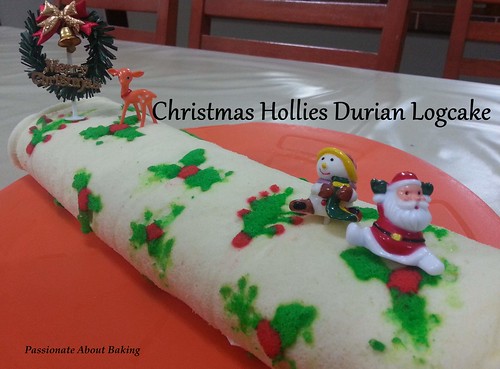
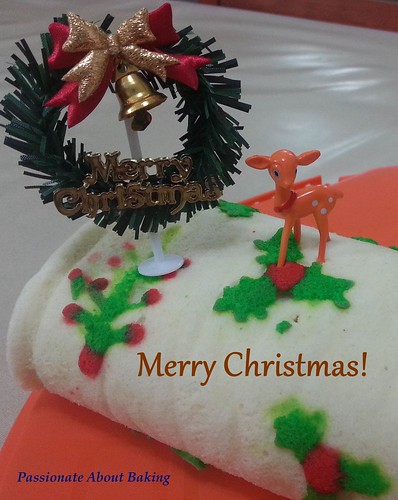
    Christmas Holly Durian Logcake

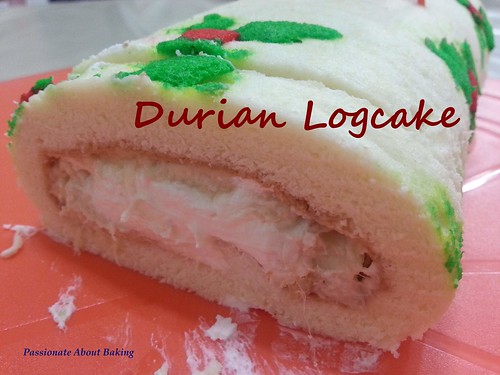
    Christmas is my favourite festive season of the year. It is a period where there will be lots of feasting and gathering. I love to host Christmas gathering with family members and friends too! This year, I invited my family members and in-laws over to my place (separately) for a mini celebration. For occasions like this, I will usually bake some kind of desserts. And one of the common desserts will have to be Christmas logcake.

    Ploughing through the patterned swiss rolls recipes in the blog, I decided to try this recipe from Reese. As I wanted to make two log cakes, I increased the quantity of the ingredients. I made one with strawberry jam and the other with durian. The durian logcake was very well received by my in-laws! I was glad they enjoyed it!

    I am submitting this post to Aspiring Bakers #26 - Creative Christmas Motif Bakes! hosted by Alan of Travellingfoodies.
    swissroll_durian04 
    Recipe for Christmas Holly Durian Logcake, adapted from Reese.
    Makes two 10 x 13" sheet cake

    Ingredients:

    Egg yolk batter:
    8 Egg yolks
    27g Caster sugar
    80g Milk
    2 tsp Vanilla extract (may omit this. I prefer to add vanilla extract as I found it very eggy without)
    60g Vegetable oil
    133g Cake flour
    20g Cornflour

    Egg Whites:
    8 Egg whites
    94g Caster sugar

    For picture: (I originally use more. However, there were a lot of left over. This is the original recipe)
    20g Egg whites
    10g sugar
    [with 30g egg yolk batter from the top]
    Green colouring
    Red colouring

    Frosting:
    60g Durian flesh
    130g Whipping Cream
    13g Caster sugar
    swissroll_durian02

    Method:

    1. Egg yolk batter: Whisk egg yolks together with sugar, then add in milk and oil and mix well.
    2. Add in cake flour and cornflour and stir well. Set aside.
    3. Scoop out 30g egg yolk batter with 10g (for red) and 20g (for green) respectively. Mix in red colouring to the 10g batter and green colouring to the 20g batter. Mix well.
    4. Whisk the 20g egg whites and sugar (ingredients for pictures) till half soft peak form and add 1/3 in the prepared 10g red egg yolk batter, and remaining egg whites in the green yolk batter. Stir well.
    5. Spoon the red batter into a piping bag with tip #3. Pipe 3 rounds to form a little triangles onto lined tray.
    6. Spoon the green batter into a piping bag. Cut off the tip and pipe it to form a leaf. Pipe three leaves around the red triangle.
    7. Bake at 180C for 1 minute then set aside.
    8. Egg whites: Whisk the egg whites together with the sugar until stiff peak.
    9. Fold into the egg yolk batter. Then pour batter over the half-baked hollies. Split them (almost) equally into the two trays. (As I have left over from the picture batter, I piped them onto the surface of the batter, to prevent wastage.)
    swissroll_durian01
    10. Flatten the top with a spatula and bake at 180C for 13 minutes, or browned. (Then baked the other tray)
    11. Transfer onto wire rack to cool completely.
    swissroll_durian03
    To assemble:

    12. Whisk the whipping cream with sugar till stiff.
    13. Spread the durian flesh onto the swiss roll, followed by whipped cream.
    14. Roll it up and decorate with Christmas decorations.
    swissroll_durian06 swissroll_durian05
    Wish you a Merry Christmas & a very Happy New 2013!

    Mocha Checkered Cake

    Sounds familiar? Of course it is! It's from Wendy's blog! I have a soft spot for chocolate and coffee combinations. Hahaha... When I saw Wendy's cake, it seemed to be calling out to me to "bake me! bake me!" Therefore, I fulfilled my baking temptation to make it!
    I used chocolate buttercream instead as my family members preferred chocolate. The cake layers were very soft. The checkered layers really made it taste like mocha, which is the best of both worlds! It was really fun assembling and alternating the two flavours. My family members were impressed by the checkered layers.

    Recipe for Mocha Checkered Cake, adapted from Table for 2.... or more.
    Makes an 8" cake

    Ingredients:
    Coffee Layer
    3 Egg yolks
    40g Caster sugar
    30g Oil
    60g Top flour
    2 tsp Coffee powder
    30g Hot water

    Chocolate Layer
    3 Egg yolks
    40g Caster sugar
    30g Oil
    45g Top flour
    15g Cocoa powder
    30g Hot water
    1/2 tsp Vanilla extract

    Meringue
    6 Egg whites
    85g Caster sugar
    1/2 tsp Cream of tartar

    1.5 portion of Chocolate Swiss Meringue Buttercream (sieve in 25g cocoa powder after step #3 in the recipe to get Chocolate buttercream)

    Method:
    1. Prepare two 8" round pans. Lined with baking paper. Preheat fan oven to 150C.
    2. Coffee Layer: Mix the coffee powder with hot water. Set aside to let it cool.
    3. In a mixing bowl, mix egg yolks with sugar till lighter. Add in coffee paste and oil. Mix well before adding in flour. Ensure mixture is thoroughly combined. Set aside.
    4. Chocolate Layer:  Mix the cocoa powder with hot water. Set aside to let it cool.
    5. Mix egg yolks with sugar till lighter in another mixing bowl. Add in cocoa paste, vanilla extract and oil. Mix well before adding in flour. Ensure mixture is thoroughly combined.
    6. Meringue: Weigh your mixing bowl before putting in egg whites. In the mixing bowl, beat egg whites until frothy, add in cream of tartar and beat until soft peak. Gradually add in sugar and beat until stiff.
    7. Weigh your mixing bowl, then deduct the weight of the mixing bowl. With the remaining amount, divide by half. Remove (accurately) half the meringue from the mixing bowl and fold into the coffee mixture.
    8. Fold the balance of the meringue into the chocolate mixture.
    9. Pour both batter separately into the prepared pans and bake for 30mins.
    10. Remove from the oven and place them on the rack.
    11. After a while, gently release the sides and let the cake cool on a wire rack.
    Assembly:

    1. Slice each of the cake into half. Ensure that the layers are even.
    2. Cut each layer into 4 different rings.
    3. Coat each of the rings with buttercream, alternate the flavours and arrange them in a layer.
    4. After each layer, spread buttercream on it evenly. Then repeat #3.
    5. Frost the whole cake and decorate as desired.
    6. Chill before serving.

    Tiramisu Cake

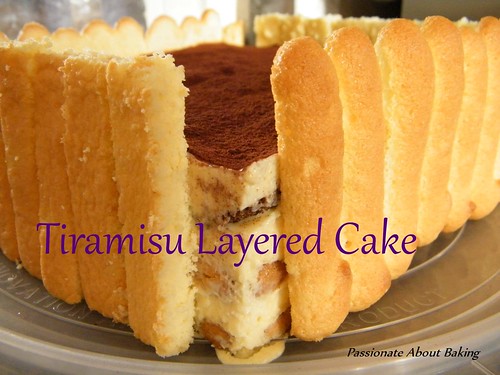
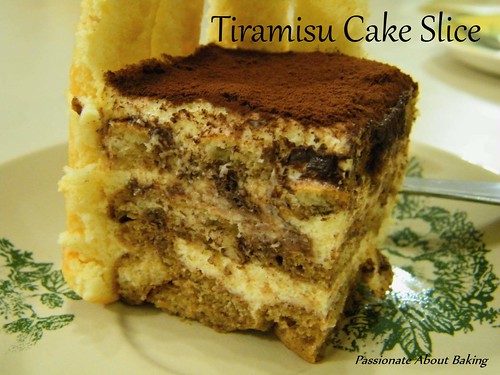
    Late March was my youngest sister's birthday. I volunteered to make a Tiramisu Cake for her since I've never attempted one before. I've always like to eat tiramisu. However, I couldn't find the courage to make one... until recently. I didn't want to buy the sponge fingers, though it will be simpler, nor did I want to make a sponge cake base. So I ended up making the sponge  fingers instead. Then I realised that I have piped my sponge fingers too small. I was afraid that my tiramisu will turned out to be very short since the sponge fingers were mini.


    Fortunately, my tiramisu turned out to be of reasonable height. Overall, the comment was that the taste of the coffee and the coffee liquor was not strong enough! Fortunately, the texture of the cake was good. For the recipe below, I've adjusted the coffee syrup.

    I'm submitting this to  Aspiring Bakers #18: Layers of Love (April 2012) hosted by  Sam of Sweet Samsations.
    cake_tiramisu02
    Recipe for Tiramisu, adapted from Yochana.


    Ingredients:
    Sponge Fingers:

    4 Egg yolks
    40g Castor sugar
    3 Egg white
    80g Castor sugar
    120g Plain flour

    Tiramisu:

    2 Egg yolks
    1 Egg
    60g Castor sugar
    5 pcs Gelatine leaves (or 10g gelatine powder) (soak in tap water)
    2tbsp Water
    250g Mascarpone cheese
    250g Whipped Cream 
    2tbsp Kahlua

    Coffee syrup:

    25g Ground coffee (should use Nescafe instant coffee powder)
    250g Hot water
    2tbsp Kahlua

    Method:

    cake_tiramisu01
    1. For sponge finger: Whisk egg yolks with sugar till fluffy.
    2. Whisk egg white with 80g sugar till stiff. Then fold in egg yolk mixture and flour.
    3. Fill the batter into a piping bag fitted with a plain nozzle. Pipe fingers onto tray and bake at 175C for about 10 mins. or till golden brown.
    4. For tiramisu: Beat egg yolk, egg and sugar over a pot of simmering water. Make sure that pot is not sitting directly onto the water.
    5. Use a small pot, the mixing bowl slightly bigger and then sit on the rim of the pot. Whisk till egg yolk is yellowish. Cool to room temperature.
    6. Add in mascarpone cheese and mix lightly. Don't overmix otherwise the cheese will turn coarse.
    7. Soak gelatine with water and then microwave for about 20- 25 secs.
    8. Fold in whipped cream, kahlua and gelatine mixture.
    9. To assemble: Use a 8" sq. tray (or a 7" sq. tray to be higher.)
    10. Soak sponge fingers into the coffee syrup, lay a layer into the tray and then top up with some tiramisu filling. 
    11. Continue the same process till all the sponge fingers and tiramisu fillings are used up.
    12. Chill in the refrigerator for at least 3 hours for the gelatine to set.
    13. Sieve cocoa powder on top of the cake and decorate as desired. (I decorated mine with the remaining sponge fingers, and some cake sponge).
    cake_tiramisu03
    cake_tiramisu04

    Fondant Cupcakes

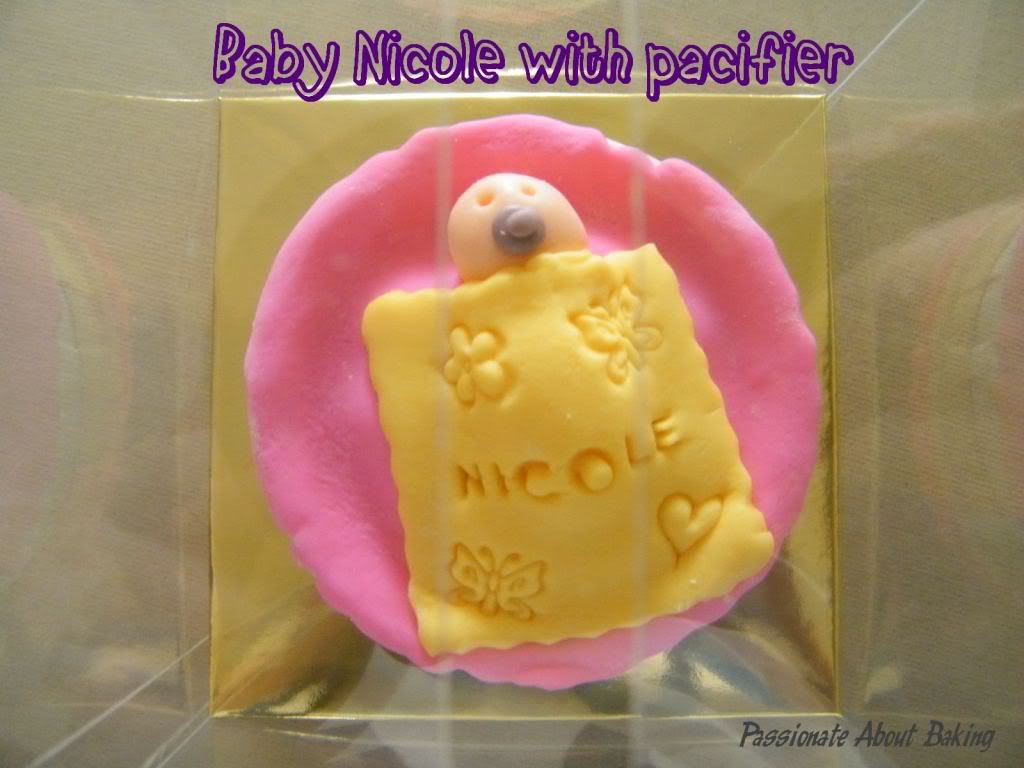
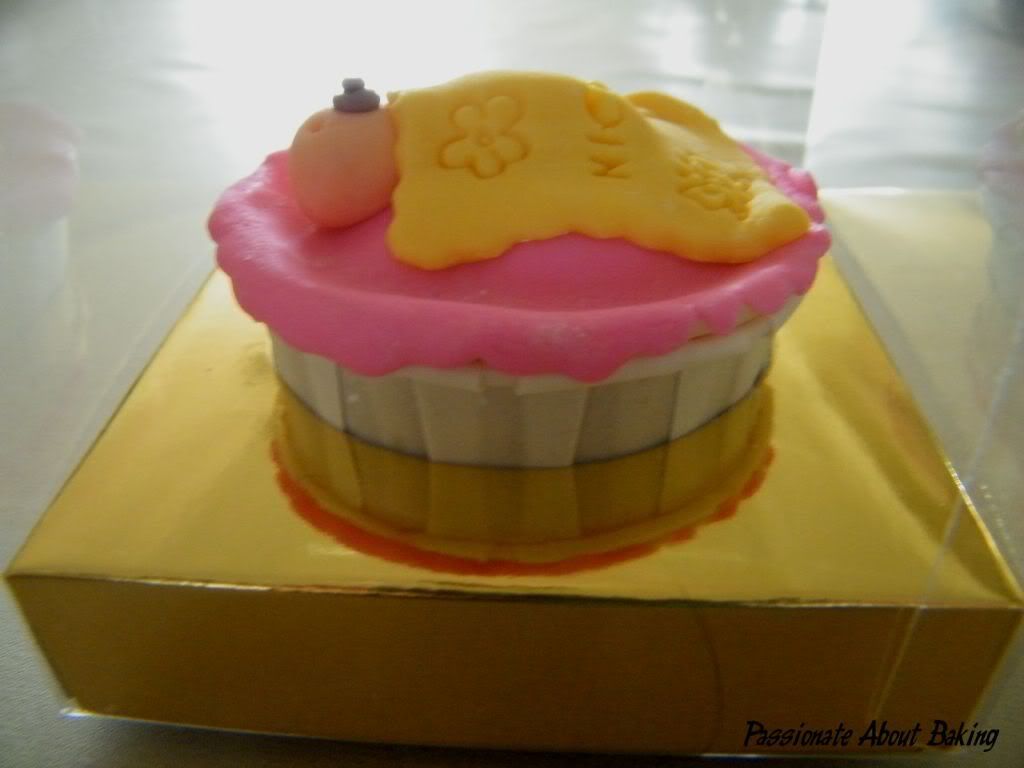
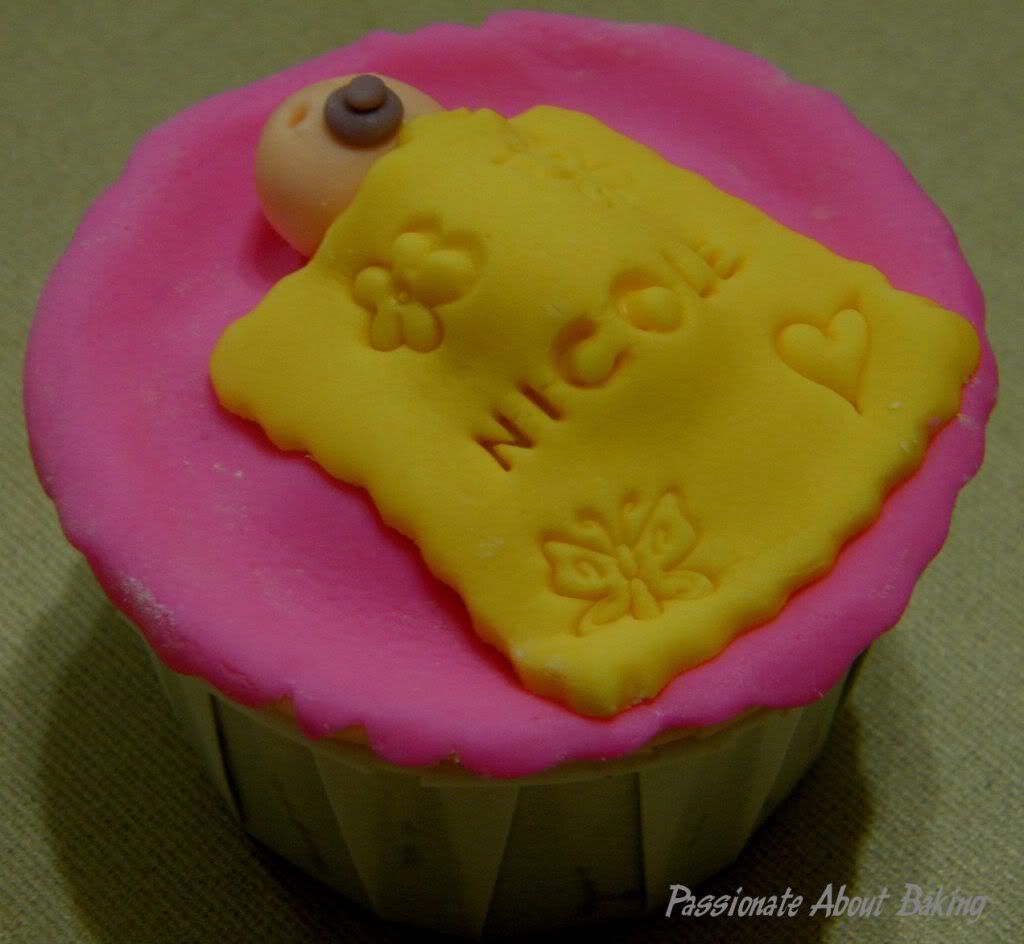
    I made more chocolate cupcakes with swiss meringue buttercream again for my cousin's baby's first month celebration. As a token of appreciation for the couple, I made a pair of baby sleeping fondant cupcakes for them. I was glad the chocolate cupcakes were well received, and the couple was delighted to receive my personalised fondant cupcakes.
    I'm submitting this to Aspiring Bakers #16: Fun with Fondant! (February 2012) hosted by Yvonne of iceamericanos.

    On a separate subject, I was pleasantly surprise to see an old schoolmate from Ngee Ann Polytechnic (NP) from my cousin's baby's celebration! It was 20 years ago when we last met! He was my swimming coach at Lifeguard Corps Club in NP, even though he was only one year my senior. When I went for my studies in NP after my "A' levels, I was admitted directly to year 2. At that time, I do not know how to swim, and took the opportunity to learn in NP. We reminisced the good old time we had during that period, including our outing to Kallang River for kayaking. It really brought back fond memories of the times during my tertiary studies.

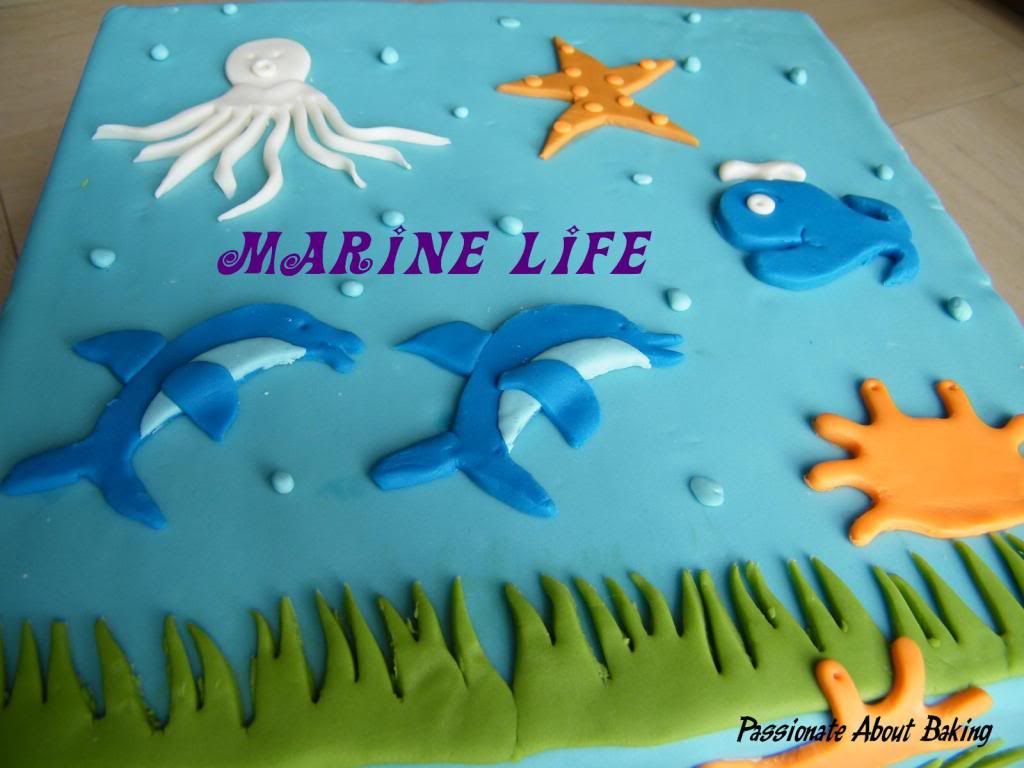
    Marine Life

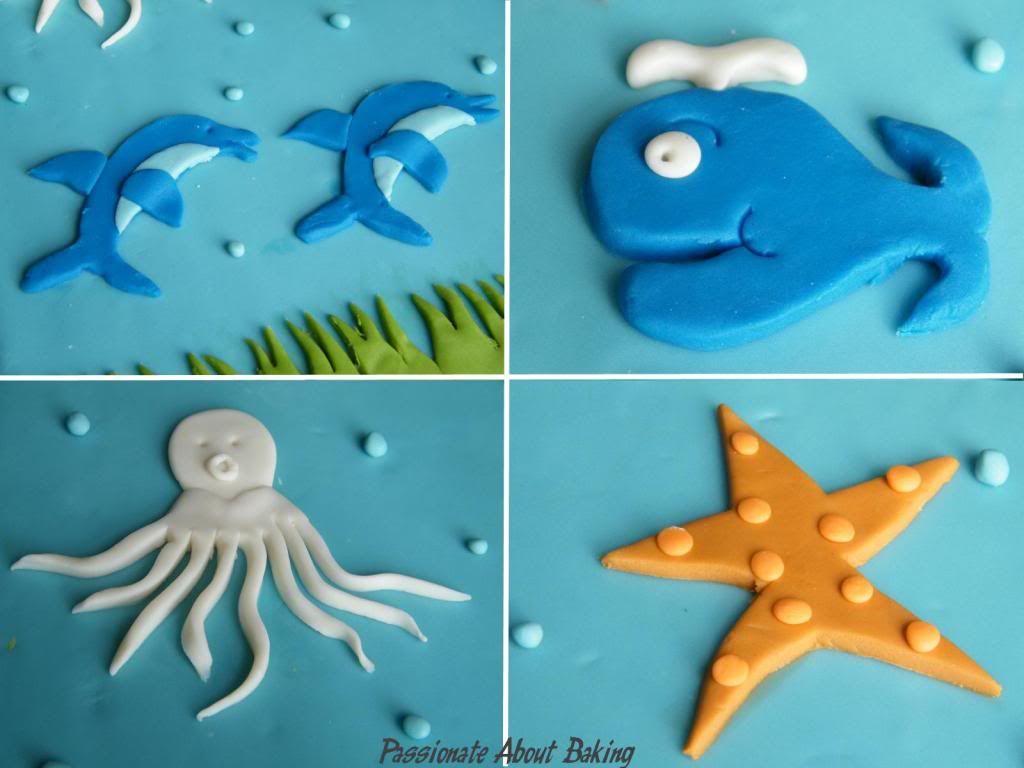
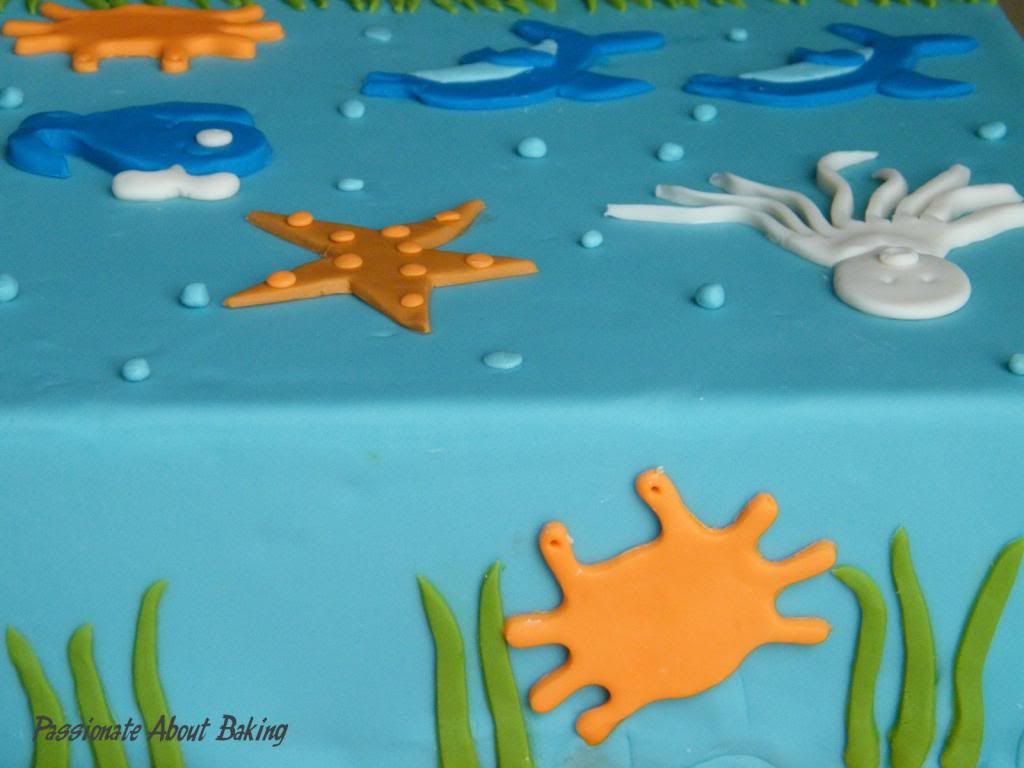
    As I was bored during CNY weekend, I practice fondant on my dummy cake. The fondant had expired. I kept it just so that I can practice with them. I created a "Marine Life" theme for it and left it to display at my place for a week. Then down the rubbish chute it went! It was all... a child's play the work of a bored adult!
    I'm submitting this to Aspiring Bakers #16: Fun with Fondant! (February 2012) hosted by Yvonne of iceamericanos. [I've been told to submit this, so I'd better be obedient and do it! LOL]

    Tangy Prawn Canapés

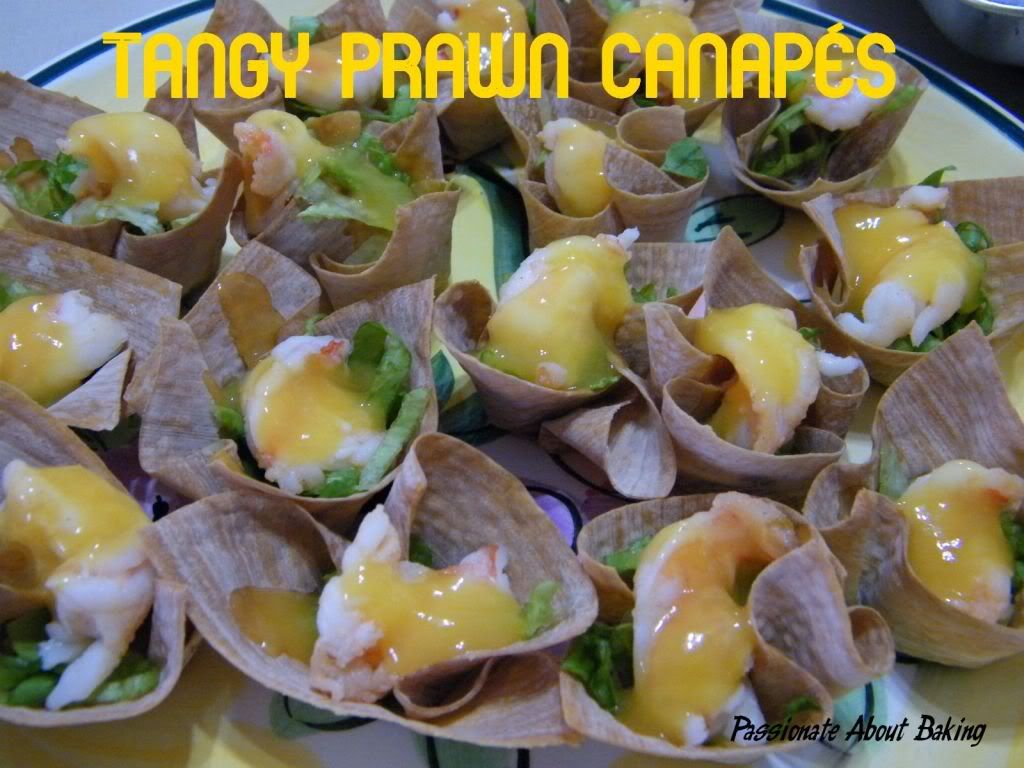
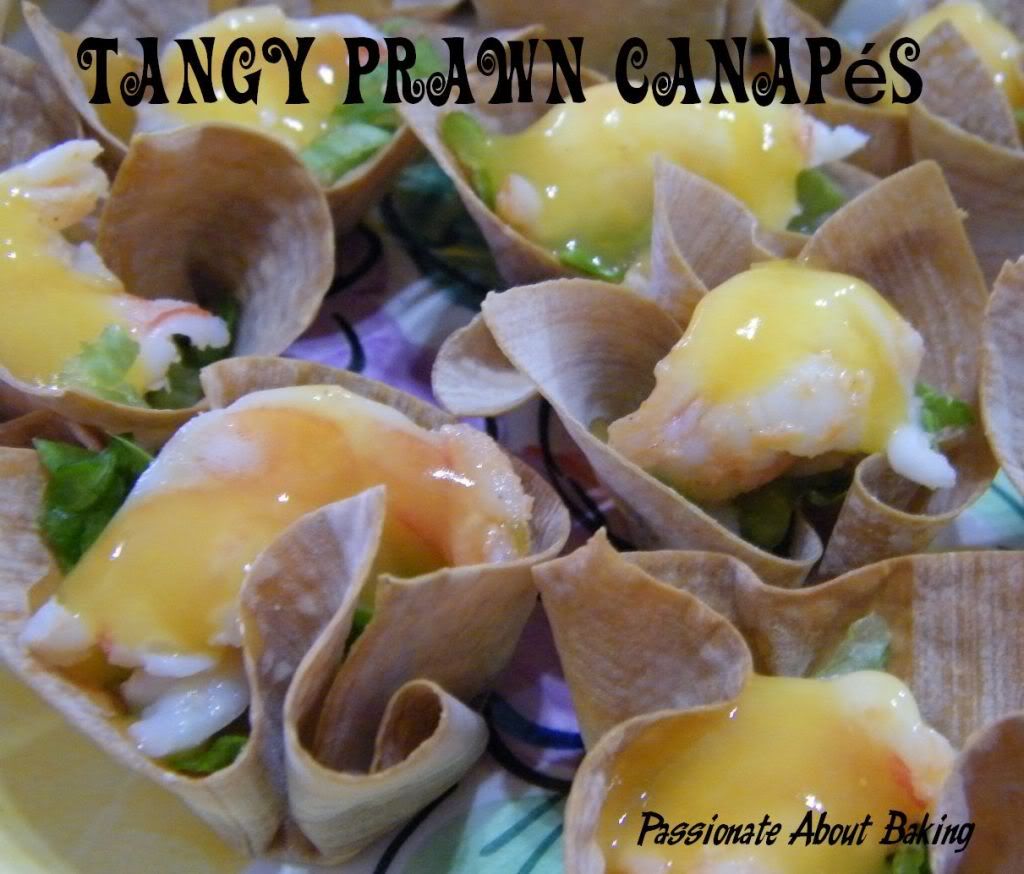
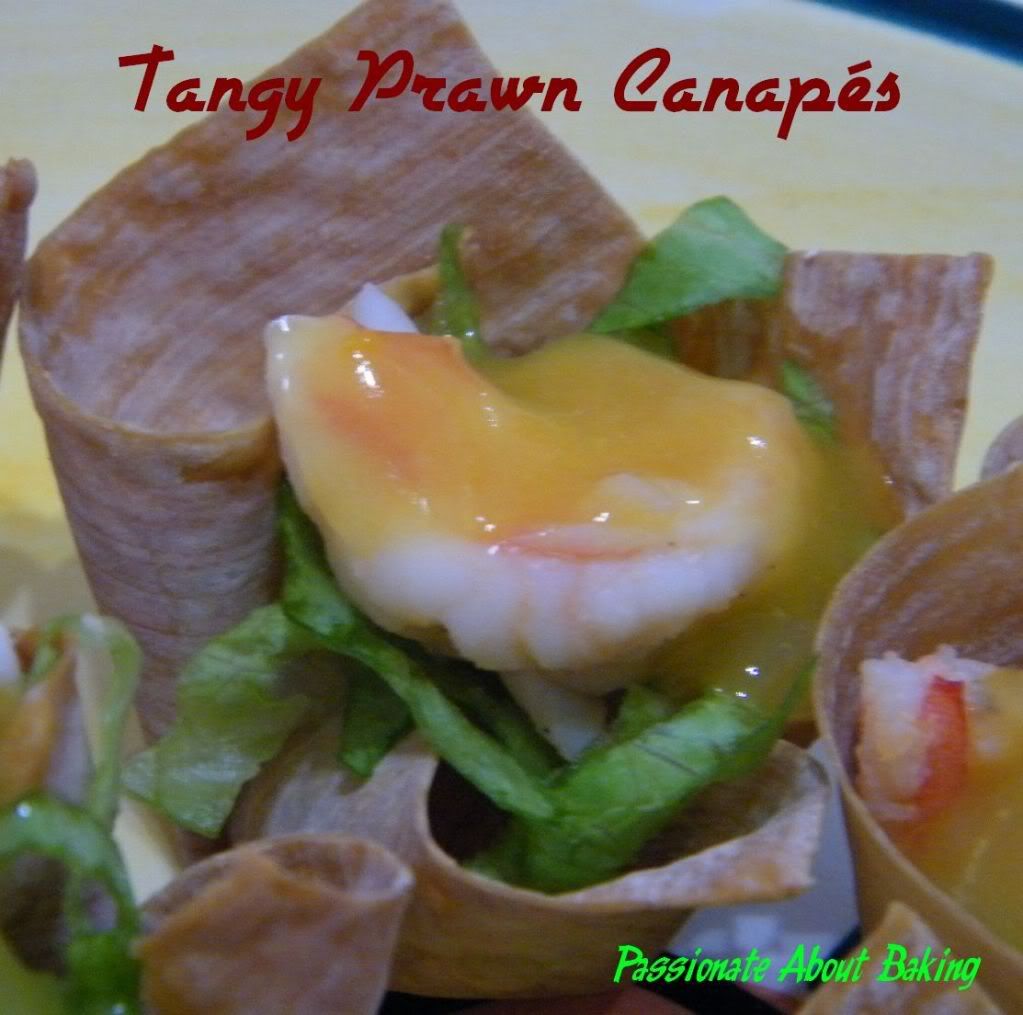
    This is a simple dish to make as appetizer for your Chinese New Year (CNY) celebrations. It contains prawns (哈哈大笑), and orange (大吉大利) which is very suitable for CNY. I also added shredded lettuce to make it more colourful. You can add more ingredients like carrots or some finely chopped nuts.
    I'm submitting this to Aspiring Bakers #15: Auspicious Dishes for CNY (January 2012) hosted by Wen of Wen's Delight.


    Recipe for Tangy Prawn Canapés

    (Serves at least 6 persons)


    Ingredients:
    24pcs Wanton Skin (square)
    24pcs Cooked Shrimps (I used medium size prawns and had to cut them into smaller pieces. If used small shrimps, you can use the whole shrimps)
    2 big lettuce leaves, shred very thinly

    Tangy Sauce
    200g Orange juice
    2 tbsp Corn flour
    2 tsp Sugar (optional)

    Method:
    1. To prepare the wanton skin. Place the wanton skin in mini muffin tray. Open up the corners.
    2. Bake in a preheat oven of 180C for 8-10mins, or till browned and crispy.
    3. Leave it to cool before keeping them in an air-tight container (if not used immediately. This can be prepared a day or two in advance.)
    4. To cook the tangy sauce. Place all the ingredients in a saucepan. Stir to mix well before bringing it to a boil. Leave it to cool till tepid.
    5. To assemble. Place some shredded lettuce in the wanton skin cup. Push them in.
    6. Put the cooked shrimp on top, then spoon the tangy sauce into the wanton skin cup.
    7. Served immediately and enjoy!

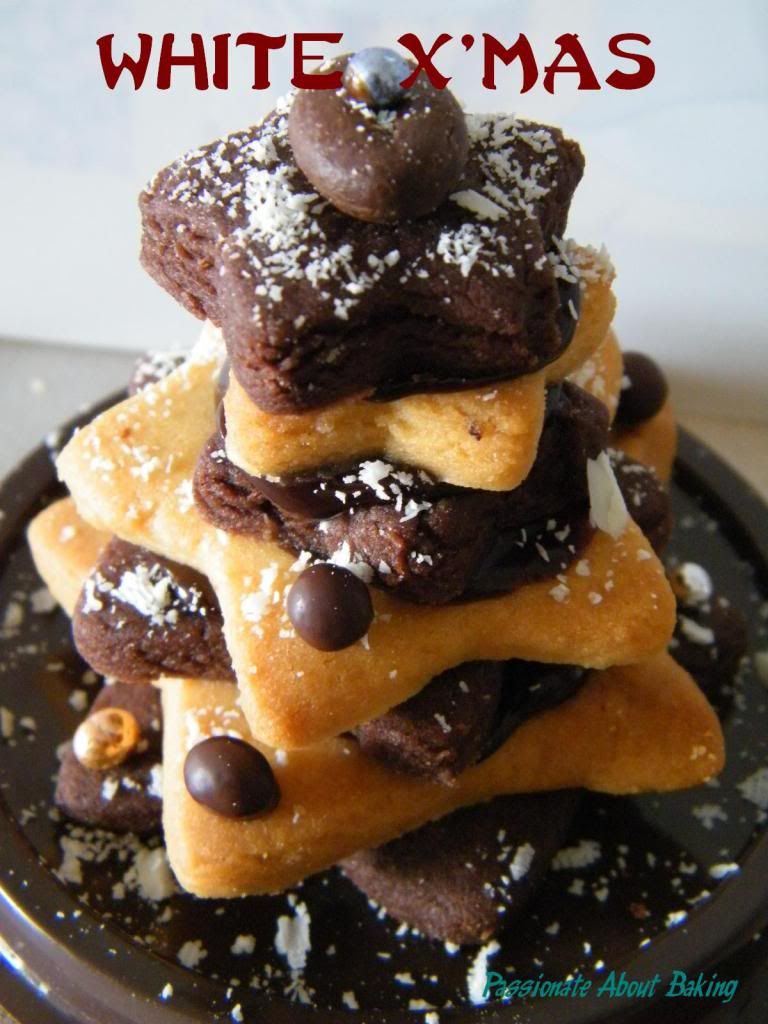
    Christmas Tree Cookies

    Merry Christmas everyone!
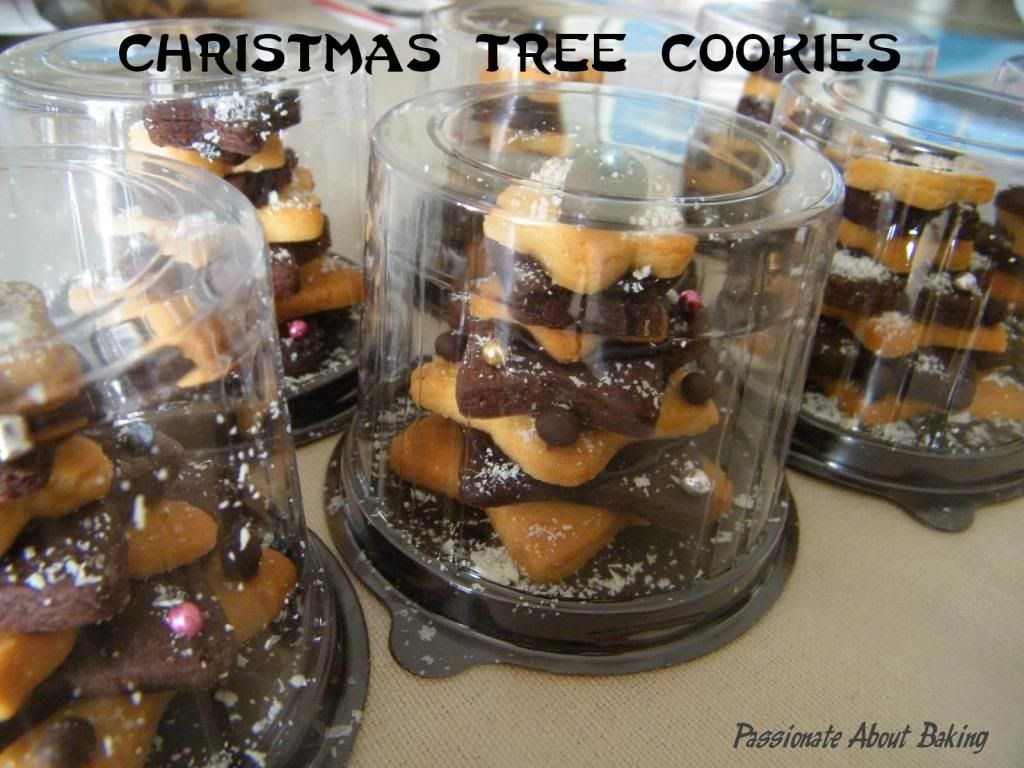
    Here's sharing a Christmas Tree Cookies with you.
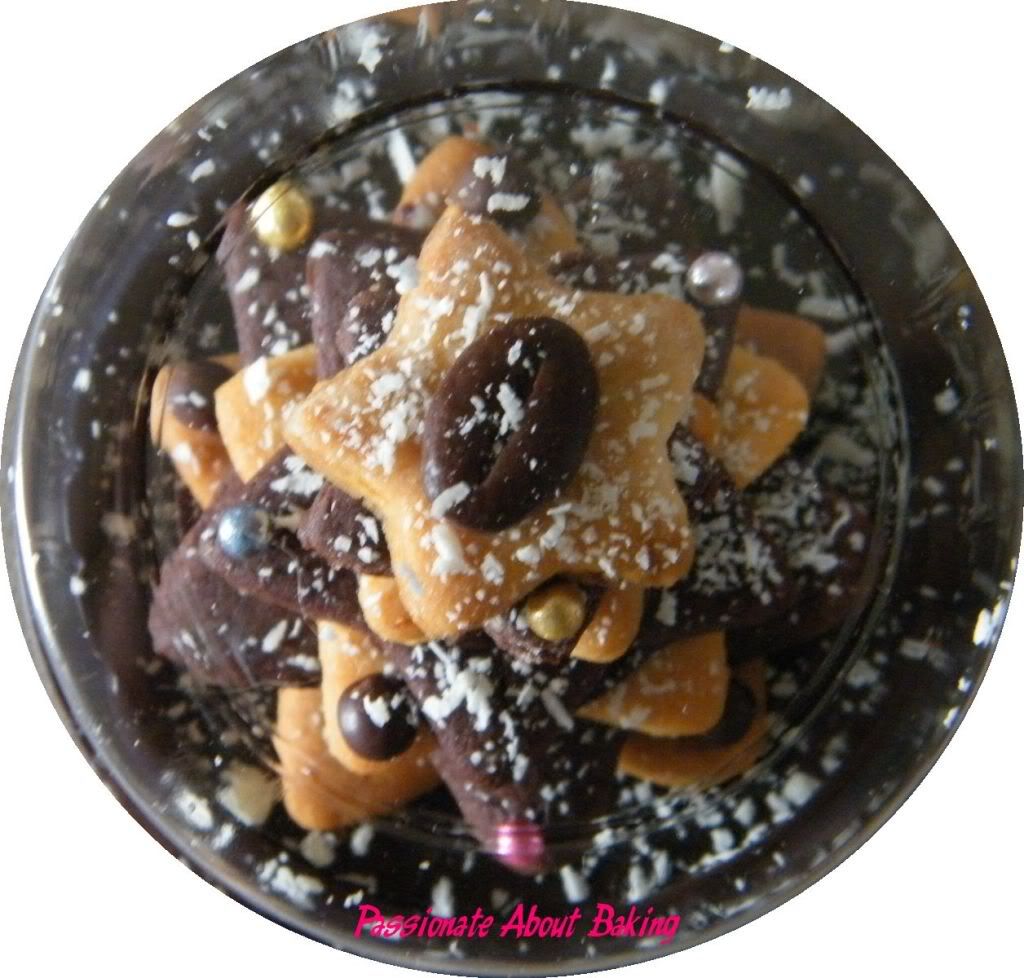
    I adapted the recipe for the cut out cookies from Martha Stewart's Citrus Cookie Dough and the Chocolate Cookie Dough. Chill it, and roll it out in a floured surface. The cookie dough can be quite soft at times, I had to rub in more flour. Using star cookie cutter of various sizes, cut out according to your preference. Bake it at 190C for 15-18mins depending on the size of the cookies. Place the same size cookie doughs together. Do not mix various sizes as the cooking time is different.
    To Assemble:
    Chocolate Ganache
    Colour Dragees
    Crunchy Valrhona Chocolate Pearls
    Chocolate Coffee Beans
    White Chocolate Shavings
    Cupcake Plastic Containers


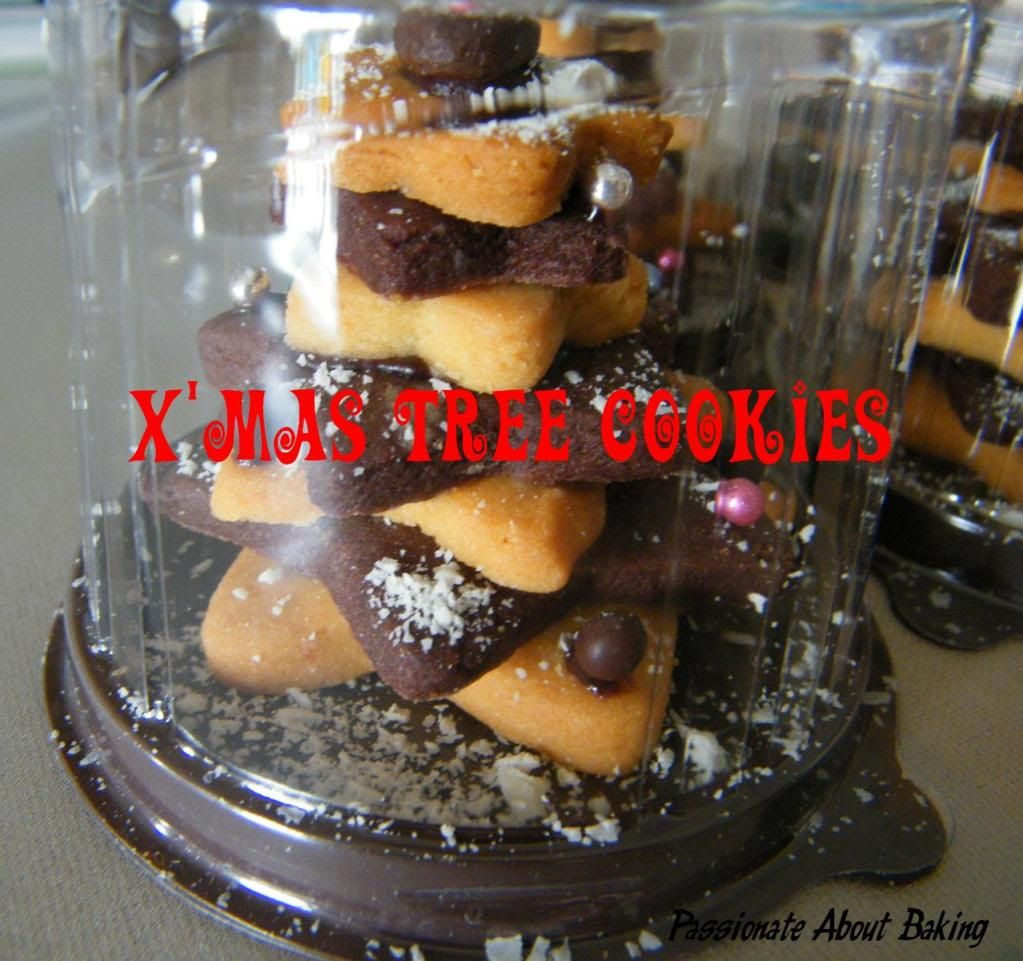
    1. Alternate the cookies from biggest (at the bottom) to the smallest (at the top) with citrus and the chocolate.
    2. Put some chocolate ganache on the cupcake base and place the biggest star cookie on it to stabilise it.
    3. Sandwich the cookies together using chocolate ganache. I used dark chocolate ganache. You may use white chocolate.
    4. Alternating the colour dragees and chocolate pearls on the tip of the stars.
    5. Topped the last star with chocolate coffee beans (or any other toppers you can find).
    6. Lastly, sprinkle white chocolate shavings on the X'mas tree cookies.
    7. Wrapped it up, and give it away!
    Notes:
    1. You can use any cut out cookie recipe to create the X'mas Tree.
    2. I'm limited by the size of my cupcake plastic container. Your X'mas tree can be as high as you like.
    3. Toppers can be anything, including a vertical star.
    4. The design and creation is unlimited, be creative!