Artisan Breads Workshop

My dear friend, Doris, manged to persuade and convince me to take up an Artisan Breads Workshop at Bakerz@Work. It was just the right timing since I was looking for good workshop to attend. There are four lessons spread across four weekends. I knew the hours were long, but wasn't prepared for it to stretch that long during the first lesson. Subsequent lessons, I was prepared.

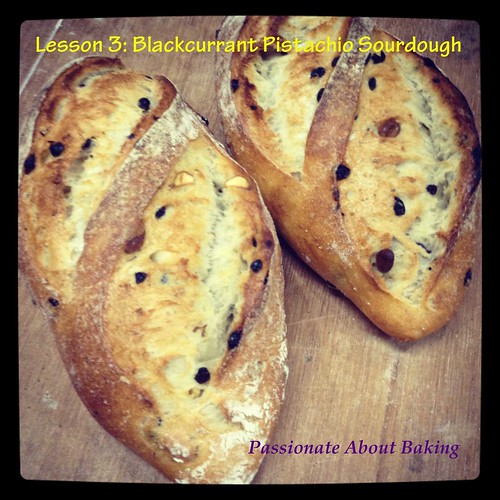
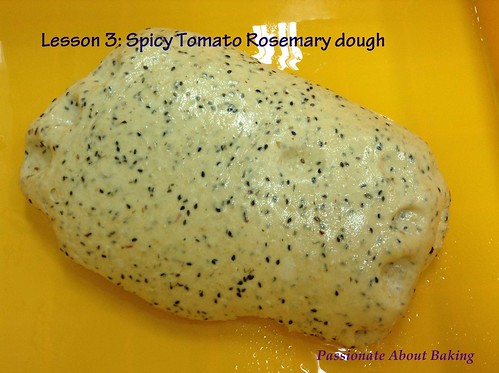
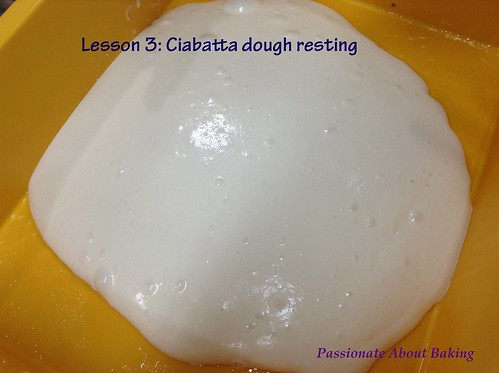
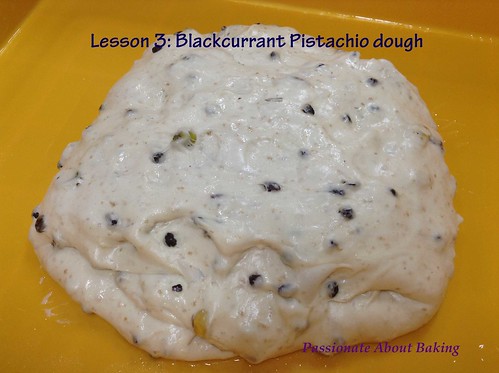
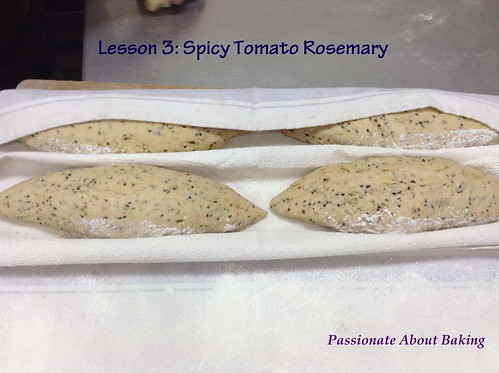
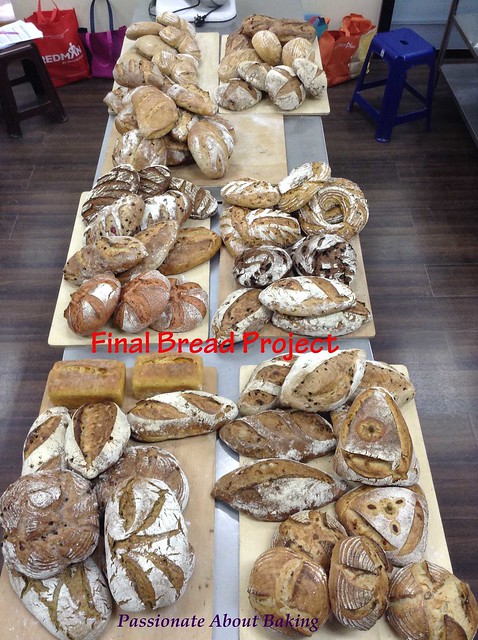
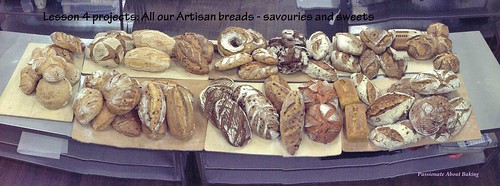
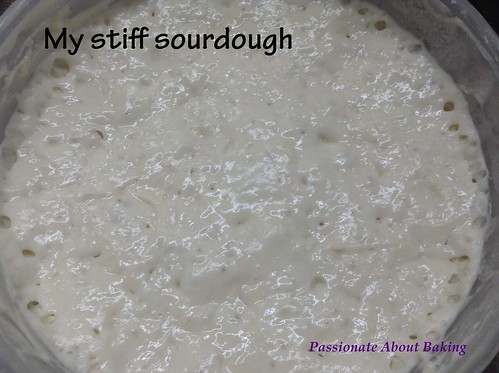
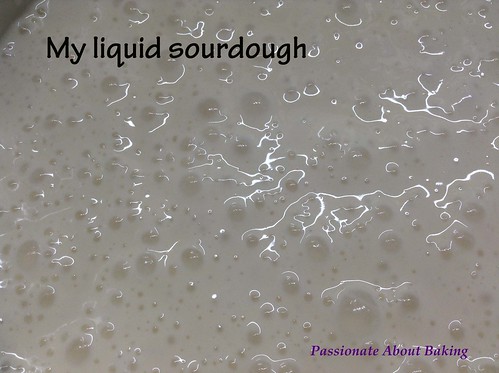
After three lessons, we had to come out with our own recipes to produce them on our fourth lesson. Almost like a mini project for us. We were expected to come out with three recipes- using pre-fermentation, liquid sourdough and stiff sourdough. On the second lesson, we were given assignment - grow our own sourdoughs. We were to grow them for our final lesson project. Fortunately, all our sourdoughs turned out well. AB0412 AB0413
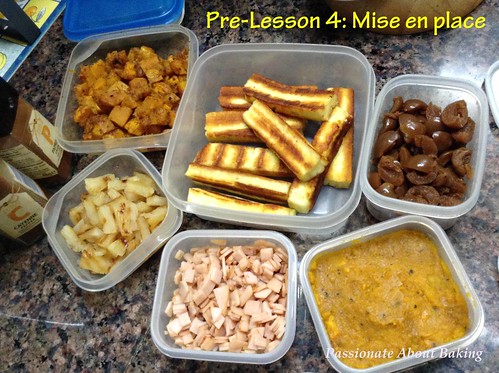
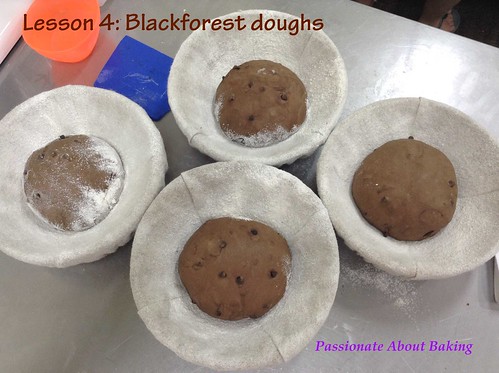
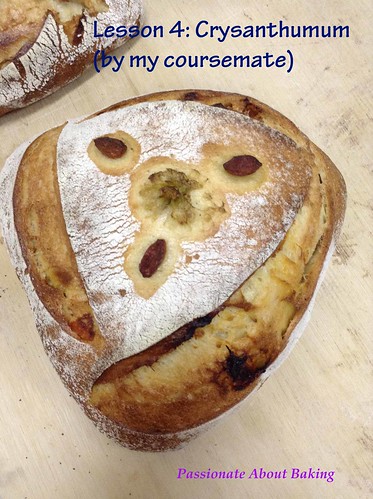
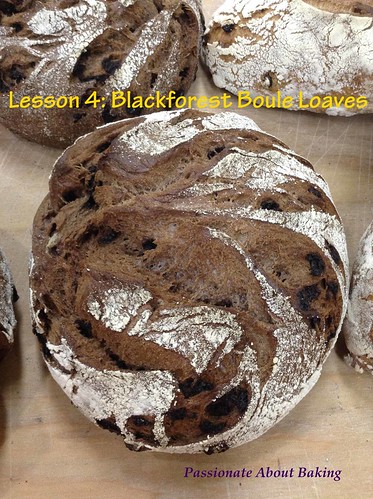
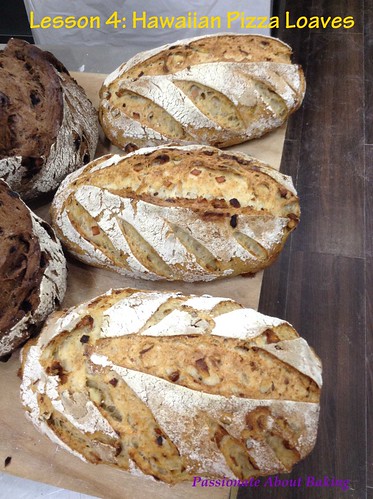
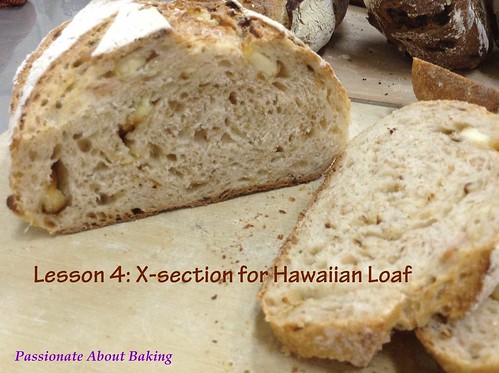
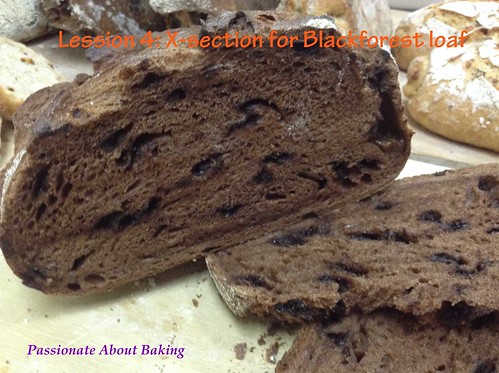
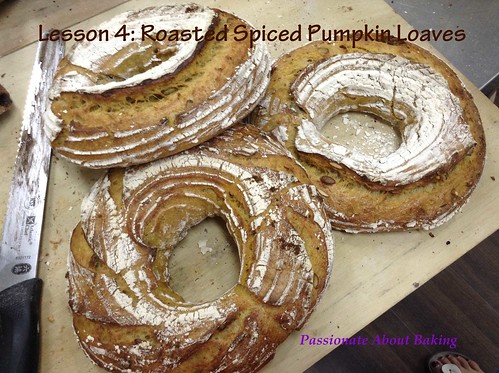
My course mates are very creative. They came out with savouries like curry devil, chicken curry, red yeast chicken, chicken bak kwa potato dill amongst others! We had a great time tasting the breads, woo-ing and wow-ing at the shapes chef taught! My creations were Blackforest, Roasted Spiced Pumpkin and Hawaiian Artisan Breads. My course mates like my Hawaiian breads.
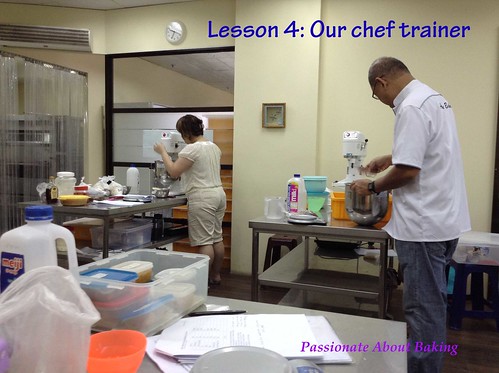
Thanks to our chef trainer for his many ideas and suggestions! All of us enjoyed ourselves and had a wonderful time during this workshop. We even did some debate with chef! It was during these period that new friendships were forged. Thank you friends, for making my artisan bread learning journey such a memorable one! After this workshop, I take a different look at sourdoughs. I get to understand and love them now!
AB0101
AB0102 AB0103 AB0104 AB0105
AB0201 AB0202 AB0203 AB0204 AB0307
AB0301 AB0302 AB0303 AB0304 AB0305 AB0306
AB0401 AB0402 AB0403 AB0404 AB0405 AB0406 AB0407 AB0408 AB0409 AB0410 AB0411

Hot Cross Buns

After baking the wholemeal buns a couple of times, I realized that I like to use this recipe very much. Mainly because the dough is really easy to handle. So I decided to use this recipe for making Hot Cross Buns.  
Recipe for Hot Cross Buns.
Makes 27 mini buns

Ingredients:

A)
400g Bread flour
6g Instant yeast
115g eggs 120g milk
(I totalled the liquid to 235g = eggs + milk )

B)

130g Bread flour
1 tsp Cinnamon powder
1/8 tsp Ginger powder
1/8 tsp Nutmeg powder
60g Brown sugar
1/4 tsp Fine salt
50g water (use the water from soaking the raisins and orange peels)
60g LIV unsalted butter, room temperature

C)
70g Raisins
80g Homemade Orange peels, cut into small pieces (refer to recipe here)
-> soak them in water to soften.

D)
Topping
60g Plain flour
1 tbsp Oil
60ml Water

Method:
1. Mix all ingredients (A) in a mixing bowl and knead to form a dough.
2. Cover with cling wrap or cloth, and leave to prove until double size (I left it in the fridge overnight.)
3. Add in ingredients (B) in a mixing bowl, tear dough (A) into small pieces and add into mixing bowl. Knead to form a smooth dough. 
4. Add in butter continue to knead till dough is smooth and elastic.
5. Add in drained ingredients (C) and mix thoroughly. 
6. Cling wrap and let it proof for 1 hour. 
7.Divide the dough into 40g each, roll into ball, and place it on a baking tray. Leave it to proof for another 45mins.

8. Preheat oven to 180C. 
9. Mix the topping together. Then put it in a small plastic. Cut the tip. Pipe a cross into the buns. 

10. Bake the buns for 13mins. Let it cool before serving.

Launching my first Workshop with Lessons Go Where

I'm pleased to announce that I've collaborate with Lessons Go Where to launch a Blogger Chef Workshop - Butter Cakes. Exclusively to Lessons Go Where, I'll be sharing on the creaming and rub-in method to produce a marble butter cake and chocolate chips muffins. If you are new to baking, join us for this workshop.

Date: 27 April 2014
Time: 2 - 4pm
Venue: Chantilly Culinary Studio


Sign up now before it's full! See you there!

More about Lessons Go Where, adapted from Lessons Go Where Website.
LessonsGoWhere.com.sg (LGW) is Singapore’s first online marketplace for FUN lessons!

They aim to provide users with a one-stop online location to select and book, as well as compare and review the widest selection of recreational lessons in Singapore, across all areas of interest and different vendors.

Shop for your favourite lessons right now in Baking, Cooking, Music, Sports and Exotic lessons! They're constantly bringing in more lessons and you never know what you’ll find!

Five Thousand Dollars Starter Dough Bread

This post is sponsored by Liv butter. Try Liv today!
Liv Butter - Salted & Unsalted-001
I saw so many posts on the Five-Thousand-Dollars-Starter-Breads. I was so curious why it was named 5K, so I decided to ask one of the baker. She pointed me to a blog post, and from there, I understand why it was named 5K bread. Many bloggers have also started baking this bread. Out of curiously, I decided to give it a try. For my last proofing, I went out and left it to proof for about two hours. By the time I came back, the dough was over the brim of the bread container.

The bread loaf was really soft and spongy after baking. I didn't find anything really special about this bread recipe though it stayed soft even after two days. Perhaps, I shall try baking buns like what Edith did. Otherwise, I thought the previous buns which I baked was actually nicer (because it was wholemeal compared to this white bread)!

Recipe for Five Thousand Dollars Starter Dough Bread, adapted from Cuisine Paradise and Victoria Bakes.
(Makes a bread loaf)

Ingredients:
Starter Dough:
105g Bread Flour
45g Plain Flour
13g Caster Sugar
4g Instant Dry Yeast
120g Water, room temperature

Main Dough:
105g Bread Flour
45g Plain Flour
42g Caster Sugar
3/4tsp Sea Salt
45g Lightly Beaten Egg
22g Water, room temperature
35g LIV Unsalted Butter, soften


Method:

  1. Mix all starter dough ingredients together and allow it to sit in a warm environment to rise till it looks like “honeycomb” (approximately 1hr).
  2. Mix the above with main dough ingredients except butter and knead till it is soft and non-sticky. Then incorporate butter and knead till it is shiny and pliable.
  3. Allow dough to rise till it doubles in size (approximately 45-60mins).
  4. After dough has risen, punch dough down and WITHOUT RESTING dough, divide it into 3 equal portions, and make it into plaits.
  5. Place the plaited dough into an oiled loaf pan and allowed to rise (approximately 1hr).
  6. Brush it the top with milk.
  7. Bake in preheated oven of 180 degrees C on lowest rack for 25 mins.
  8. Once baked, immediately remove from the pan and let it cool completely before slicing.