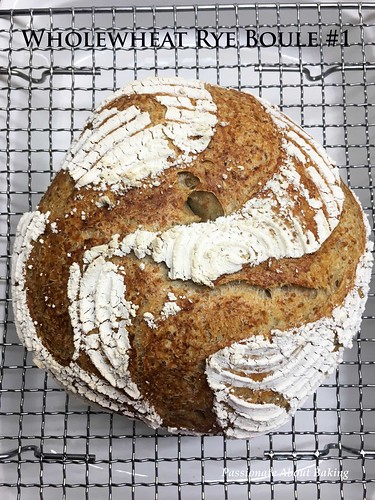
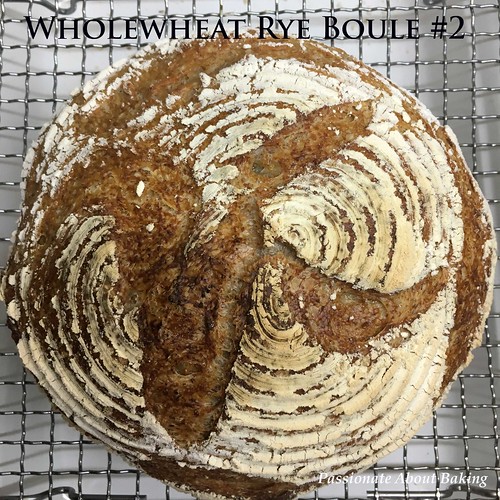
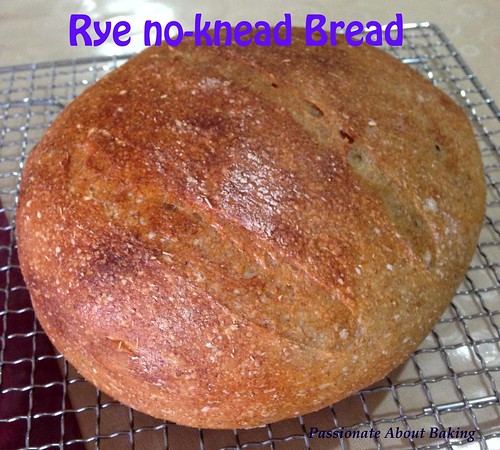
Flour, water, salt and yeast are what you need to bake a good loaf of artisan bread. Simplicity is bliss.
Ever since I learnt how to bake good breads using sourdough, I've been buying and trying out bread making using the more natural way of baking. There is no definite definition for artisan. However, according to Jamie Oliver - "At The Flour Station we use the word ‘artisan’ to sum up just how much attention we give our products; the long, traditional processes we use and the way we closely monitor every single handmade loaf, like protective parents, to make sure it comes out beautifully. In short, it’s very well-bred bread."
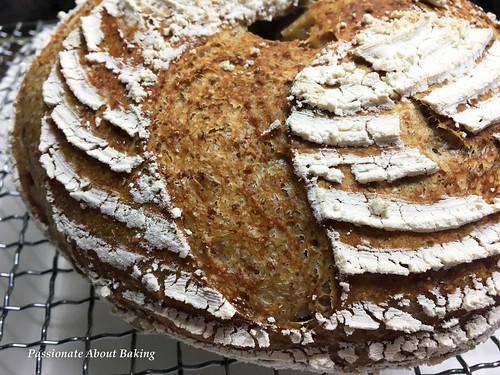
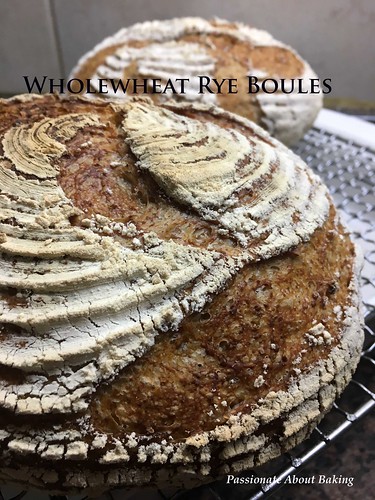
Similar to what he mentioned, this bread took approximately seven hours to complete. It tasted nothing like our sweet dough buns. It has a chewy taste with very wonderful aroma. This Rye Bread happened to be adapted from "Flour Water Salt Yeast" by Ken Forkish, a renowned artisan baker. I modified his Saturday 75% Whole Wheat Bread into a Rye Bread, tweaking some process along the way from the knowledge I learned from my previous workshop.

Recipe for Artisan Rye Breads, modified from Ken Forkish's Flour Water Salt Yeast
(Makes 2 loaves)
Ingredients:
750g Plain flour
200g Rye flour
100g Wholewheat flour
760g Room temperature water (better if chilled)
22g Fine rock salt (or sea salt)
3g Instant yeast
Method:
1. Using a mixer with a dough hook, mix all the flours and water until fully incorporated.
2. Cover and let it rest for 30mins.
3. Sprinkle salt and yeast over the dough evenly and mix well till fully incorporate, about 2mins on low speed.
4. Turn the speed up to medium and mix for another 5mins until the dough does not stick to the bowl.
5. Remove the dough carefully using a scraper and place it in a big container greased with oil. Let it rest for 60mins.
6. Do a set of stretch and fold. You may refer to this video on how to do the stretch and fold. Rest for another 60mins.
7. Do a total of three stretch and folds with 60mins intervals. As you do each stretch and fold, you can find that the dough becomes lighter and more airy. The volume would have tripled by the end of the third stretch and folds.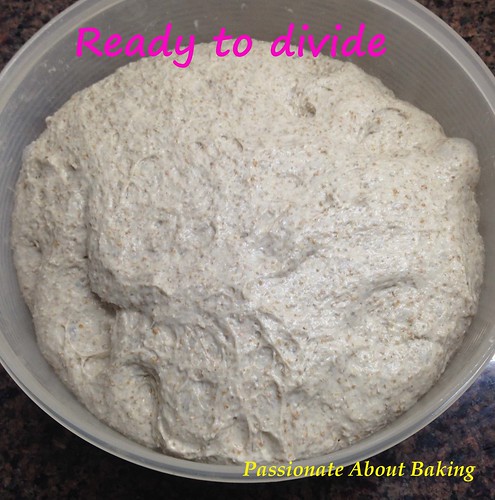
8. Flour your work top. Flour your hands and sprinkle flour around the edges of the container.
9. Tip the tub slightly and gently work your floured free hand beneath the dough to loosen it from the bottom of the tub. Gently ease the dough out onto the work surface without pulling or tearing it.
10. With floured hands pick up the dough and ease it back down onto the work surface in a somewhat even shape. Dust the area in the middle where you'll cut the dough with a bit of flour. Cut the dough into 2 equal-size pieces with a scraper. (I cut into 1192g and 660g as I do not have big proofing bowls. So I used a glass mixing bowl with cloth and dust it with flour for the bigger dough.)
11. Dust 2 proofing bowls with flour. Shape piece of dough into a medium tight ball. Place each seam side down in its proofing basket.

12. Cover with a kitchen towel and place them in a warm place. Plan on baking the loaves about 1 hour after they are shaped assuming a room temperature of about 28C.
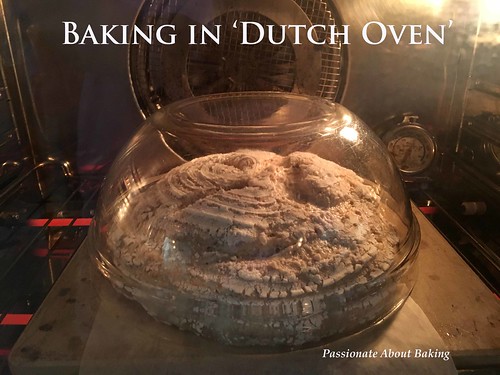
13. Preheat the oven at least 20mins prior to baking. Put a rack in the middle of the oven and put a Dutch oven in the rack with their lids on. Preheat the oven to 240C.
14. Put the second loaf into the refrigerator about 20mins before baking the first loaf and bake the loaves sequentially giving the Dutch oven a 5-min reheat after removing the first loaf.
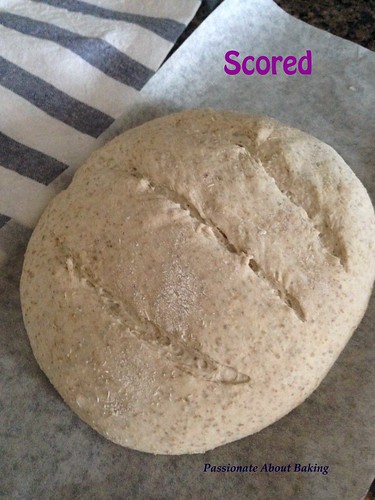
15. Invert the proofed loaf onto a lightly floured countertop, the seam side up. Place it on a silicon paper to ease the removal later.
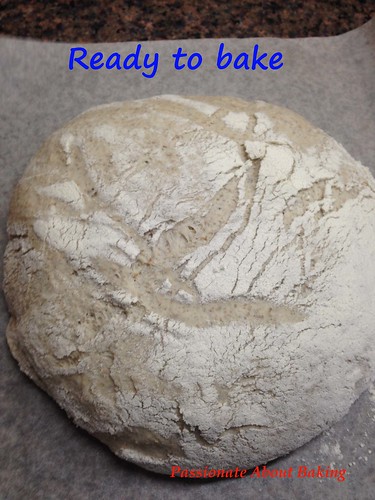

16. Remove the Dutch oven from the preheated oven. Remove the lid. Carefully place the loaf in the hot Dutch oven seam side up. Replace the lid and put the Dutch oven into the oven.
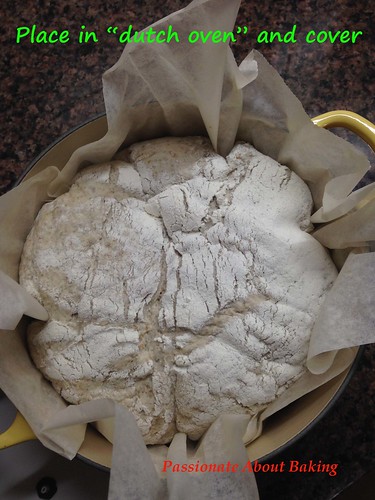 17. Bake for 30mins, then carefully remove the lid and bake for about 20mins more, until at least medium dark brown all around the loaf. [I baked mine for only 13-15mins.]
18. Remove the Dutch oven and carefully tilt it to turn the loaf out. Let it cool on a rack completely before slicing.
17. Bake for 30mins, then carefully remove the lid and bake for about 20mins more, until at least medium dark brown all around the loaf. [I baked mine for only 13-15mins.]
18. Remove the Dutch oven and carefully tilt it to turn the loaf out. Let it cool on a rack completely before slicing.


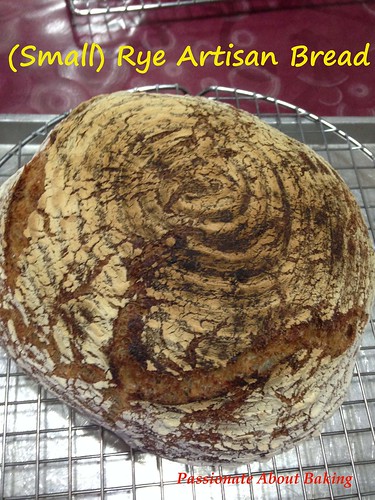
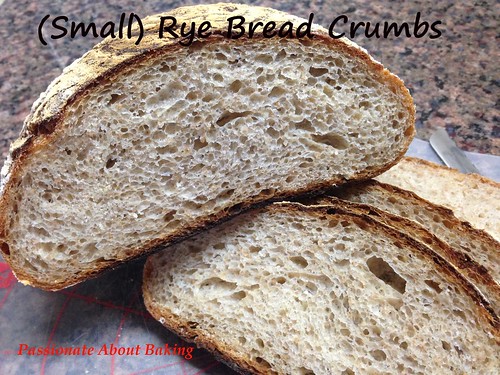
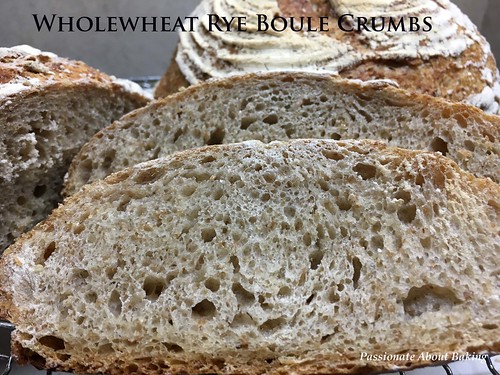
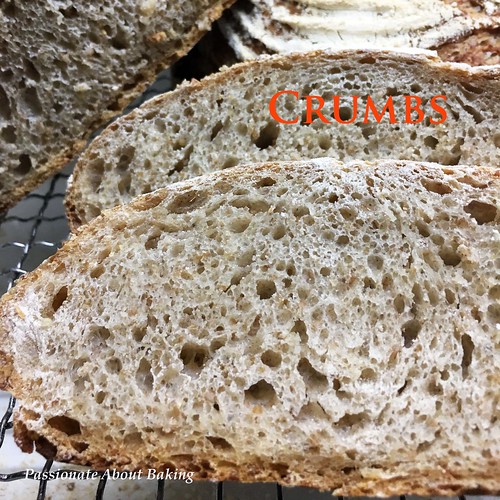
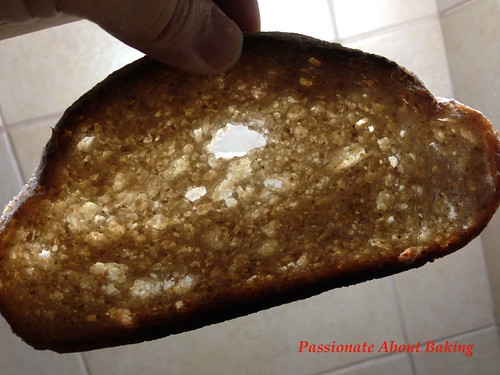
The crumbs for the bigger loaf didn't turn out to be as good as the smaller loaf because my Dutch oven (Le Crueset 22cm) was too small to allow for a great oven spring. The smaller loaf has very good oven spring and the crumbs were very holey. I was very happy with the process and the results it produced. These kind of breads are good to be used as sandwich base, or even lightly toast it and spread with butter. Wholesome and healthy! Enjoy!