This is my second workshop in collaboration with Lessons Go Where. This time, I'll be conducting a beginner Chocolate Cupcakes Workshop. Exclusively to Lessons Go Where, I'll be sharing on baking moist chocolate cupcakes, making your own swiss meringue buttercream and frosting your cupcakes. If you want to display your creativity in frosting, join us for this workshop.
Date: 29 June 2014, Sunday
Time: 2 - 4pm
Venue: The Baking Loft
Sign up now before it's full! See you there!
There are always so many recipes to try. Then again, it's a decision to make, whether to make foolproof-done-that-before recipe or a new recipe. Whenever it comes to baking birthday cakes for my family members, I let them decide what flavour they would like, or what type of cakes.
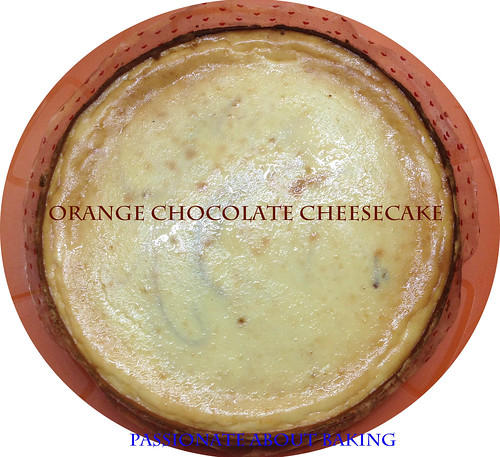
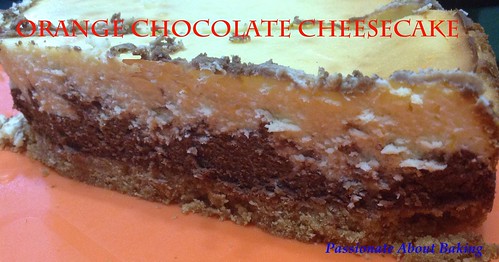
As my brother-in-law only likes Cheesecake, in particular, the original New York Cheesecake, I didn't want to make the same every year for him. This year, I made the decision for him - Orange Chocolate Cheesecake. I used Fait Maison's cheesecake recipe.
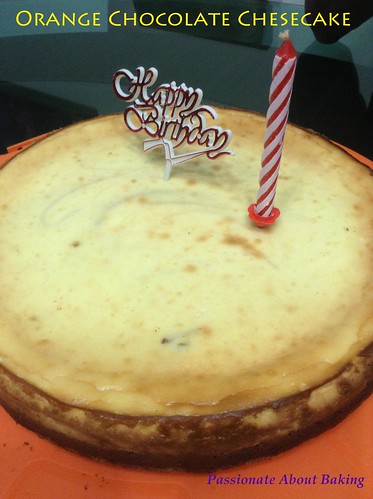
The texture of this cake was pretty good. My family members like them. However, a comment was that there was a little bitter on the orange layer. Could be due to the orange zest I added. A bit too much maybe. I will use this recipe again, it has very few ingredients to achieve a smooth cheesecake.
Recipe for Orange Chocolate Cheesecake, modified from Fait Maison.
(Makes a 9″ round cheesecake)
Ingredients:
Crust:
200g Digestive biscuits, crushed
75g Liv Salted butter, soften
1. Mix crushed biscuit crumbs with the soften butter until it resembles the texture of wet sand.
2. Using the back of your fingers, press the mixture into the base of a lined springform pan until the base is firm and compact.
3. Baked in a pre-heated oven of 170C for 5mins, or until the crust is slightly browned.
4. Remove from oven and let it cool.
Filling:
700g Cream cheese, softened
120g Fine sugar
4 Eggs, room temperature
2 tbsp Grand Marnier (or any Orange liquor)
1 Orange Zest
130g 66% Dark chocolate, melted (can be reduced by half)
Method:
1. Beat cream cheese and sugar in a mixer until it is smooth without lumps.
2. Add eggs in one at a time, beating until well combined. Remember to scrape down the sides of the bowl regularly to ensure an even mixture.
3. Scoop half the mixture into the melted dark chocolate and mix well.
4. With the other half in the mixer, add in the orange zest and the Grand Marnier and mix on low speed to incorporate.
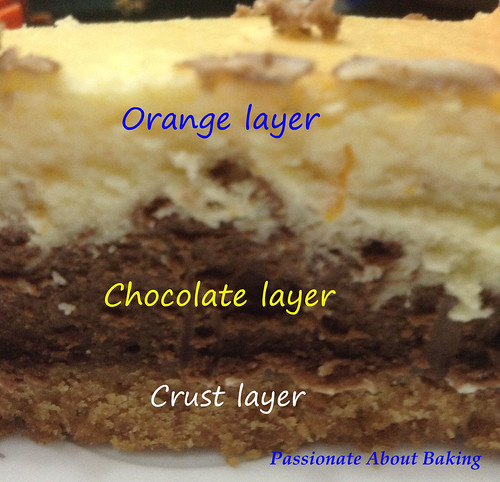
5. Pour in the chocolate mixture first, as it is thicker, followed by the orange mixture into the prepared pan.
6. I used a skewer to swirl the mixture a little. Bake in the oven for 30-40mins. (I placed two cups of water at in the bottom of the oven. I baked for 40mins and found the cheesecake and harden quite a bit. 35mins would have been ideal.)
7. Once done, turn off the oven and let the cheesecake cool in the oven with the door slightly ajar for about an hour. (I left it overnight.)
8. Remove the cheesecake from its pan and chill for at least 4 hours.
9. Slice the cheesecake, serve and enjoy!
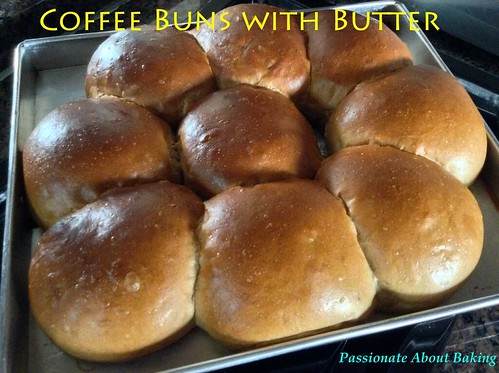
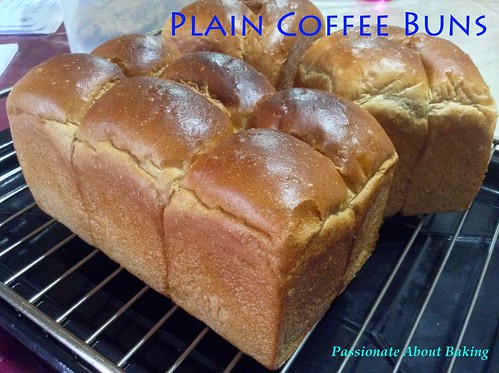
I've not baked soft buns for a few months, especially since I started baking breads using sourdough. These breads usually have long fermentation period. So far, I still haven't gotten them right. My family members also don't fancy artisan breads, likely because I haven't gotten them right. So I decided to try pre-fermentation bread.
As my helper has gone back on her home leave, I was home half the day. To make sure my children have their meals, and do the basic and necessary housework chores. Therefore, I still have time in the afternoon to prepare my pre-fermentation for baking the following day.
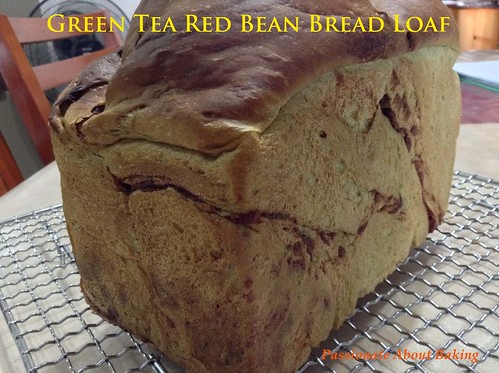
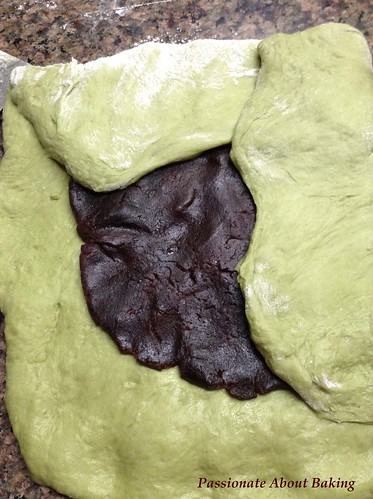
I decided to try this Green Tea Red Bean Bread loaf from Fong's Kitchen. The instructions were very detailed and simple. I followed through except I used storebought red bean paste and rolled them in.

Recipe for Green Tea Red Bean Bread, adapted from Fong's Kitchen Journal.
Ingredients:
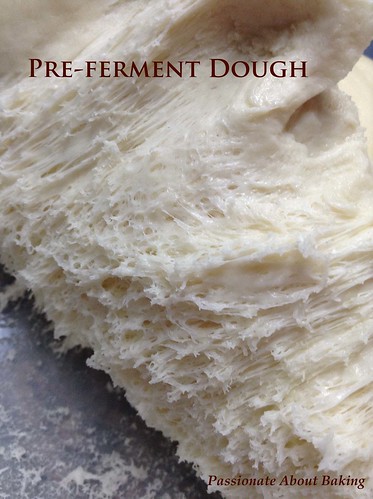
Pre-ferment dough:
210g Bread flour
120g Water (80g milk + 40g water)
1 tsp Instant yeast (about 5g)
1) Prepare pre-ferment dough: Mix yeast with water, then combine with bread flour, yeast and milk powder. Knead till smooth dough. Cover and keep in fridge for 17 hours before use.
Main dough:
80g Bread flour
6g Green tea powder
2g Instant yeast
40g Fine sugar
70g Water
25g LIV Unsalted butter, softened
230g Red bean paste, rolled out
Method:
2) Mix ingredients for main dough (except butter) and knead till combined. Gradually add in the pre-fermented dough, piece by piece and knead to get a smooth dough.
3) Add in the butter and knead to form a smooth and elastic dough. Cover and proof the dough for 30 minutes.
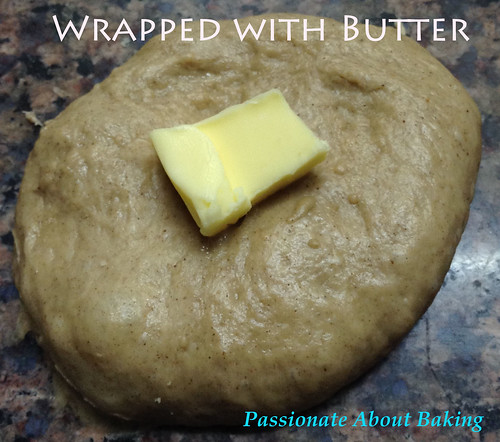
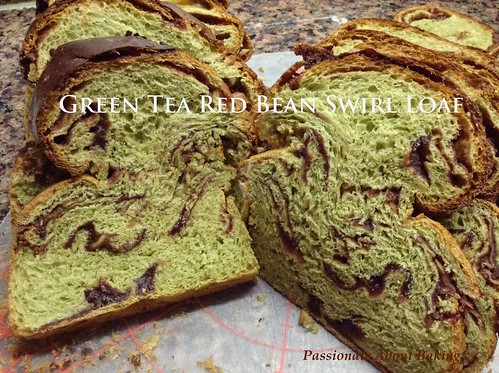
4) Roll out the dough and place the red bean paste on the centre. Then use the sides of the dough to cover the red bean paste completely.

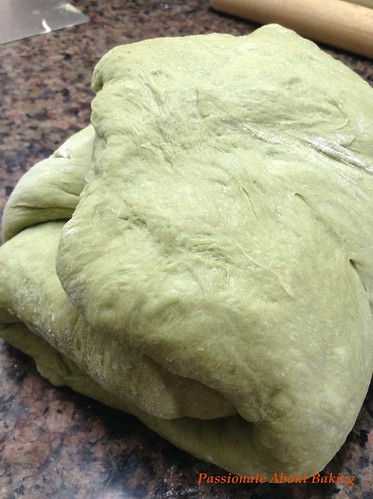
5) Fold the dough into thirds. Then roll it flat and fold in the opposite direction into thirds also. Then cut into thirds and plait it. Refer to the picture from Carol's site.

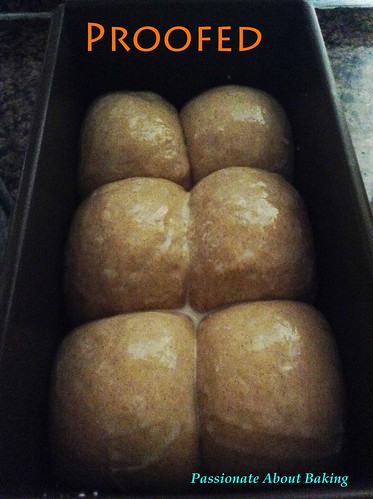
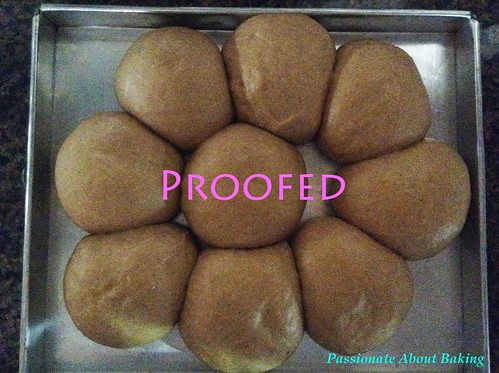
6) Let the dough rest in a loaf pan for 45mins.
7) Bake in preheated oven of 180C for 24 minutes till golden brown. Cover the top with foil after 13mins to prevent it from being charred.
8) Remove from the loaf pan immediately after baking. Let it cool completely before slicing.
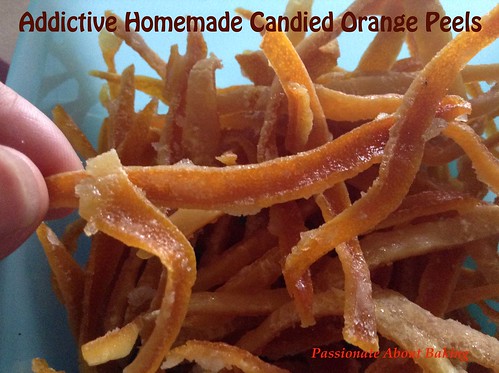
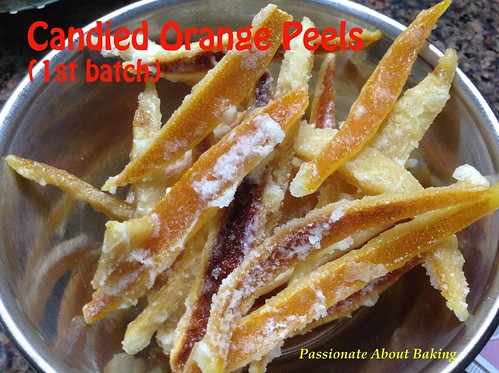
There was a period recently that my spouse bought a lot of oranges since it was on sales in the local supermarket. I always adore orange or lemon skins because of the zest they produce. So I thought since there are so many oranges, I might as well make use of the peels too! So I found a simple recipe to make Candied orange peels, and I was hooked...to the orange peels (not the making of). I have (asked my helper) to make several batches now. They are very addictive as snacks too!
Recipe for Homemade Candied Orange Peels, adapted from Bright Eye Baker.
Ingredients:
3 large Navel or Valencia oranges
1 cup Granulated sugar
¾ cup water
Method:
1. Rinse the oranges.
2. Cut the top and bottom off each orange and score the skin into quarters.
3. Remove the skin (peel and pith, the white part), and cut the skin into strips about ¼" wide. (or keep the orange peels after you consume your fresh oranges).
4. Place the strips of peel in a large saucepan and cover with cold water.
5. Set on the stove on high heat and bring to a boil. Drain the water from the peels and repeat this process twice more.
6. In a small bowl, whisk together the sugar and ¾ cup water.
7. Pour the sugar water into a medium saucepan and bring to a simmer. Let the mixture cook for 8-9 minutes at a constant simmer.
8. Add the peel and cook for 45 minutes to 1 hour, adjusting heat as necessary to maintain the simmer. Avoid stirring, as this will cause crystallation. If necessary, swirl the pan to make sure that all of the peels get covered with the syrup. At the end of this period, the peels should be translucent.
9. Drain any remaining syrup from the peels and set aside for other use (perhaps tea?!) Spread the peels out on a drying rack and leave to dry for 4-5 hours. Store in an airtight
container.
[I reuse the sugar syrup after each batch, then add in more sugar and liquid. Adjust accordingly.]

 Actually I realised that, whether the pith is removed or not, it doesn't matter. It'll be thicker and crunchier if it's not removed. It'll be crispier and thinner if removed. It's up to your preference, as after boiling, it doesn't really taste bitter anymore.
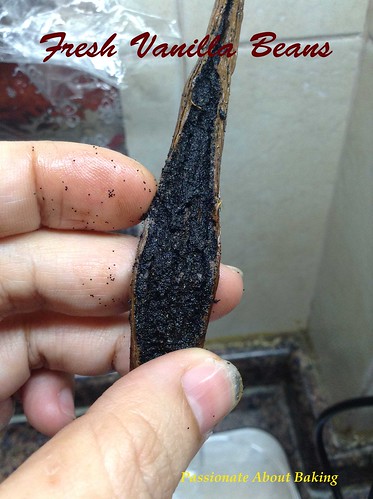
I confess. I'm a sucker for homemade extracts. As if making orange, lemon or vanilla extracts are not enough. Now I'm into making vanilla beans paste. (",) I kept my vanilla pods in the freezer for a long time. Sometimes, I just couldn't bear to use them. But I continue to buy them. Vanilla fetish? Heehee... So I finally decided to use up the beans in the freezer. They were Madagascar Bourbon Vanilla beans. I also have another type of slimmer, smaller vanilla beans. However, I thought that is better for baking rather than making paste.
I found a good simple recipe. But I made a boo-boo with this recipe. Thinking that the weight of my vanilla pods was twice as much indicated in the recipe, I upped the sugar and water. Only to realise that after scrapping out the beans, it was much lesser. O.o Should have just stick to the recipe. What was I thinking?! Anyway, I proceeded. The aroma of the vanilla that filled the room when I was boiling was really good! However, when my children came back from their tuition, they asked who drank milo? >_<" Make some yourself today!
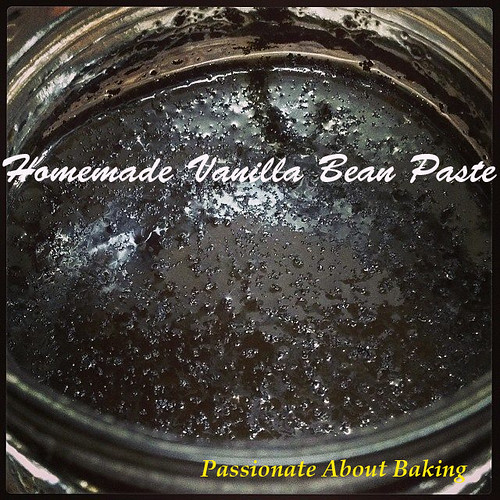
Recipe for Homemade Vanilla Bean Paste, adapted from Foodzeit.
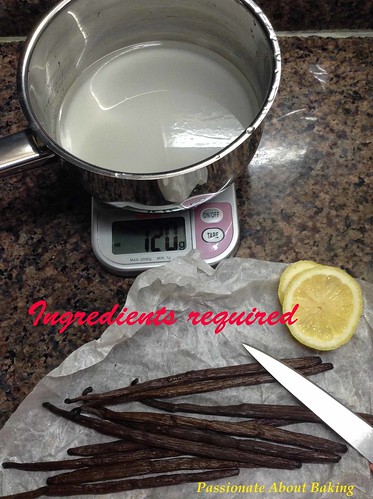
Ingredients:
10 Fresh vanilla pods, beans scrapped
60 g sugar
60 ml water
1 tsp Lemon juice
 Method:
1. Weigh out all ingredients and place them in a pot.

 2. Heat over low fire till it boils.
3. Continue cooking for a few minutes until the water is reduced and you get something like a syrup.
4. Let it cool slightly.
5. Pour them into a sterilized glass container. Scratch everything from your pot into the glass container. Cool completely before storing.
2. Heat over low fire till it boils.
3. Continue cooking for a few minutes until the water is reduced and you get something like a syrup.
4. Let it cool slightly.
5. Pour them into a sterilized glass container. Scratch everything from your pot into the glass container. Cool completely before storing.
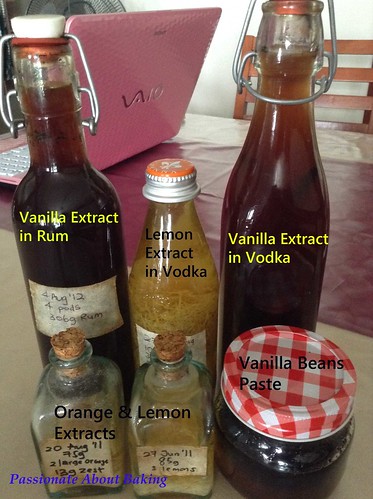
My proud collection of extracts and paste. ;)
 So what do you do with your vanilla pods? Leave it in the sun or just air dry it completely, then stick them in your sugar container. Then you'll get vanilla sugar. I never run out of vanilla sugars!
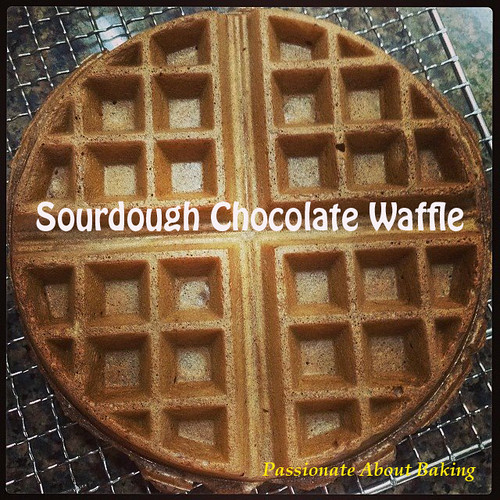
During my Artisan Bread programme, I grew sourdough. For those who understands sourdough, you'll know you have to throw and feed to maintain the activities of the sourdough. Many of us who had to throw and feed the sourdoughs, found physically discarding the sourdough a waste. Initially, I really discarded them. Subsequent week, when we had to maintain two types of sourdoughs, I found it very wasteful. So I decided to store them into the fridge. You can visualised the number of containers of sourdough I have in there. With so many tubs of sourdoughs on hand, I had to source for recipes that make use of sourdoughs.
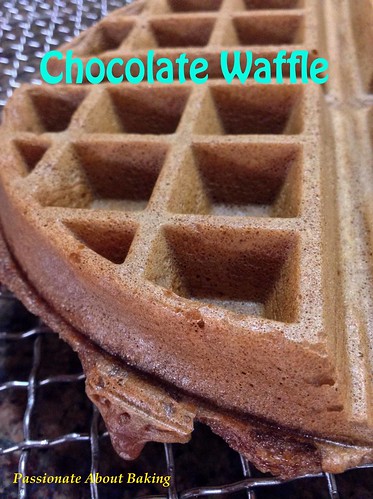
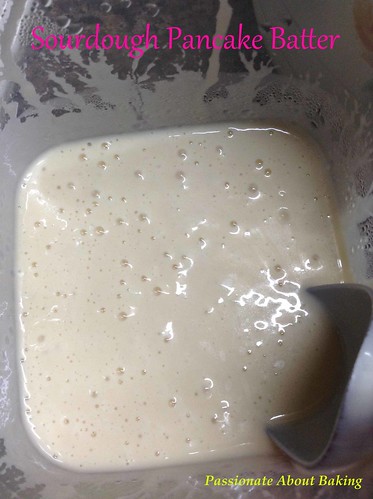
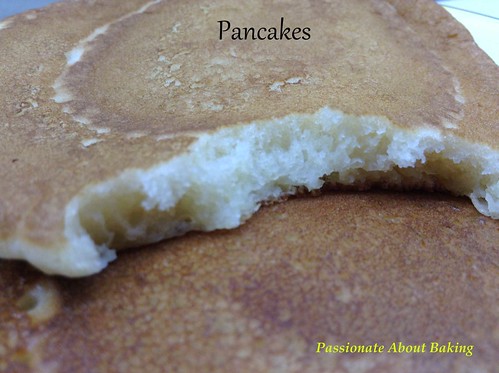
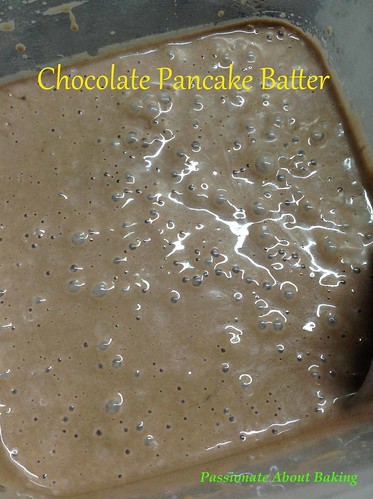
I tried this same recipe twice - vanilla and chocolate. The chocolate batter was really very liquid, it didn't thicken like the vanilla because the quantity of sourdough was more than the flour. I think because of that, the chocolate pancake was softer and nicer. If you are like me, with extra sourdough on hands, try this recipe. You can make first and freeze them. Heat it up before consuming. They are really good (even if on its own though)! I shall try this same recipe for waffles soon!
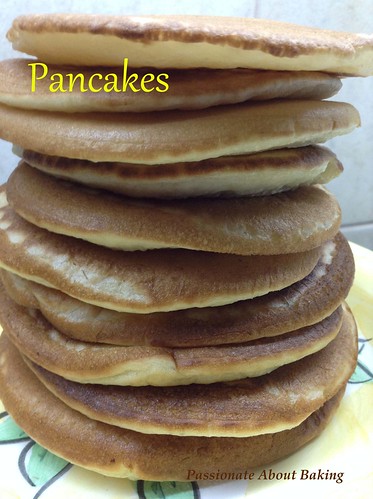
Recipe for Sourdough Pancakes, adapted from Food.com.
(Makes 15 3" pancakes)
Ingredients:
1/2 cup Sourdough starter
1 cup Plain flour
1 cup Water (or milk)
1 Egg
2 tbsp Cooking oil
1/2 tsp Salt
2 tbsp Sugar
1/2 tsp Baking soda
1 tsp Vanilla extract
Method:
1. In a large bowl, stir in all the ingredients.
2. Cover bowl with plastic wrap and let it rest one to twelve hours. I mix and place it in the fridge overnight.
3. Heat up a non-stick pan, using an ice-cream scoop, take a scoop and place into the pan.
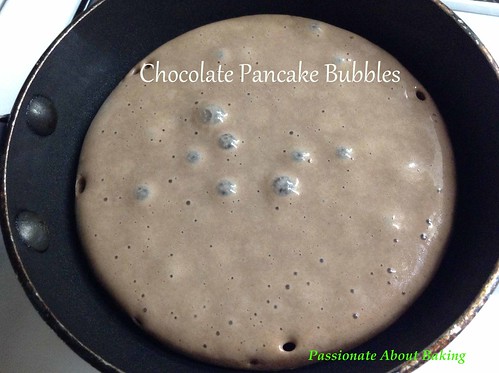
 4. When the centre starts bubbling, turn the pancake over and cook well.

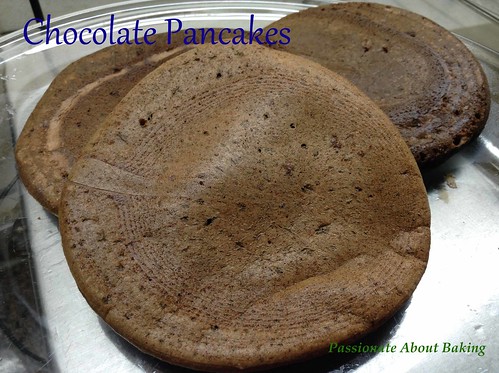 Recipe for Chocolate Sourdough Pancakes
Ingredients:
440g Sourdough starters
220g Plain flour (can use half whole wheat flours)
30g Cocoa powder
220g Milk
180g Water
2 Eggs
10 tbsp Sugar
4 tbsp Cooking oil
1 tsp Salt
1 tsp Baking soda
Method:
1. In a large bowl, stir in all the ingredients.
2. Cover bowl with plastic wrap and let it rest one to twelve hours. I mix and place it in the fridge overnight.
3. Heat up a non-stick pan, using an ice-cream scoop, take a scoop and place into the pan.
 4. When the centre starts bubbling, turn the pancake over and cook well.
 5. I kept the batter in the fridge for another day when I couldn't finish it.
 Enjoy your pancakes with Nutella spread!