Mocha Checkered Cake

Sounds familiar? Of course it is! It's from Wendy's blog! I have a soft spot for chocolate and coffee combinations. Hahaha... When I saw Wendy's cake, it seemed to be calling out to me to "bake me! bake me!" Therefore, I fulfilled my baking temptation to make it!
I used chocolate buttercream instead as my family members preferred chocolate. The cake layers were very soft. The checkered layers really made it taste like mocha, which is the best of both worlds! It was really fun assembling and alternating the two flavours. My family members were impressed by the checkered layers.

Recipe for Mocha Checkered Cake, adapted from Table for 2.... or more.
Makes an 8" cake

Ingredients:
Coffee Layer
3 Egg yolks
40g Caster sugar
30g Oil
60g Top flour
2 tsp Coffee powder
30g Hot water

Chocolate Layer
3 Egg yolks
40g Caster sugar
30g Oil
45g Top flour
15g Cocoa powder
30g Hot water
1/2 tsp Vanilla extract

Meringue
6 Egg whites
85g Caster sugar
1/2 tsp Cream of tartar

1.5 portion of Chocolate Swiss Meringue Buttercream (sieve in 25g cocoa powder after step #3 in the recipe to get Chocolate buttercream)

Method:
  1. Prepare two 8" round pans. Lined with baking paper. Preheat fan oven to 150C.
  2. Coffee Layer: Mix the coffee powder with hot water. Set aside to let it cool.
  3. In a mixing bowl, mix egg yolks with sugar till lighter. Add in coffee paste and oil. Mix well before adding in flour. Ensure mixture is thoroughly combined. Set aside.
  4. Chocolate Layer:  Mix the cocoa powder with hot water. Set aside to let it cool.
  5. Mix egg yolks with sugar till lighter in another mixing bowl. Add in cocoa paste, vanilla extract and oil. Mix well before adding in flour. Ensure mixture is thoroughly combined.
  6. Meringue: Weigh your mixing bowl before putting in egg whites. In the mixing bowl, beat egg whites until frothy, add in cream of tartar and beat until soft peak. Gradually add in sugar and beat until stiff.
  7. Weigh your mixing bowl, then deduct the weight of the mixing bowl. With the remaining amount, divide by half. Remove (accurately) half the meringue from the mixing bowl and fold into the coffee mixture.
  8. Fold the balance of the meringue into the chocolate mixture.
  9. Pour both batter separately into the prepared pans and bake for 30mins.
  10. Remove from the oven and place them on the rack.
  11. After a while, gently release the sides and let the cake cool on a wire rack.
Assembly:

1. Slice each of the cake into half. Ensure that the layers are even.
2. Cut each layer into 4 different rings.
3. Coat each of the rings with buttercream, alternate the flavours and arrange them in a layer.
4. After each layer, spread buttercream on it evenly. Then repeat #3.
5. Frost the whole cake and decorate as desired.
6. Chill before serving.

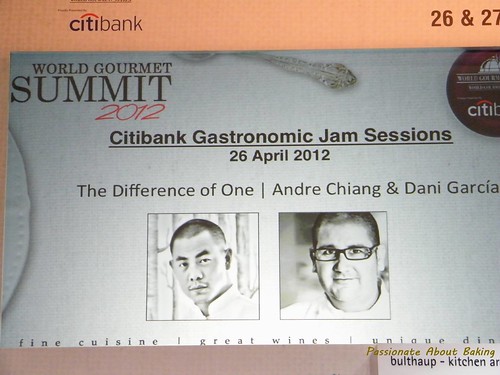
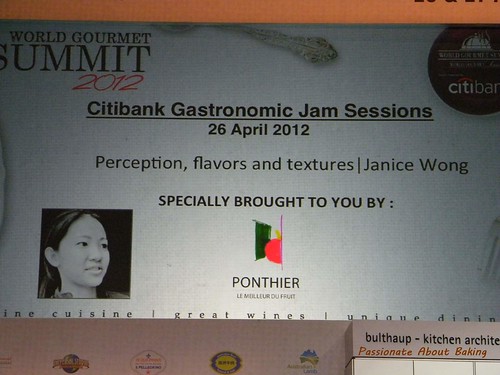
WGS2012 Citibank Gastronomic Jam Session

Few weeks back, I dated my baking buddy, Doris, to go to World Gourmet Summit 2012, Citibank Gastronomic Jam Session with me. The programme for that day looked very interesting. I was drawn by the different cuisines that will be presented by the Master chefs from all over the world. I attended a free session some three years back. This new Jam session was one of the cheaper one I could afford. LOL.


The day started early as Doris and myself met up for breakfast at Vivo City before heading to Resort World, USS. I was pleasantly surprised when I realised that the emcees for the event were Hossan Leong and Maggie Lim, DJs for Gold90FM. They were very spontaneous and candid. However, at certain times, I found they talked too much that prevented the chefs from talking. Overall, the event was truly an eye-opener. We learnt about ingredients, cooking and baking tips from the renown chefs. We were glad we made it to the session!


Let the pictures do the talking. I apologised for the quality of the pictures as (1) my spouse took the better camera for his business trip, (2) the pictures were taken off the screen, and (3) my camera quality simply didn't do the justice!
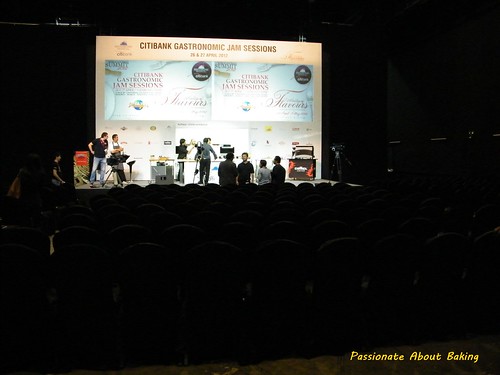
wgs2012_01
Stage 28, Universal Studio
wgs2012_02
Our hosts for the entire event - Hossan Leong & Maggie Lim. I really like Hossan!
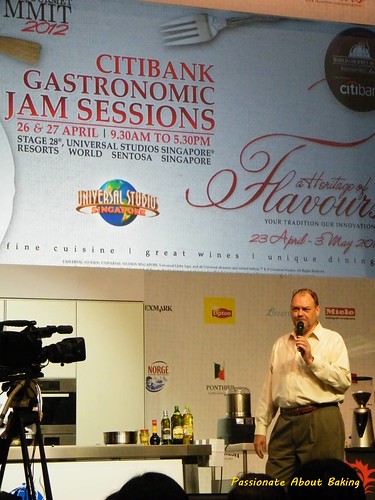
wgs2012_03
Organiser for WGS, Peter Knipps.
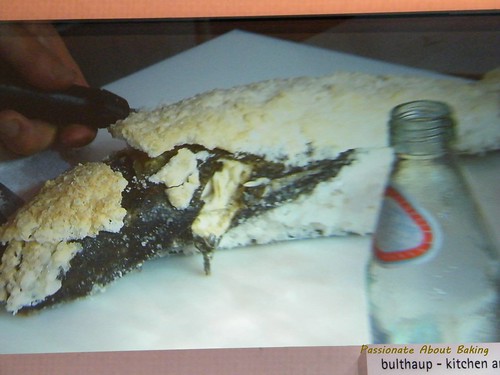
wgs2012_04
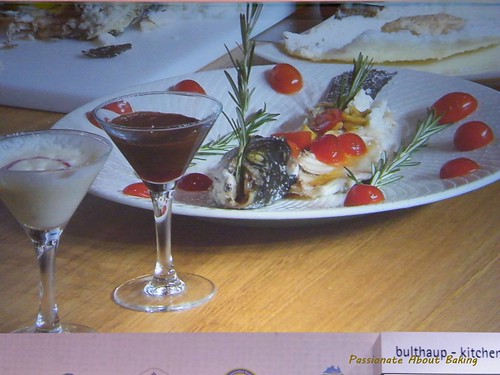
Morning session 1st event - Chef Pietro D'Agostino's Salted Baked Fish.wgs2012_05
From left: Tofu Mousse by Chef Lino Sauro, Chocolate Mousse by both chefs and Salted Baked Fish by Chef Pietro
wgs2012_07
2nd event.
wgs2012_08
Chef Andre looked charming! :p
wgs2012_09
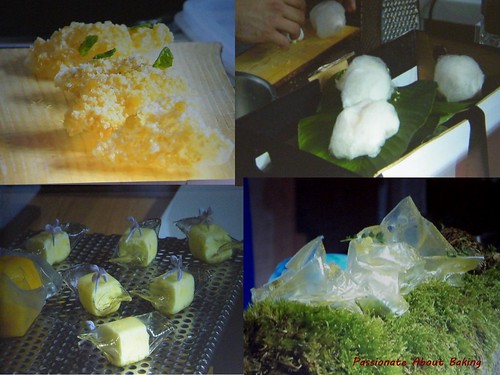
Top two creations by Chef Dani. Bottom two creations by Chef Andre.
wgs2012_10
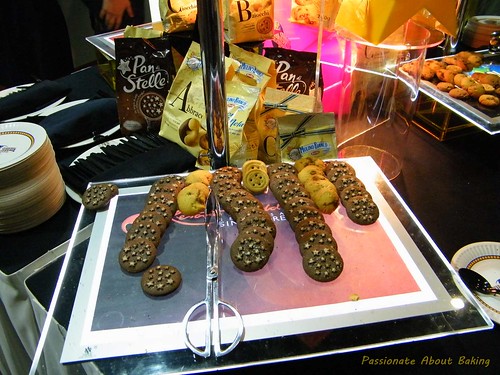
Our morning tea break - Italian biscuits.
wgs2012_11
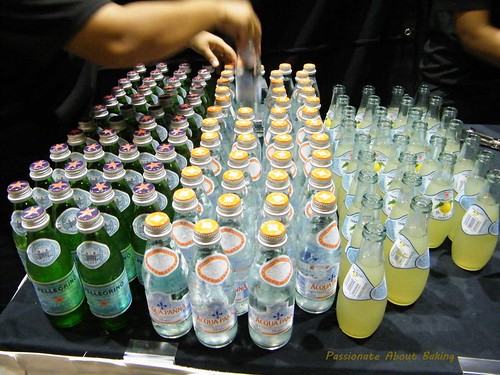
Our high class drinking water - in carbonated and non-carbonated.
wgs2012__12
3rd event.
wgs2012_13
Top two creations by Chef Paco. Bottom two by Chef Dani. The tomato was re-created from vegetable puree, and dipped it in nitrogen to harden, then coat with colouring.
wgs2012_14
4th event.
wgs2012_15
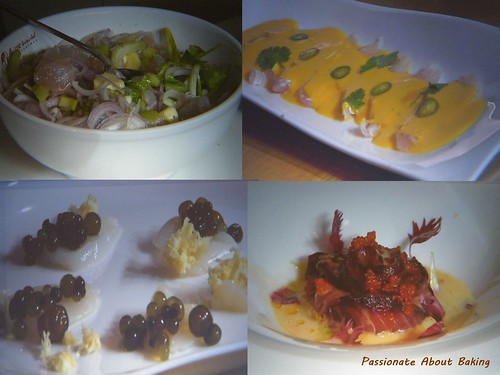
Four fast and fresh raw creations by Chef Pedro.
wgs2012_16
Good and simple lunch. From top left: Beef, lamb, teriyaki mackerel with chicken rice and salmon with potatoes.
wgs2012_17
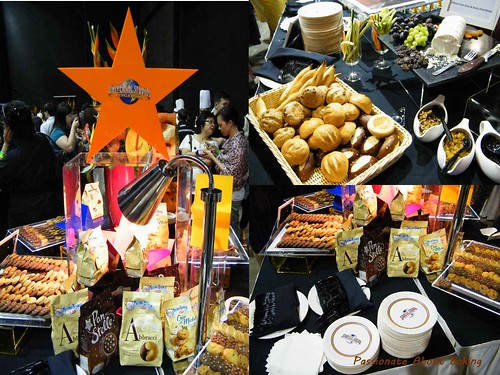
Some biscuits and buns. The salted brown bun was really nice.
wgs2012_18
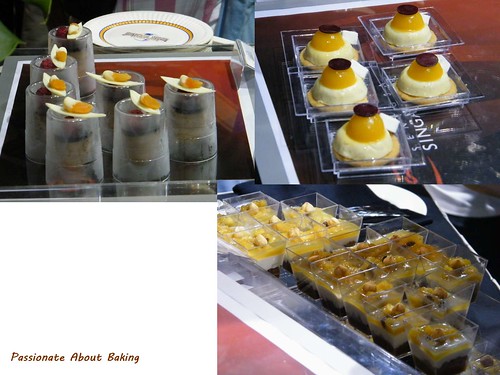
Top left: Peanut with Chocolate and apricot mousse, mousse and apricot cheesecake. Don't you think the chocolate mousse container is really nice? I had a couple of this, it was really fantastic!
wgs2012_19
Afternoon session 1st event.
wgs2012_20
Chef Marco's Steak au Poivre. The trick to make the peppercorn stick to the steak is to add corn flour to the peppercorn and mix them together. Chef Marco endorses Knorr products.
wgs2012_21
2nd event.
wgs2012_22
Can't remember what the 1st dish was called. But it's beef. 2nd dish is another Steak au Poivre done by Chef Ian.
wgs2012_23
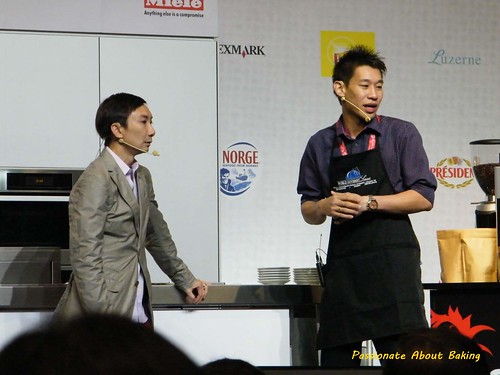
3rd event - Barista by Jason Tan.
wgs2012_24
This was how Jason did his swan version on a latte.
 
4th event.
wgs2012_25
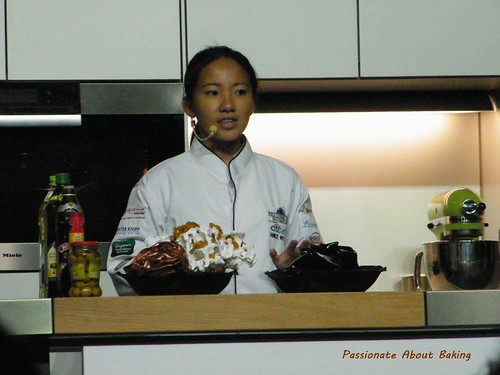
Up close with Chef Janice. A friendly and soft spoken chef she is. And full of ideas and colour creations.
wgs2012_26
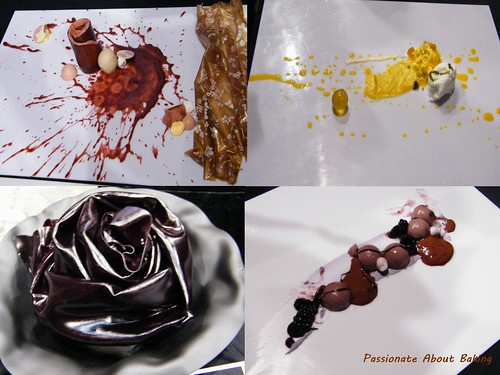
Top from left: Red theme using strawberry puree, yellow & white theme using passionfruit puree, a large rose using blackberry puree, and lilac theme using blackberry puree.
wgs2012_27
These were what we lugged back...past issues of the magazines. The magazines were on the display table whereas the apron, mini olive oil and porcelain spoon were given out in a paper carrier. Good souvenirs from the event.

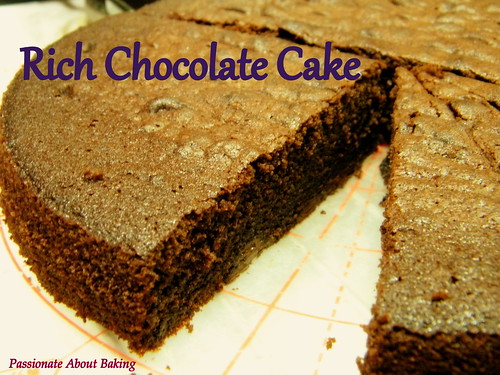
Chocolate Buttermilk Cake

I couldn't resist it when I saw The Little Teochew's post on the Chocolate Buttermilk Cake. The richness and intensity of the chocolate tempted me to bake this cake. The cake was moist and crumbly. I seemed to have added too much lemon juice into my milk to make the buttermilk, that the chocolate taste was not as intense as I hoped it was. Even the addition of the chocolate did not bring up the rich chocolate taste. Overall, even though the cake tasted pretty good for a chocolate cake, I won't say I'm crazy over it. I've tasted even better (plain) chocolate cake.

cake_chocolate02
cake_chocolate01

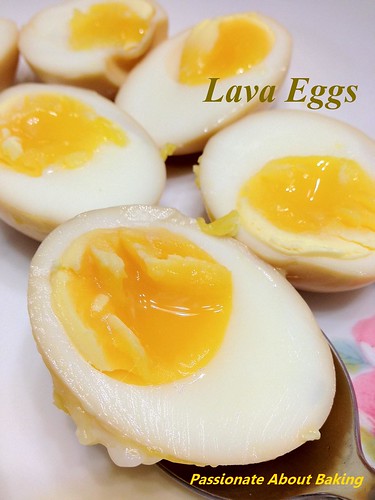
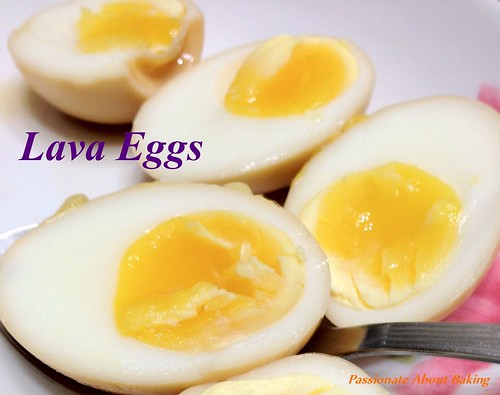
Lava Eggs

Lava eggs, or originally known as ajitsuke tamago, are eggs with a liquid of soft yolks. I've seen and read about many bloggers making it with success. So I decided to try it yesterday and share them with my family members. I've always like these eggs when I have my noodles in Japanese restaurants. I wondered how they made the eggs to be so wonderfully soft with a almost liquid egg yolk. Now I know.

Fortunately for the clear instructions provided by Evan, I was able to replicate the eggs successfully! My family members like them too!
lava egg3
Recipe for Lava Eggs, adapted from Bossacafez.

Ingredients:
5 Room temperature eggs (weighs 53g with shell)

For the marinade:
1/3 cup Light Soya sauce
1 cup Water
1 slice Ginger
1 tbsp Light brown sugar

Method:

  1. In a pot of water, bring to a simmer.
  2. With a spoon, add in the eggs one a time. Make sure that all the eggs are completely covered.
  3. Let the eggs boil for 5mins 45secs.
  4. While the eggs are boiling, prepare a bowl of ice cold water.
  5. For the marinade, mix all of them together in another bowl.
  6. Then turn off the heat and and remove them quickly.
  7. Put the eggs in a bowl of ice cold water to stop the cooking.
  8. Leave them in the cold water for about 6 mins.
  9. Remove the eggs, peel off the shell. Be careful in peeling as the eggs are very soft.
  10. Place them in the bowl of the sauce, or transfer them to a ziploc bag (a sandwich ziploc bag fits fine.)
  11. Let them sit in the marinade for at least 3 hours. You may leave it at room temperature. 


Note:
  • For this size of eggs, if you want it more liquid remove them after 5mins 30secs. For more cooked yolks, leave it in the boiling water for 6mins.
  • According to Evan, do not soak the eggs in the marinade for too long as the whites will turn rubbery.
lava egg4

Patterned Swiss Rolls

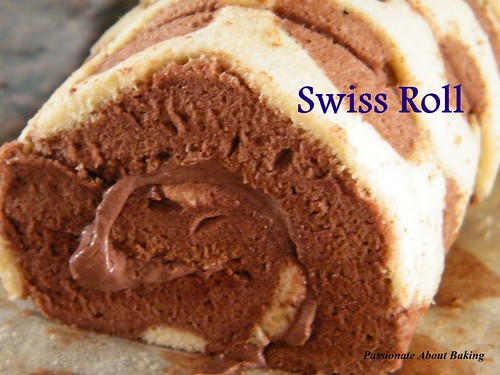
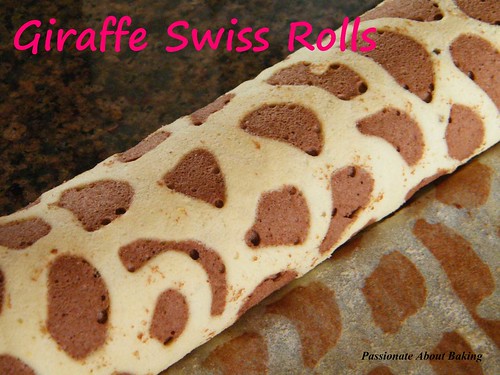
I was drawn by Cathy's pretty giraffe swiss rolls when I first seen it! The patterns on the swiss roll looked really like her giraffe stuff toy! So I decided to try it one weekend. I must say, the swiss roll was really very soft and nice. I frosted with chocolate buttercream, and for the first time, my buttercream-lover sister said the swiss roll was very nice. She asked for more the following week! She hardly asked for swiss rolls. This was the first time. I was pleasantly surprised!
swissroll_01
swissroll_02
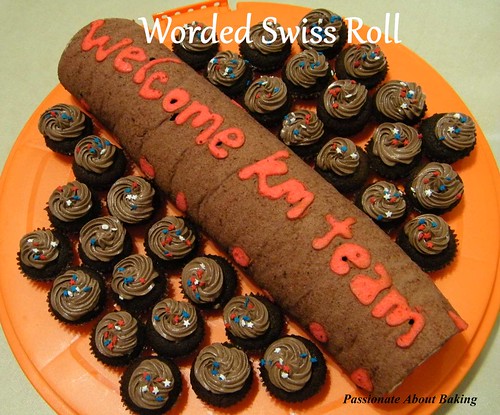
Because of the success of this swiss rolls, I decided to bake the swiss rolls again for a simple "office warming" party for my colleagues in another sub-department. I personalised it for them. For this swiss rolls, I frost it with strawberry jam and chantilly cream. They were really touched and amazed by the customised swiss rolls I made. It was very well received by them! I was elated! I'm sure I'll be making more patterned swiss rolls.


Check out Cathy's blog for lots of patterned swiss roll ideas!
swissroll_03

Tiramisu Cake

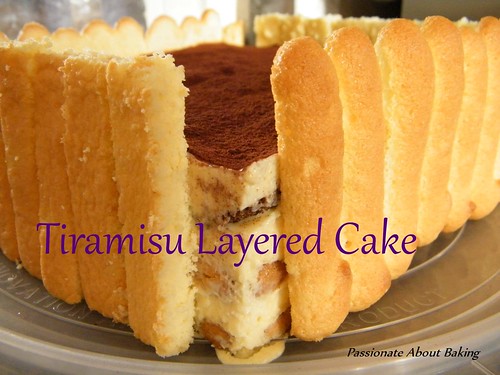
Late March was my youngest sister's birthday. I volunteered to make a Tiramisu Cake for her since I've never attempted one before. I've always like to eat tiramisu. However, I couldn't find the courage to make one... until recently. I didn't want to buy the sponge fingers, though it will be simpler, nor did I want to make a sponge cake base. So I ended up making the sponge  fingers instead. Then I realised that I have piped my sponge fingers too small. I was afraid that my tiramisu will turned out to be very short since the sponge fingers were mini.


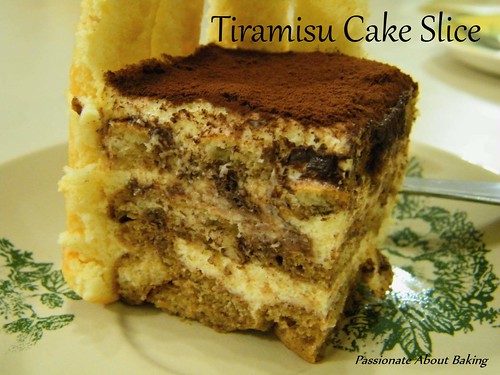
Fortunately, my tiramisu turned out to be of reasonable height. Overall, the comment was that the taste of the coffee and the coffee liquor was not strong enough! Fortunately, the texture of the cake was good. For the recipe below, I've adjusted the coffee syrup.

I'm submitting this to  Aspiring Bakers #18: Layers of Love (April 2012) hosted by  Sam of Sweet Samsations.
cake_tiramisu02
Recipe for Tiramisu, adapted from Yochana.


Ingredients:
Sponge Fingers:

4 Egg yolks
40g Castor sugar
3 Egg white
80g Castor sugar
120g Plain flour

Tiramisu:

2 Egg yolks
1 Egg
60g Castor sugar
5 pcs Gelatine leaves (or 10g gelatine powder) (soak in tap water)
2tbsp Water
250g Mascarpone cheese
250g Whipped Cream 
2tbsp Kahlua

Coffee syrup:

25g Ground coffee (should use Nescafe instant coffee powder)
250g Hot water
2tbsp Kahlua

Method:

cake_tiramisu01
  1. For sponge finger: Whisk egg yolks with sugar till fluffy.
  2. Whisk egg white with 80g sugar till stiff. Then fold in egg yolk mixture and flour.
  3. Fill the batter into a piping bag fitted with a plain nozzle. Pipe fingers onto tray and bake at 175C for about 10 mins. or till golden brown.
  4. For tiramisu: Beat egg yolk, egg and sugar over a pot of simmering water. Make sure that pot is not sitting directly onto the water.
  5. Use a small pot, the mixing bowl slightly bigger and then sit on the rim of the pot. Whisk till egg yolk is yellowish. Cool to room temperature.
  6. Add in mascarpone cheese and mix lightly. Don't overmix otherwise the cheese will turn coarse.
  7. Soak gelatine with water and then microwave for about 20- 25 secs.
  8. Fold in whipped cream, kahlua and gelatine mixture.
  9. To assemble: Use a 8" sq. tray (or a 7" sq. tray to be higher.)
  10. Soak sponge fingers into the coffee syrup, lay a layer into the tray and then top up with some tiramisu filling. 
  11. Continue the same process till all the sponge fingers and tiramisu fillings are used up.
  12. Chill in the refrigerator for at least 3 hours for the gelatine to set.
  13. Sieve cocoa powder on top of the cake and decorate as desired. (I decorated mine with the remaining sponge fingers, and some cake sponge).
cake_tiramisu03
cake_tiramisu04