I had been busy meeting friends, attending workshops and a few travels. Sometimes, I find it hard to embark on new recipes when nobody wants to try it, or no special occasion. Which also gave me the excuse to laze away from my kitchen.
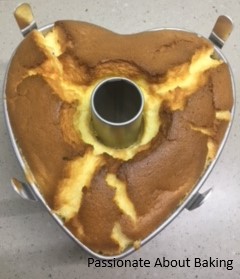
This is also a bake I made a couple of months back. However, I would like to keep this recipe since it turned out so well. I adapted this recipe from Cuisine Paradise and found it to be so lovely. The passion fruit taste was subtle and nice. And the cake was really soft and fluffy.
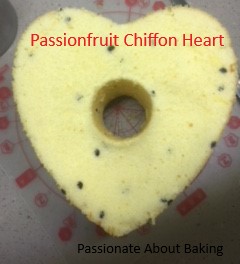
Recipe for Passion fruit Chiffon Cake, adapted from Cuisine Paradise.
(Makes a 20cm heart, or use a 20cm tube pan)
Ingredients:
5 Egg yolks
20g Caster sugar
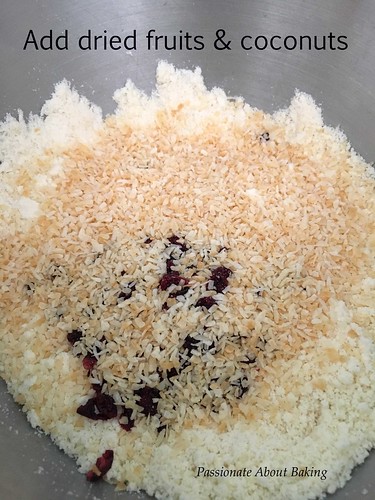
60ml Passionfruit juice + all pulps
40ml Corn oil
100g Cake flour
1/2 tsp Baking powder
Zest of 1 lemon
5 Egg whites
80g Caster sugar
1/2 tsp Corn flour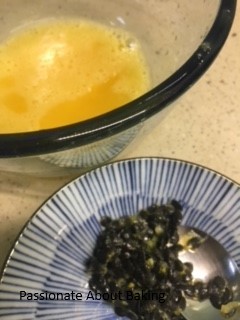
Method:
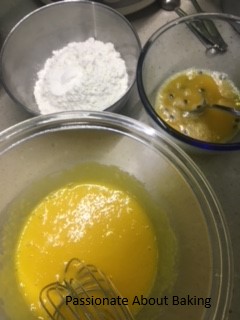
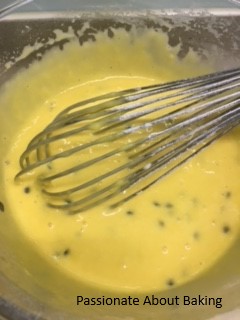
1. Using a hand whisk beat egg yolks and sugar till pale and creamy.
2. Stir in oil, passionfruit juice, pulp and sieved flour (plus baking powder) in sequence till well combined. Set aside.
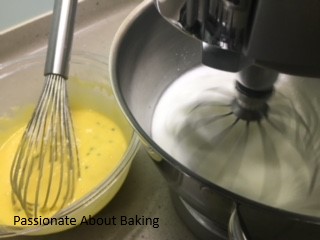
3. Next using an electric mixer, whisk egg whites till foamy. Add in the corn flour in the sugar and add the sugar into the whites gradually. Continue to whisk on till almost stiff peak and glossy.
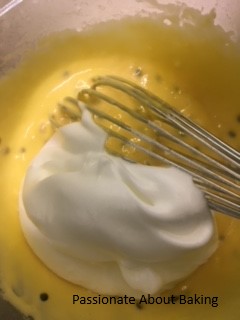
4. Gently fold whites into flour batter in 3 batches till combined.

5. Pour batter from height into the ungreased tube pan. Bake in preheated 160 degree oven (2nd lower rack) for about 40 minutes or until a skewer inserted in the centre & comes out clean.

6. Invert cake tin immediately to cool completely before removing. Then enjoy!