Do a search on "Aurora Borealis" and you'll get a lot of results. Let me just point you to this link, and I will quote from there: http://www.aurora-service.eu/aurora-school/aurora-borealis/
"The Aurora is an incredible light show caused by collisions between electrically charged particles released from the sun that enter the earth’s atmosphere and collide with gases such as oxygen and nitrogen. The lights are seen around the magnetic poles of the northern and southern hemispheres.
Auroras that occur in the northern hemisphere are called ‘Aurora Borealis’ or ‘northern lights’ and auroras that occur in the southern hempishere are called ‘Aurora Australis’ or ‘southern lights’."
There are abundant information in the internet telling you tonnes and lots of things you need to know about Auroras, where, when, how to see them etc. There are many places where you can catch the Auroras, and one of them, is Norway, Tromso. This was where I ventured to. My trip started from Oslo, capital of Norway, to Bergen, then to Tromso.
Tromso was one of the cities recommended to catch the Northern Lights. We arrived in Tromso on 4 Mar afternoon. We decided not to catch the lights that evening. So we booked an Aurora tour the following night, 5 Mar and 6 Mar which was night dog sledding with Aurora. 6 Mar evening was my back-up in case 5 Mar I couldn't catch the lights.
5 Mar
And so, we were really excited and all geared up to stay out in the cold for a couple of hours, just so we can catch the lights. I booked the tour from Tromso Safari, which has base camps with toilet facilities. Each one of us paid Nok950 (S$160) for approximately seven hours including transfers which took 1.5hr each way.
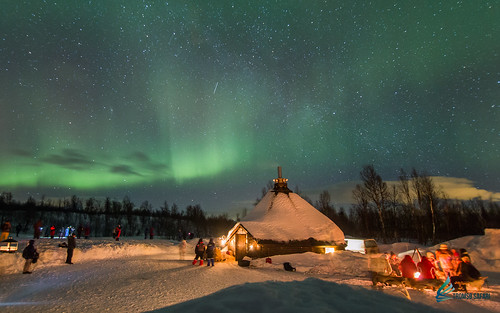
When we arrived at Takvatnet base camp, it was all dark with slopes and trees and all snow around us. Upon alighting from the coach, I looked to the sky and immediately, I saw the lights! It was only 8.15pm at that time. Feeling all so excited already, I was so ready to take out my camera to capture the beauty.
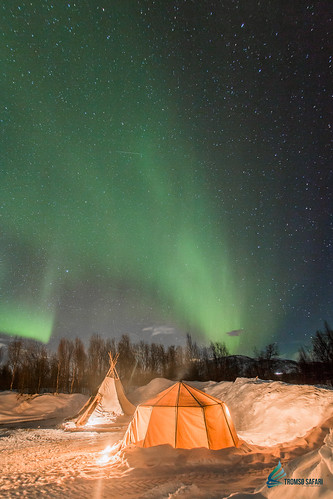
When all alighted from the coach, we had to walk up a slope, about 200m, to the base camp. In the camp, there were two lavvu and some camp fire set up (refer to pictures below). My hubby and I quickly grab the warm suit to put on so as to keep ourselves warm, despite already having four layers of clothes on us. The temperature was -3C at that moment.
Then, we proceed to set up our camera, so eager and excited. Only to find that my camera did not have the required ISO setting! Sad and disappointed that I cannot capture the moment, we made do with just visually enjoying the lights. Many of them were already setting up their tripod to capture the moments. You know how these auroras are...they are very "temperamental", and they can disappear anytime!!
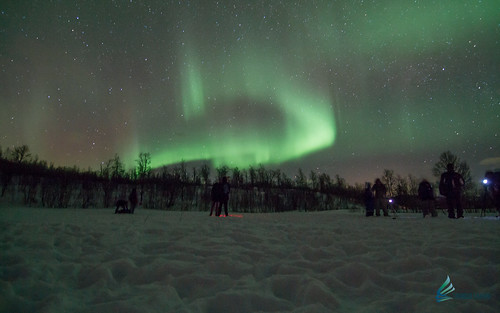
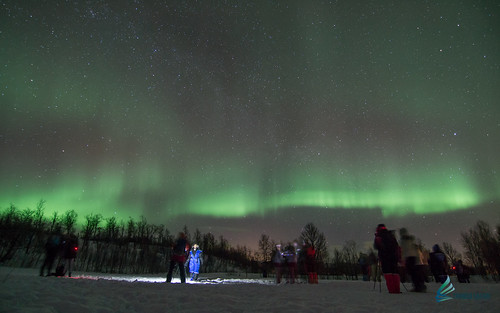
That evening, the lights seemed to be enjoying the atmosphere, it was forming various shapes, design and moving quite a lot across the horizon. They were not high, but low. The guide was starting to help the guests take pictures, we queued up to have our pictures taken with the auroras. Everyone of us have different aurora patterns. It was very interesting. From the camera, the lights were really pretty. We had to stand still for 20secs in order for the camera to capture enough lights from the surrounding and the aurora. Because the surrounding area was so dark, we could see thousands of stars in the sky. It was so beautiful!
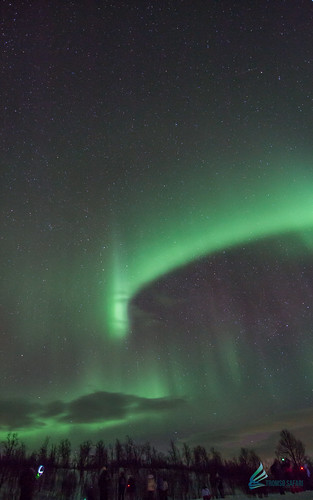
After more than an hour, we decided to seek warmth at the main lavvu. They had prepared Norwegian cakes and hot chocolates for us. So we self-served. Suddenly, one of the tour member came in and shouted something. Then everyone started to rush out. We quickly finished our snack and drink and rushed out to see what it was. And then, there it was, in the sky, the aurora formed a circle right above us. Some shades were thicker, some were thinner. It was... captivating! Cameras were snapping. And before we knew it, it broke up. Some start to disappear, and others appear at the horizon. It really was an amazing experience.
That evening, all who went to catch the auroras, really had an eye feast. You can just sit there and stare at them change form. And we were told the night before, there was no aurora in sight. Some of the guests were repeat customers who couldn't get to see it the night before. All went back happy and tired. By the time we reached Tromso city, it was close to 1am.
Source: Tromso Safari, dated 5 Mar 2016. Photos taken by our guides.
 6 Mar
I mentioned I also booked a night dog sledding with aurora right? Now, we were truly truly very fortunate. We get to catch the aurora again the following night, two nights in a row. And I felt this time, it was nicer. As we were sledding, we caught it in the sky at the horizon even at 7.30pm. The dog sled was in Lyngen Alps, where it was pitch dark, except for the reflection of the snow. There was no moonlight. When we stopped for a break, in the middle of nowhere, we saw the lights again. This time, the lights were very high, above our heads. It formed a semi-circle with lines that connect from the horizon to the semi circle above us. It was really nice. Some said the lights can dance, I agree totally.
6 Mar
I mentioned I also booked a night dog sledding with aurora right? Now, we were truly truly very fortunate. We get to catch the aurora again the following night, two nights in a row. And I felt this time, it was nicer. As we were sledding, we caught it in the sky at the horizon even at 7.30pm. The dog sled was in Lyngen Alps, where it was pitch dark, except for the reflection of the snow. There was no moonlight. When we stopped for a break, in the middle of nowhere, we saw the lights again. This time, the lights were very high, above our heads. It formed a semi-circle with lines that connect from the horizon to the semi circle above us. It was really nice. Some said the lights can dance, I agree totally.
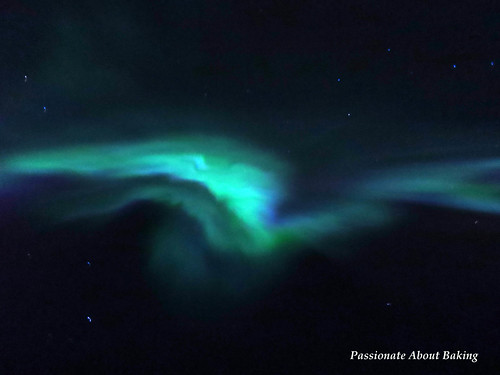
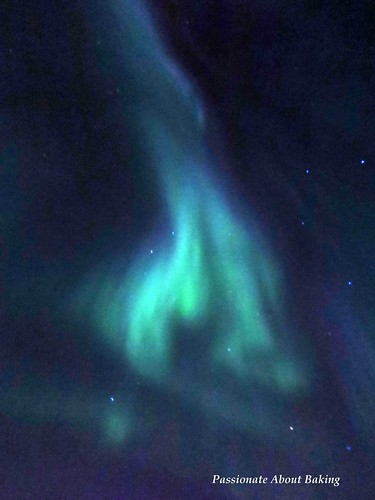
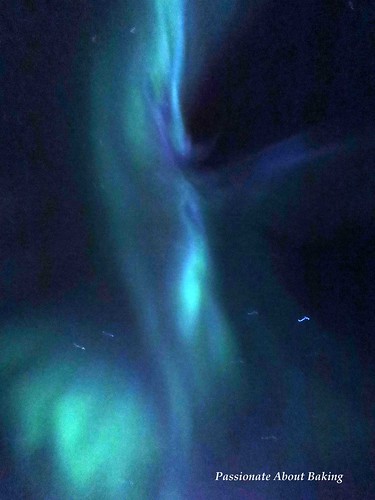
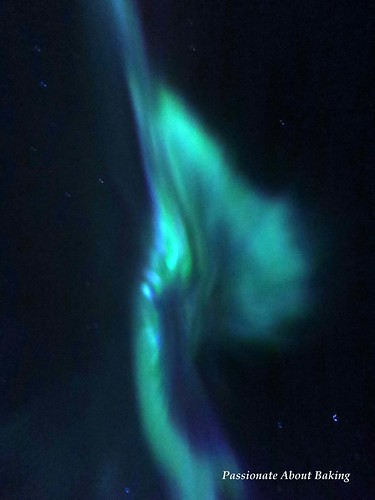
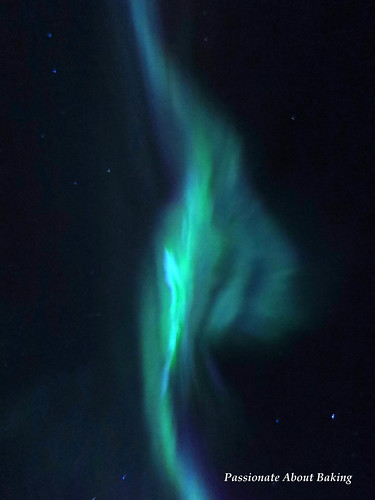
After our sledding, we had some time before going for our late dinner. By that time, it was 8.30pm. We saw more lights. This time, I successfully captured the lights with another camera! Though it wasn't sharp, but the lights can be seen quite clearly. The lights on this day was all high up, and very active and strong. We enjoyed this better as there were less people around us.
Photos by me using Canon with 1sec exposure and free hand. I did an auto contrast in the photos.
Experience
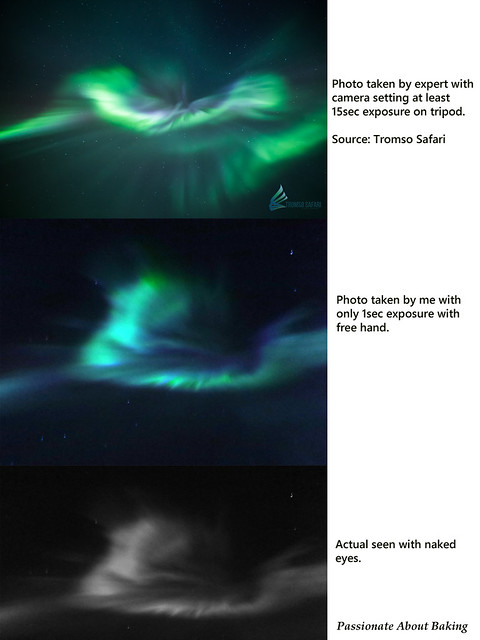
We have seen many photos of how beautiful aurora borealis is. The truth is, those are captured using cameras with at least 10sec exposure with correct setting. Now, with our naked eyes, sorry to disappoint you, we can only see up to greenish lights. The actual lights we see is grey, greyish and greenish. If you were hoping to see those bright beautiful colours and light trailing, then you'll be very disappointed. Because you won't get to see these. However, I think aurora might be photographers dream to capture. I also found that auroras that are at the horizon is only greenish and blue. Those that are high above in the sky will have red and purple as they are at higher altitude. Overall, it was still a great experience for me. I'm happy and fortunate to have seen this natural phenomenon in this lifetime. Especially when you get to captured them beautifully on the camera, you will find it all worth the journey and the cold.
Here is my comparision:
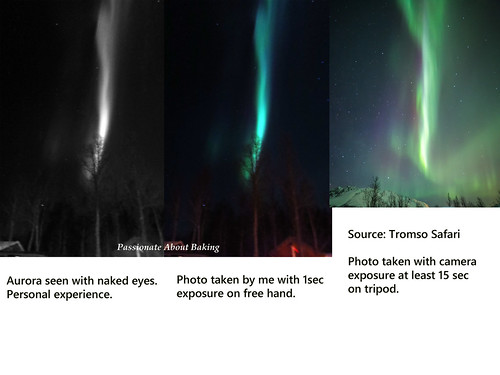 Source: Tromso Safari, dated 6 Mar 2016. Photos taken by their guide. We were not on this tour.
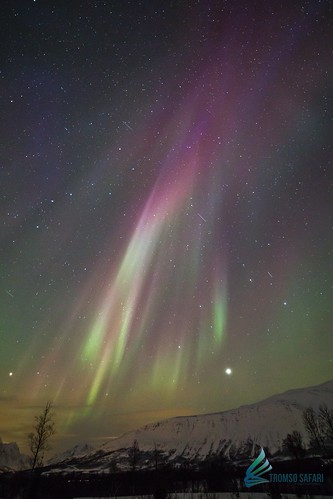
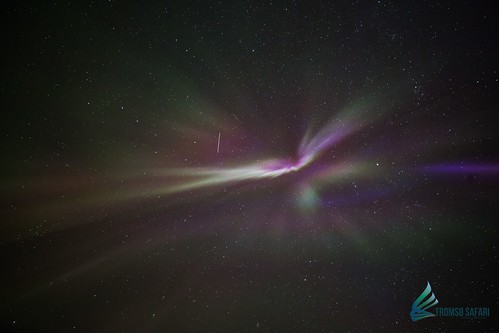
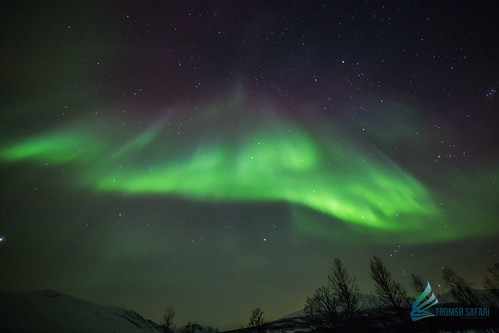
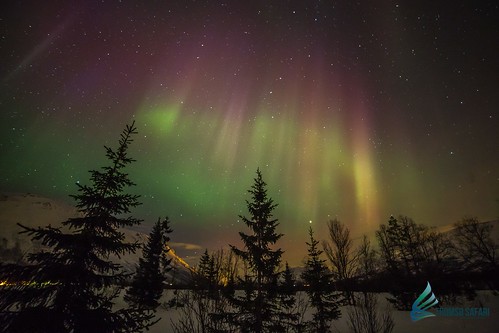
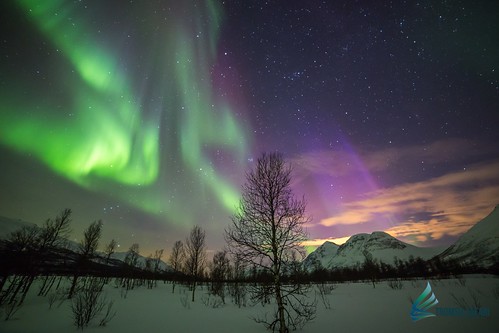
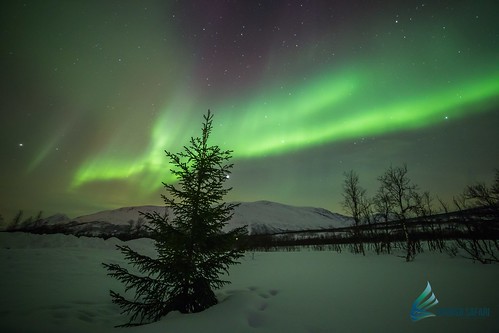
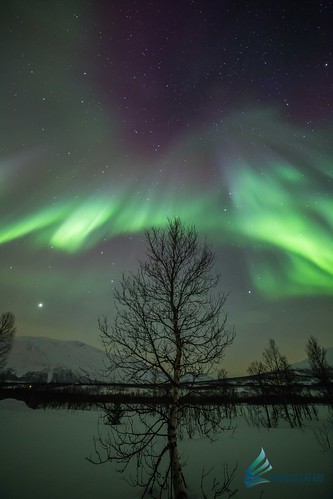
You can compare the Aurora colours based on the exposure. The longer the exposure, the more colours it captured. Refer to my photos earlier on the same date. What I captured were mostly blue and green. What this guide captured had different density of colours (when we saw the aurora on the same night).
Source: Tromso Safari, dated 6 Mar 2016. Photos taken by their guide. We were not on this tour.
You can compare the Aurora colours based on the exposure. The longer the exposure, the more colours it captured. Refer to my photos earlier on the same date. What I captured were mostly blue and green. What this guide captured had different density of colours (when we saw the aurora on the same night).

All the best on Aurora hunting!
Today is Chinese New Year (CNY) eve. My usual CNY goodies bakes will be pineapple tarts and almond cookies. As years passed, I find myself baking less and less cookies. Mainly because my family members are more health conscious and decided to eat less goodies, and also, I've become lazier. Was it no demand equals no supply or vice versa? I'm not so sure too.
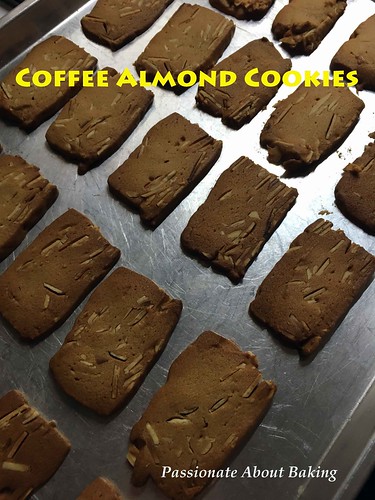
With some sliced almonds on hand, I decided to try Wendy's Coffee Almond Cookies as it looks really good. The cookies were thin, crispy and tasted good with the almonds. They were really nice.
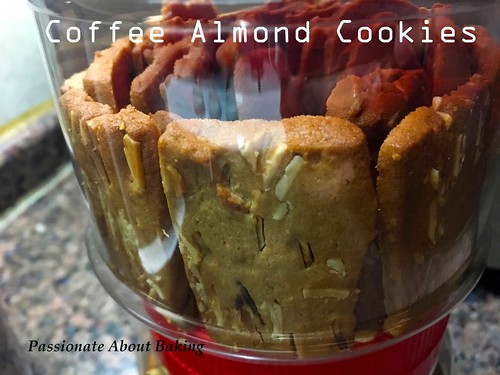 Recipe for Coffee Almond Cookies, adapted from Table for 2... or more.
(Makes for 2 small canisters)
Recipe for Coffee Almond Cookies, adapted from Table for 2... or more.
(Makes for 2 small canisters)
Ingredients:
2 tsp Nescafé instant coffee
1 tsp Hot water
1 tsp Coffee extract
150g Salted butter
50g Brown sugar
1 Egg
200g Plain flour
50g Corn flour
100g Icing sugar
30g Full cream milk powder
100g Almond flakes, toasted
Method:
1. Mix instant coffee, hot water and coffee extract and stir to dissolve.
2. Sift plain flour, corn flour and icing sugar together. Then mix in full cream milk powder. Set aside.
3. Cream butter with brown sugar for about a minute on medium speed. Add in egg and beat until combined. Pour in the coffee mixture and beat until combined.
4. Add in flour mixture and mix until combined. Fold in almond flakes and mix until combined.
5. Spoon the dough into a full lined 8 inch square pan. Press down the dough and cover with another piece of baking paper. Fold down the overlaps and apply some pressure to level the dough. (I spooned it into a lined plastic container.)
6. Chill for 2 to 3 hours.
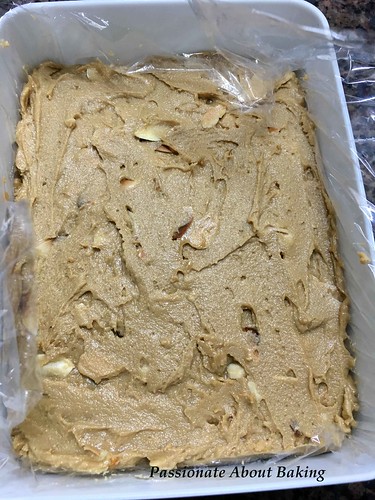
7. Preheat oven to 160(fan)/180C. Line 2 large baking trays with non stick baking paper
8. Remove chilled dough from fridge and cut into 4 long bars. Cut the bars evenly.
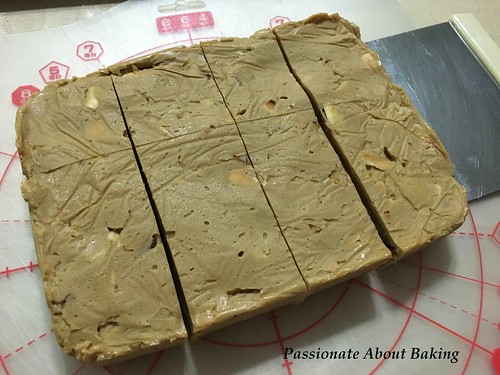
9. Arrange the dough slices with some space allocated for expansion. Keep balance of dough in fridge if not baked immediately.
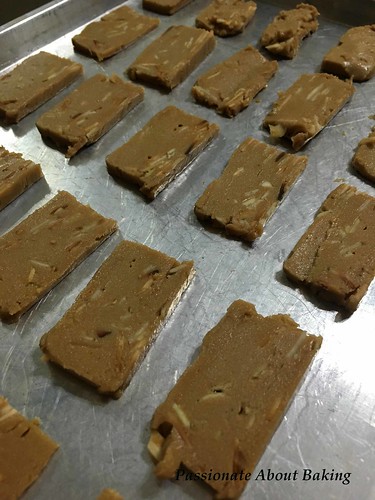
10 Bake for 15-17 minutes or until the edges take some some colour.
11. Let the cookies cool down and store them in air tight containers.
 Wishing everyone
新年快乐, 猴年大吉, 红运当头, 心想事成, 岁岁平安!
Wishing everyone
新年快乐, 猴年大吉, 红运当头, 心想事成, 岁岁平安!
Recently I have been attending customised Japanese cuisine workshops. So when my husband went to Shanghai few weeks back, I requested him to buy some bento boxes for me from JD.com. Although they were smaller than the ones I used during my workshops, the quality was good. Therefore, it was worth to get them.
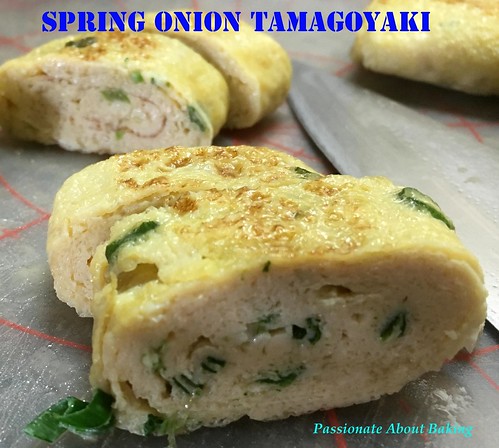
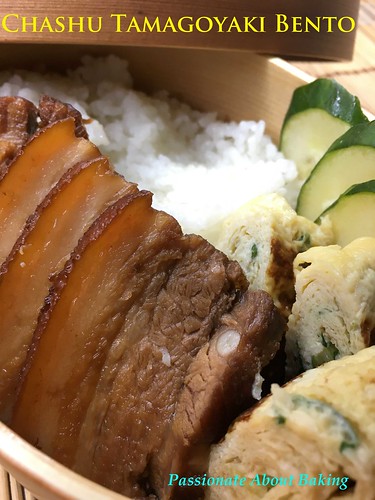
Many of us like to buy such kitchen wares or baking wares, thinking we will use them one day. Well, some became white elephants, while others were used past their usefulness. In order for my husband to see that I will use what I bought, I decided to make a bento set lunch. I made Chashu with tamagoyaki bento set lunch. The chashu was really tender and juicy. I overcooked my tamago and it tasted a bit dry. Overall, I must say it was a good attempt on my first bento set.
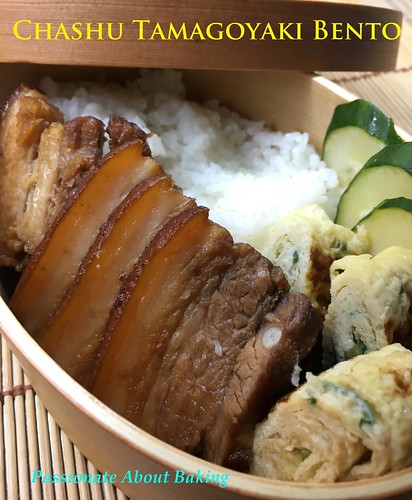
Recipe for Chashu, adapted from Just One Cookbook.
(Makes for 6 persons)
Ingredients:
1kg Pork belly block (I cut into half)
3 tsp Salt
1½ tbsp Cooking oil
2 inch Ginger, sliced
Seasonings
570g Kombu Dashi (original use water)
1 cup Cooking sake
1 cup Soy sauce
9 tbsp Sugar
Method:
1. Peel and slice ginger.
2. Sprinkle and rub the salt on the pork belly.
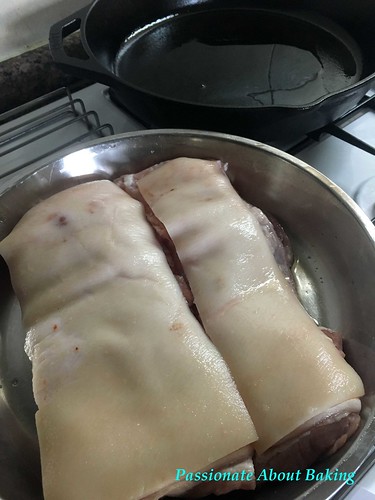 3. Heat the oil in a cast iron skillet over high heat and brown the fat side first, then flip over to brown the other side. It’ll take about 15 mins.
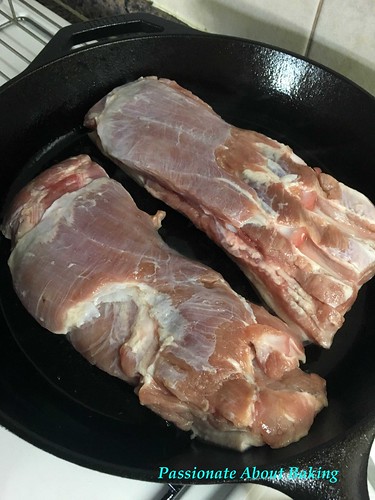
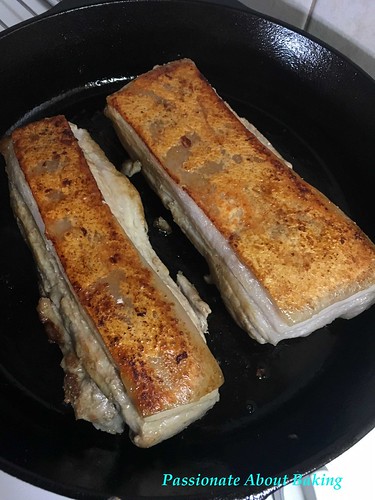 4. While browning, put all the ingredients for seasonings in a heavy-bottom pot, including sliced ginger.
5. Place the pork belly in the pot and bring it to a boil.
4. While browning, put all the ingredients for seasonings in a heavy-bottom pot, including sliced ginger.
5. Place the pork belly in the pot and bring it to a boil.
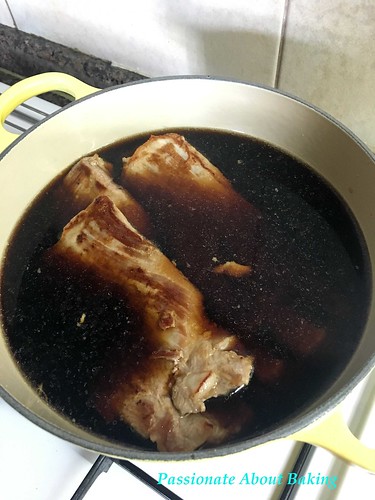 6. Place an otoshibuta (drop lid) on top of the meat. If you don’t have one, make one out of aluminum foil (and here’s how). To learn more about what Otoshibuta does, click here. (I used a loose cake pan base as the cover.)
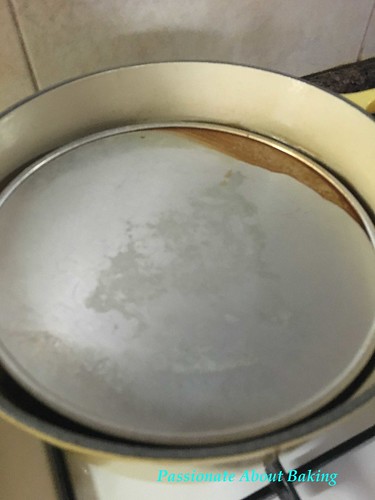 7. Lower the heat to medium low and simmer, occasionally turning, for about one hour.
8. Remove the otoshibuta and take out the meat and cut into thin slices.
7. Lower the heat to medium low and simmer, occasionally turning, for about one hour.
8. Remove the otoshibuta and take out the meat and cut into thin slices.
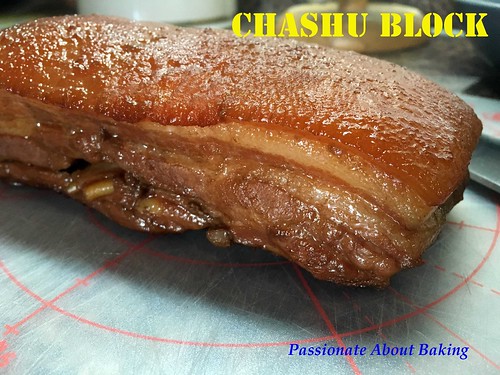
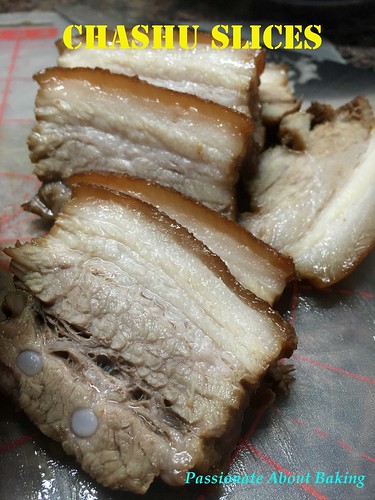 9. Reheat your skillet and place some sauces into it. Place the cut meat into the skillet and let it coat with the sauces, turning it. Total time to simmer is about 2 mins.
10. Remove them and set aside.
11. Reserve the thicken sauces for the rice later.
9. Reheat your skillet and place some sauces into it. Place the cut meat into the skillet and let it coat with the sauces, turning it. Total time to simmer is about 2 mins.
10. Remove them and set aside.
11. Reserve the thicken sauces for the rice later.
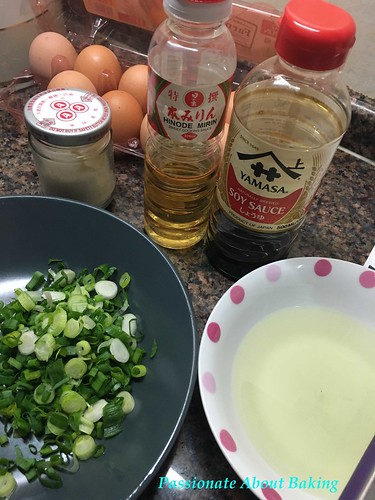
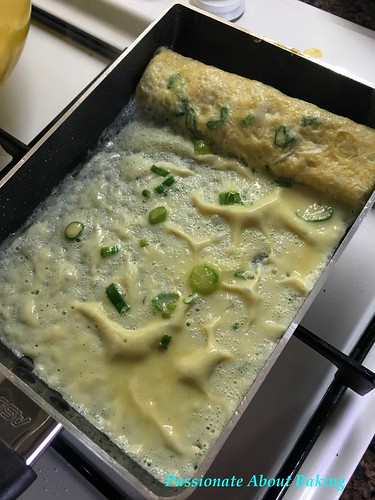
To make tamagoyaki, click here. I used the recipe from my workshop and made spring onion tamago. I also use dashi for my tamago.
To make sushi rice, click here.
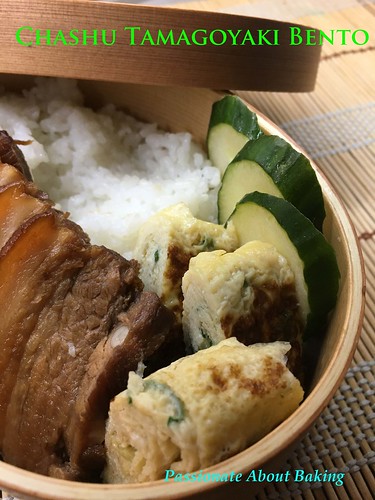
To assemble, scoop the rice to the left corner of the bento box. Then arrange chashu and tamagoyaki on the sides and the right side of the bento box. Add sliced cucumber or any other fresh vegetables of your preference. Serve and enjoy.
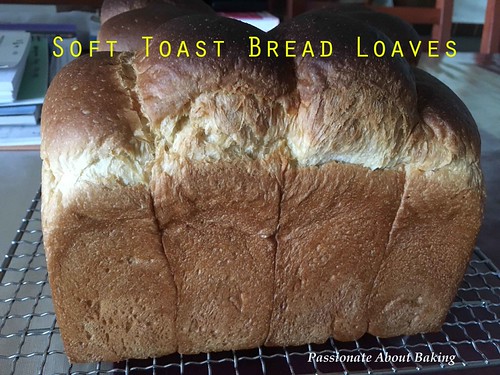
Irony sets in. After taking the time and effort to learn about Artisan breads, where long fermentation is required to produce a flavourful and healthier bread, now I prefer to bake easy sweet dough breads.
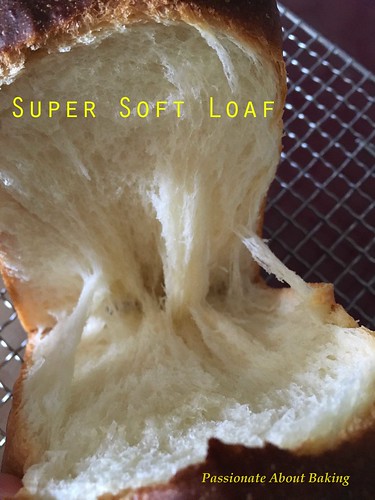
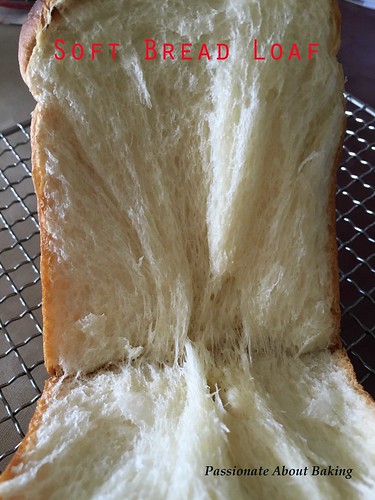
On Sunday where I decided to bake an easy and fast bread loaves, I came across Victoria Bakes' post on this "Killer Toast" with just one proofing. This was the perfect recipe given the time I can spare in the morning. I agree that this was really a very soft bread when it's mixed till the window pane stage. This is a keeper for me. Please read her notes on the hydration which is really useful.
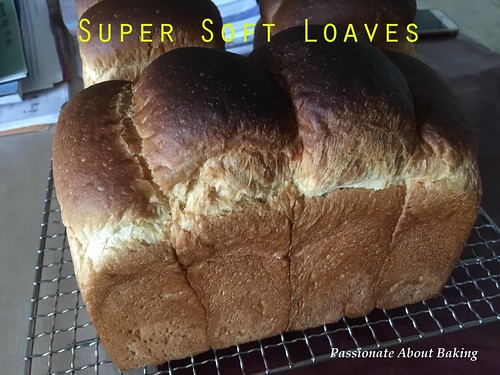 Recipe for Super Soft Bread loaves, adapted from Victoria Bakes.
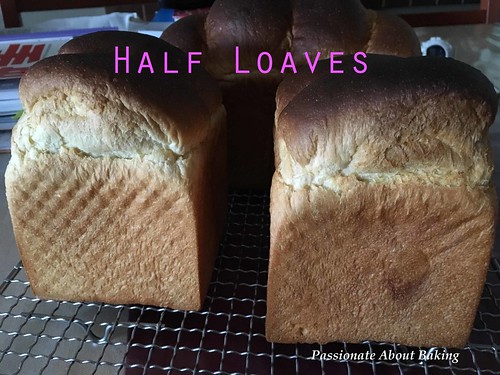
(Makes 2 regular loaves, where I made 1 regular and 2 half sized)
Recipe for Super Soft Bread loaves, adapted from Victoria Bakes.
(Makes 2 regular loaves, where I made 1 regular and 2 half sized)
Ingredients:
520g Bread flour
6g Instant dry yeast
340g-360g Hydration (2 eggs + whipping cream + full cream milk)
60g Caster sugar (20g if making a salty toast)
4g Fine salt (12g for salty toast)
60g butter
Method:
1. Mix all ingredients, except butter, together and knead till you get a silky and elastic dough. Approximately 4 mins on low speed.
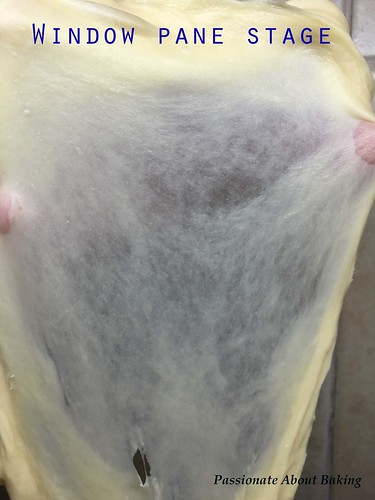
2. Incorporate butter and knead till window pane stage (crucial). Approximately 8mins on medium-high speed for me.
 3. Divide the dough into 8 portions, weighing about 127g each. Then roll out flat and roll up like swiss roll, and place into greased loaf pan (or non-stick). 4 portions into regular loaf pan, and 2 each into the half pan.
4. Let it rise till dough reaches 90% of height of pan, approximately 50-60mins.
5. At 50mins' time, pre-heat oven to 170C.
6. Bake in the lowest rack for 30mins, tenting the bread with foil if it browns too quickly. Where I tent it after 13mins, and continue baking it.
3. Divide the dough into 8 portions, weighing about 127g each. Then roll out flat and roll up like swiss roll, and place into greased loaf pan (or non-stick). 4 portions into regular loaf pan, and 2 each into the half pan.
4. Let it rise till dough reaches 90% of height of pan, approximately 50-60mins.
5. At 50mins' time, pre-heat oven to 170C.
6. Bake in the lowest rack for 30mins, tenting the bread with foil if it browns too quickly. Where I tent it after 13mins, and continue baking it.
Note:
- I used 100g eggs with 80g whipping cream and topped up to 340g liquid with the full cream milk. However, upon mixing, the initial dough was not incorporated, meaning, more liquid is required.
- I added another 20g of milk, therefore, the dough became wet.
- After I divided the dough, I rounded it up lightly and started to roll the out flat. The dough was still a little wet. So I floured the worktop lightly to prevent the dough from sticking to the counter top. Then it was easier to roll.
- The window pane stage took longer than other recipe to reach. But it does produce a really soft bread with visible streaks.
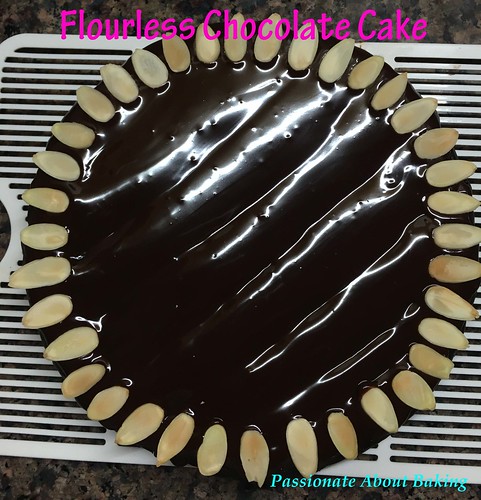
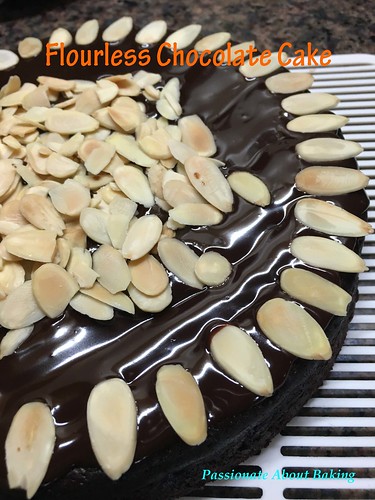
The usual request for my elder sister's birthday cake is - flourless. She is a very health conscious person. Therefore, if she could avoid flour, she will. I made various flourless cakes for her, this year's flourless chocolate cake was from King Arthur Flour website. It was easy to make, but it's actually pretty flat if based on the pan size provided.
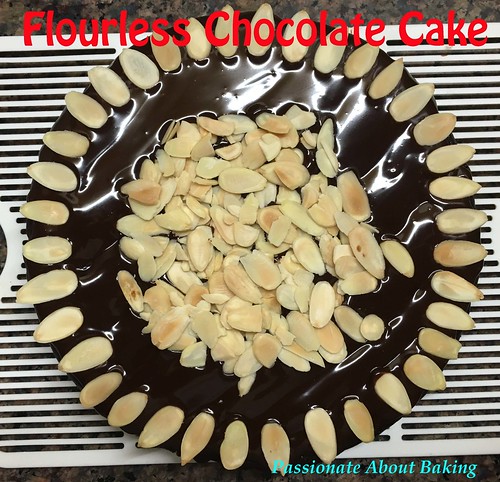 Recipe for Flourless Chocolate Cake, adapted from King Arthur Flour.
(Makes a 1" 8" cake. Alternatively, increase the recipe by 2 to get a better height)
Recipe for Flourless Chocolate Cake, adapted from King Arthur Flour.
(Makes a 1" 8" cake. Alternatively, increase the recipe by 2 to get a better height)
Ingredients:
170g 55% chocolate buttons
113g Unsalted butter
100g Caster sugar
1/4 tsp Salt
1 tbsp Instant coffee powder
1 tbsp Rum
3 large eggs
43g Dutch-process cocoa powder
Chocolate Ganache Glaze:
170g Semisweet chocolate buttons
113g Heavy cream
Some toasted almond slices
Method:
1. Preheat the oven to 160°C. Line an 8" round cake pan.
2. To make the cake: Put the chocolate and butter in a heat-proof bowl and simmer it over boiling water.
3. Heat and stir till butter and chocolate has melted. Remove from the heat immediately and let it cool down slightly.
4. Stir in the sugar, salt, coffee powder and rum.
5. Ensure that the mixture is not very hot before adding the eggs. Add one by one and mix until smooth. Add the cocoa powder, and mix just to combine.
6. Spoon the batter into the prepared pan.
7. Bake the cake for 25 mins or until a skewer inserted into the centre comes out with very slight crumbs.
8. Remove it from the oven, and cool it in the pan for 10mins.
9. Loosen the edges of the pan and turn it out into a wire rack to allow the cake to cool completely before glazing.
10. To make the glaze: Heat cream in a heat proof bowl over simmering water. On a separate bowl, place the chocolates.
11. Remove the cream from the heat when it's hot, and pour into the bowl of chocolates. Let it rest for 1 min.
12. Stir until the chocolate melts and the mixture is completely smooth.
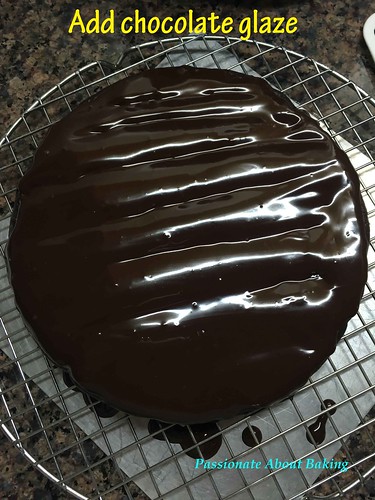
13. Spoon the glaze over the cake, spreading it to drip over the sides a bit.
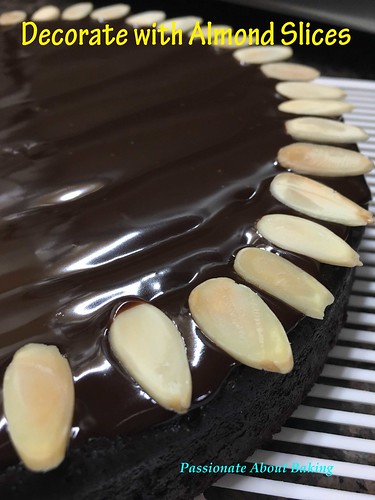
 14. Decorate the cake with the toasted almond slices. Refrigerate.
 15. Before serving, bring it to room temperature.
Happy 2016!
2015 was gone in a flash. These were the highlights for me in 2015:
- completed my first 10km marathon run in Hong Kong,
- my first holiday in Taipei with my colleague,
- worked part-time for a month to coach my children during June school holidays,
- supervised two PSLE children & one GCE 'O' Level child,
- rewarded my children with a California holiday
For 2016, I hope I can go for more holidays, and also spend more quality time with my children. As they moved on to secondary schools, their time spent at home will be lesser as school activities picked up. I hope this new year will be smooth-sailing and fruitful too!
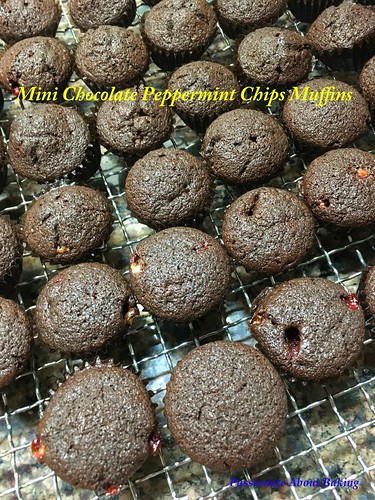
For the last day of 2015, my colleagues organised a mini department breakfast party. As part of my contribution, I baked muffins.
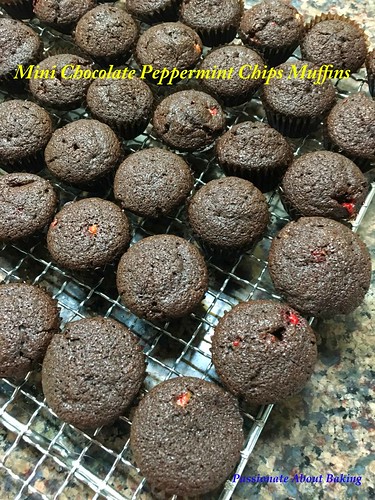 Recipe for Chocolate Peppermint Chips Muffins, adapted from Tested & Tasted.
(Makes 80 mini muffins)
Recipe for Chocolate Peppermint Chips Muffins, adapted from Tested & Tasted.
(Makes 80 mini muffins)
Ingredients:
Wet
2 Eggs
125g Unsalted butter, melted
½ tbsp Rum
¼ tsp Salt
120g Buttermilk (120g milk + ½ tbsp lemon juice)
Dry
110g Caster sugar
50g Brown Sugar
150g Plain Flour
40g Cocoa powder, dutch processed
1 tbsp Baking powder
¼ tsp Baking soda
50g Peppermint chips
Method:
1. Combine and mix all the wet ingredients in a bowl.
2. Sift the flour and powder, and combine all dry ingredients and mix.
3. Pour the wet ingredients into dry ingredients and stir till just combined. Batter will be lumpy.
4. Add in peppermint chips and mix to corporate.
5. Scoop into paper cups.
6. Bake at preheat oven of 170C for 13mins or until a skewer inserted into the muffin comes out clean.