This post is sponsored by Liv butter. Try Liv today!
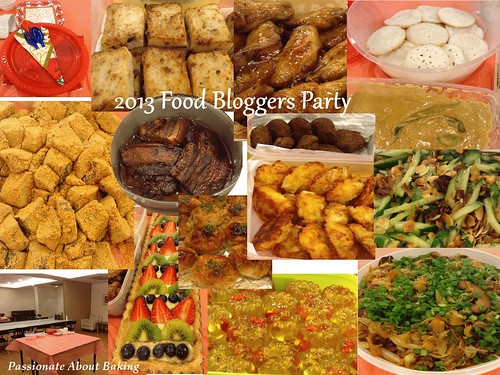
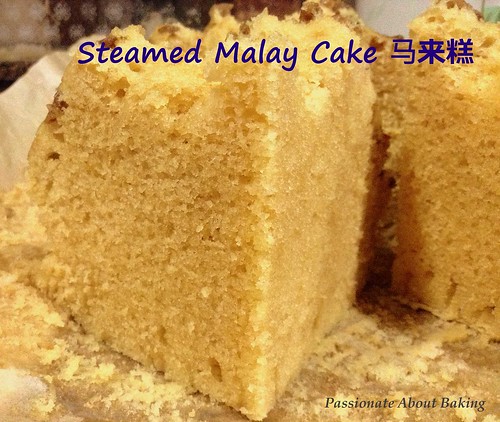
 My transport mate was sharing with me that she liked the pau recipe from "Delightful Snacks & Dim Sum" by Agnes Chang. I told her that I also had this book and likes her recipes too. So this evening, when I decided to do a steamed cake, I thought of this book almost immediately. And so, I chose this Steamed Cake, 马来糕.
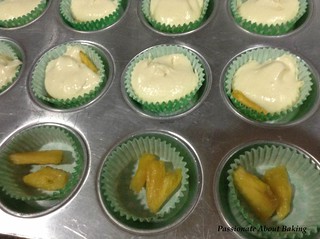
This recipe is very simple, and the result was a light, fluffy and custardy steamed cake. It was really nice.
Recipe for 马来糕, Steamed Cake, adapted from "Delightful Snacks & Dim Sum" by Agnes Chang
Makes a 8" round basket.
Ingredients:
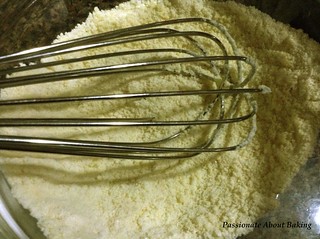
(A)
120g Bread flour, sifted
90g Plain flour, sifted
1 tbsp Custard powder, sifted
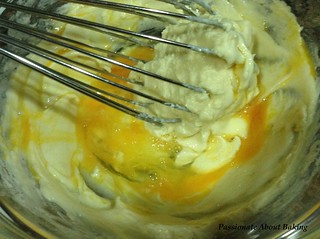
(B)
200g Caster sugar
120g Liv Unsalted butter, melted
3 Eggs, mixed with 1 tsp vanilla extract, beaten lightly
180g Whole milk
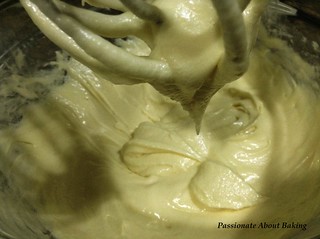
(C)
3 tsp Baking powder
1/2 tsp Dark soya sauce
Some sunflower seeds (or other nuts)
Method:
- Sift ingredient A into a big mixing bowl.
- Add in ingredients B and mix thoroughly.
- Add in ingredients C and mix well.
- Pour into an 8" round basket lined with baking paper.
- Sprinkle some sunflower seeds on top.
- Steam with high heat for 35mins until cooked.
- Cool, cut into pieces and serve.