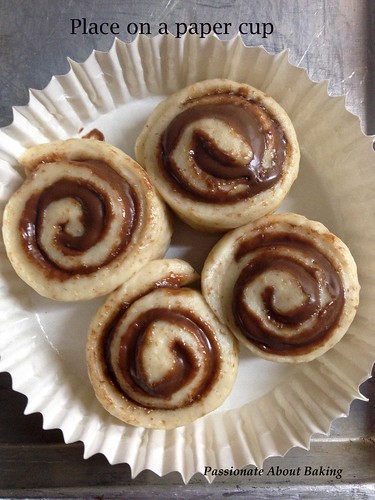
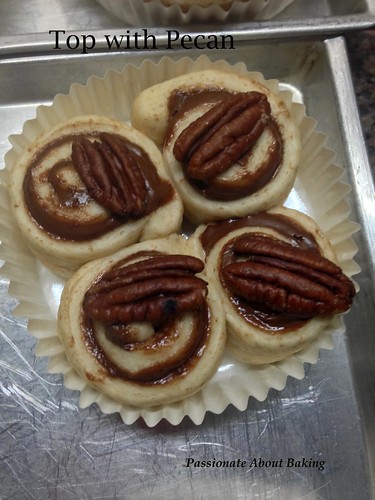
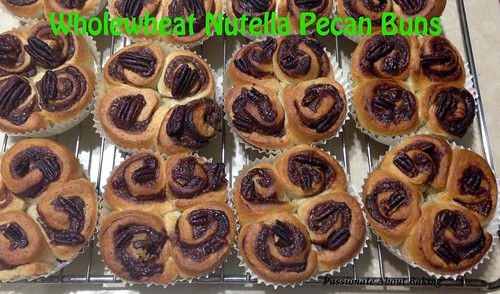
There are some not-so-healthy snacks which many people still like to indulge - Nutella for one, Oreo for another. Being a health conscious person, one would rather make their own of similar type, but the taste might or might not be the same. Somehow, I still prefer to buy these if I need them. As much as I try not to eat too much, often, I have request to use them for baking some goodies.
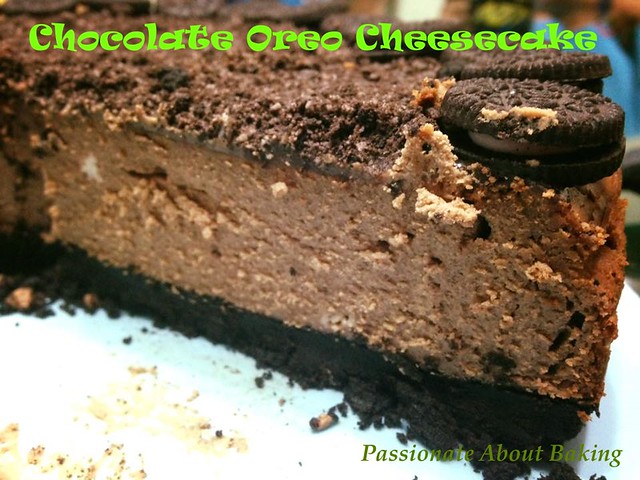
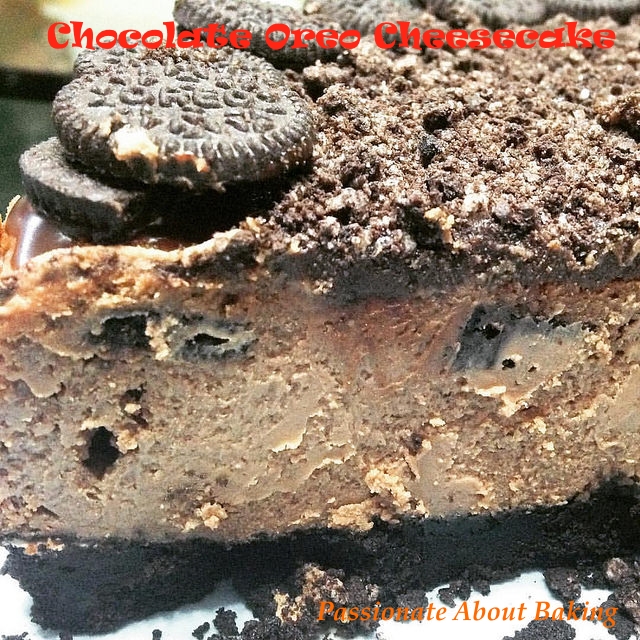
This time, the request was to bake a Chocolate Oreo Cheesecake for my nephew's birthday. Requests for birthday cakes from my family members was something I simply couldn't refuse. In anyway, I'll try my best to bake the cake according to their preference. And I know they will appreciate my efforts whether it turns out perfect or imperfect. :)
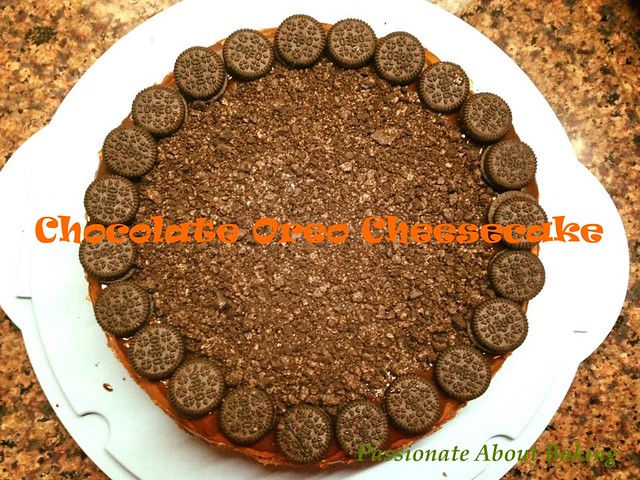
Recipe for Chocolate Oreo Cheesecake.
(Makes a 9″ round cheesecake)
Ingredients:
Crust:
450g Oreo biscuits, finely grind
75g Salted butter, melted
1. Mix crushed biscuit crumbs with the soften butter until it resembles the texture of wet sand.
2. Using the back of your fingers, press the mixture into the base of a springform pan until the base is firm and compact.
3. Baked in a pre-heated oven of 160C for 5mins.
4. Remove from oven and let it cool.
Filling:
750g Cream cheese, softened
120g Fine sugar
4 Eggs, room temperature
130g Dark chocolate, melted
2 tbsp Rum
1 packet Mini Oreo
Decoration:
Some chocolate ganache
Some crushed Oreo biscuits
1 packet Mini Oreo
Method:
1. Beat cream cheese and sugar in a mixer until it is smooth without lumps.
2. Add eggs in one at a time, beating until well combined. Remember to scrape down the sides of the bowl regularly to ensure an even mixture.
3. Add in the melted chocolate gradually. Ensure to mix well. Add in rum and mix till incorporated.
4. Pour half of the cheese batter into the pan. Arrange the mini Oreo randomly. Then carefully add the rest of the batter.
5. Bake in the preheated oven of 160C for 40mins.
6. Once done, turn off the oven and let the cheesecake cool in the oven completely. (I left it overnight.) The cheesecake cracked with humps.
7. Remove the cheesecake from its pan and chill for at least 4 hours.
8. To decorate, spread the ganache to cover the top completely. Arrange mini Oreos around the perimeter of the cake. Then sprinkle crushed biscuits in the centre. Refrigerate well.
9. Before serving, remove from the fridge and left it outside for at least one hour. Slice, serve and enjoy!
I was hoping to use my cast iron pan more often since I got it almost a year ago. As my helper seldom use the cast iron pan, I was afraid it might become white elephant at home. So I figured I'd better use it more often.
A sudden craving for cake made me bake a blueberry skillet cake with added pecans. The verdict for this cake is really good. With loads of blueberries and pecans on the cake, it gives really good texture. I would exclude caramelising if I were to make this again. The caramelised sugar didn't turn out too well for me since I reduced the quantities. I also made some changes to the steps.
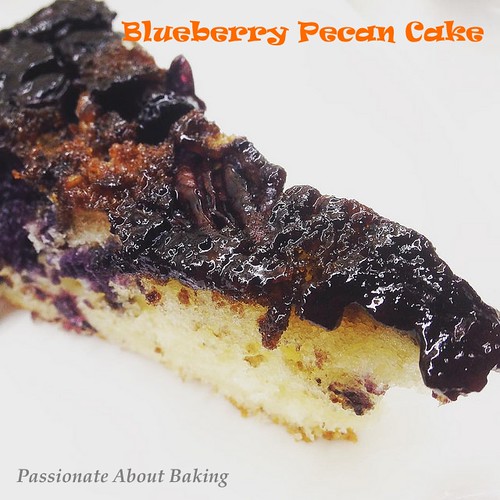 Recipe for Blueberry Pecan Cast Iron Cake, modified from Taste of Home.
(Makes a 10" cake)
Ingredients:
30g Unsalted butter
90g Brown sugar
1 tsp Lemon juice
2 packets (250g) Fresh blueberries
80g Toasted pecans, coarsely chopped
188g Plain flour
80g Sugar
2 tsp Baking powder
1/2 tsp Salt
1 Egg
130g Plain Yogurt
113g Unsalted butter, room temperature
1 tsp Vanilla extract
Method:
1. Preheat oven to 190°C.
2. In a 10" cast iron, melt butter over medium-low heat; stir in brown sugar until dissolved. Remove from heat. Stir in lemon juice; sprinkle with blueberries, then pecans. [Can skip caramelising the sugar. Can just melt some butter then sprinkle blueberries and pecans.]
3. In a large mixing bowl, cream butter with sugar till light and creamy. Add in egg and mix well.
4. Alternate yogurt with flour. Mix until incorporated. Pour over blueberries. Spread out evenly.
5. Bake for 20 mins or until a toothpick inserted in center comes out clean. Cool 10 minutes before inverting onto a serving plate.
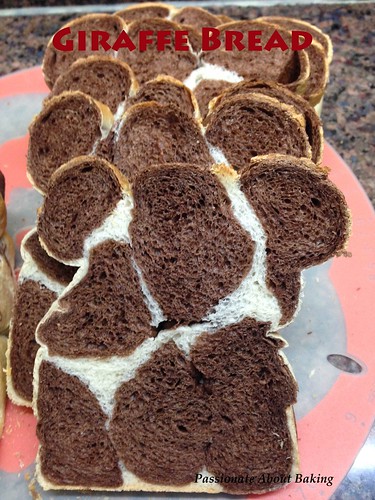
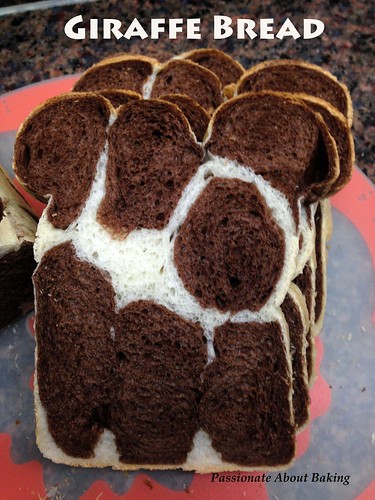 You probably know what is the existing trend for baking if you follow some Facebook group or some Instagram posts. I rode on the wagon of baking this Giraffe Bread when I first caught hold of Victoria Bakes' post on a FB group. I like her recipes because I found them to be rather foolproof and usually it turns out good. Though my bread wasn't as pretty, at least from one look, it is still recognisable as giraffe print. And the bread stays soft on the third day too!
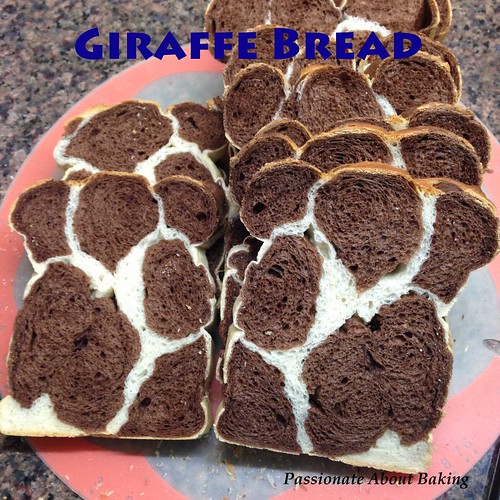 Recipe for Giraffe Bread, modified from Victoria Bakes.
(Makes slightly more than a regular loaf)
Ingredients:
600g Bread flour
20g Sugar
20g Unsalted butter
2g Salt
360g Water
10g Instant dry yeast
35g Cocoa powder + 4 tbsp milk
Method:
1. Mix all ingredients together, except butter, and knead till you get a dough.
2. Incorporate butter, knead till window pane stage.
3. Remove 240g dough (which I found was too little. Use 280g.)
4. In the remaining dough, knead in cocoa powder and milk.
5. In a separate container, leave both dough to rise till double in size, about 45mins to 1 hr.)
6. Punch the doughs down and divide each dough into 8 equal portions. (I divided into 16 since I doubled the recipe. But it was too small. Stick to 8 portions just nice.) Rest for 15 mins.
7. Roll out one portion of chocolate dough into a flat rectangular sheet then roll up lengthwise.
8. Take a portion of original (white) dough, and roll into a flat rectangular sheet. Place rolled chocolate dough in the middle and wrap white dough around it. Seal seams well. repeat this process till all dough has been used up.
9. In a regular loaf pan, place 3 rolls on the bottom of the pan, then top with 2 rolls, and finally, 3 more rolls on the top layer.
10. Proof till the dough reaches 80% of the height of the loaf pan.
11. Bake in preheated oven of 180 degrees for 35mins. Tent the top if it started to burn.
12. Cool loaf before slicing. Enjoy your giraffe patterned slice.
