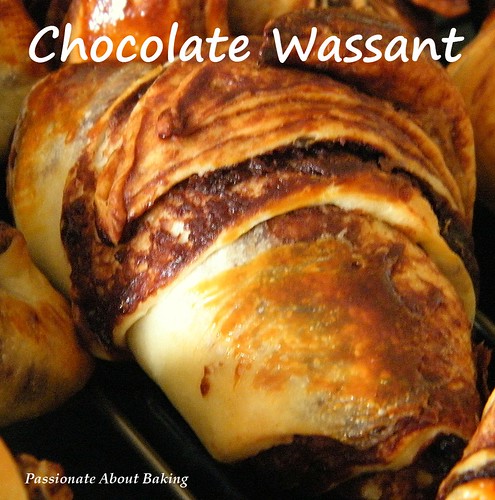
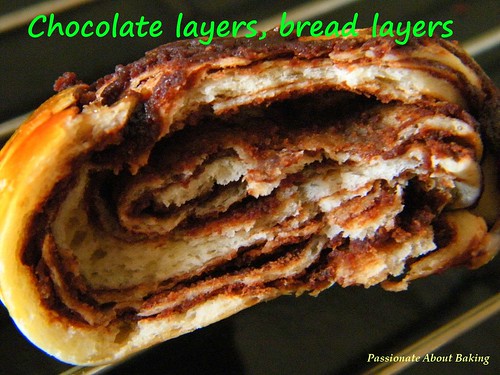
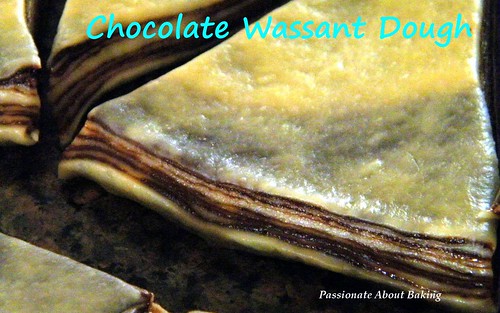
I got down to making it. Even though my chocolate wassants were not so neat and pretty, it tasted really good. Thanks to her wonderful recipe. This is a sure keeper
Recipe for Chocolate Wassants, modified from My Little Space blog.
(Makes 18 mini wassants)
Chocolate Paste
(Makes approx. 375g)
Ingredients:
(A)
2 Egg whites
80g Fine sugar
50g Plain flour
10g Corn flour
2 tbsp Whole milk
(B)
150g Dark couverture chocolate buttons, melted
Method:
1. Combine ingredients (A) in a saucepan and mix well.
2. Then add melted (B) into (A) and stir to combine.
3. Simmer mixture over low flame till became thickened and turned into thick paste.
4. Once it's done, leave to cool before transferring to a (sandwich) plastic bag and flatten.
5. Keep chilled overnight.
Chocolate Wassant
Ingredients:
Starter Dough:
225g Plain flour
1 tsp Instant yeast
100g Water
- Combine all ingredients to form a dough and let to rest for an hour or till double in size (the dough is rather tough)
Main Dough:
125g Bread flour
100g Plain flour
100gm Fine sugar
1 Whole egg
60g Water
70g Unsalted butter
1 tsp Fine salt
*Homemade chocolate paste
Method:
1. Once the starter dough is ready, tear into pieces and add into main ingredients.
2. Combine all ingredients and mix to form a soft dough then let to rest for an hour or till double in size.
3. Place dough to a slightly floured working table and knead till smooth.
4. Then roll it out flat, slightly bigger than the chocolate paste.
5. Place the chocolate paste on the flat dough, and wrap dough over the paste till totally sealed.
6. Again roll wrapped dough into 9x13" size and fold into 3 sections and roll flat again, like making a pastry dough.
7. Repeat one more time and finally roll into long rectangular shape (12'x16"), then cut into triangle shape (size as desired).
8. Roll each up like a swiss roll then place them onto a baking tray, again let to rest for an hour.
9. Brush on egg glaze then bake at preheated oven 180C for about 17 mins or till brown.


13 comments:
I done this too haven't post it. Yours bun almost filled with chocolate layers. They are well done. Yes my family especially kids like it too.
I wanted to try this recipe too! But got this super long list of bread recipe to try, haha! Yours look very well made! Tempting.....
That looks soo lovely!!
Check out my blog: http://bakingcraze.blogspot.ie/
Looks absolutely delicious! I would love to try some. I reckon it would be so tasty.
Seems like a whole lot of work needed!! But the end result must be good coz the wassants look so tempting. Feel like biting into one now..
Thanks Rita.
Try it Spencer! It's truly worth the efforts!
Joyce, you're right. The end result is truly worth efforts. You've got to bake this!
Aren't they delicious? I can't get enough of one though!
HBS, put this as top of the list! You've really got to do this first! I'm sure it'll be snapped up in no time!
Hey, thanks so much for the shout out and am glad you liking the bread too. My kids love it very much and going to make them again soon. Yours look as incredibly good. Kudos!
Hope you're having a great day, dear.
Blessings
Kristy
Hi Kristy,
Thanks for popping by. The recipe is so good, I just had to share it! I will make this again! My family loved it too! Thanks again for sharing this lovely recipe!!
nice posting. thanks for sharing
Post a Comment
Be free with your mind!