Celebrating 600th Posts & A Giveaway

Since I started blogging three and a half years ago, I have made many friends, learn more about baking and cooking, and formed genuine friendships. I started the blog to record my baking (and cooking) journey. I didn't think it would last that long. However, when readers and bloggers started leaving comments in my blog, I was more encouraged. Even though my blog is not popular, I'm not disheartened. I'm happy as it is. I know my objectives of being here, and I'm contented that I'm able to share my experience with others!

To celebrate my 600th post (YAY), I'm giving away my homemade vanilla extract (double YAY!!) Those of you who have made their own vanilla extract will definitely agree with me that after using it, you'll NEVER use any vanilla essence again, NEVER! Homemade vanilla extract can be kept for a long time, aging it made it even more intense too!

This is how you can get yourself a chance to win this homemade vanilla extract (approx. 20ml).
  1. Leave a comment and your email address in my post and tell me how do you intend to use it if you win.
  2. Only one chance per person regardless of entries.
  3. I'll use a random number organiser to pick the winner.
  4. Closing date for the comments : 9 December 2011.
  5. Applicable for Singapore residents only.
  6. I will meet you to pass you the vanilla extract at our convenience. However, self-collection is much welcome. :)
Once again, thank you very much, my friends, my blogger friends and my readers, for your past support and encouragement. Passionate About Baking is very happy to share more baking and cooking experience with you!

Happy holidays!

Pilaf Rice

"Pilaf (or pilau) is a dish in which rice is cooked in a seasoned broth." - Wikipedia

There are many variations of pilaf rice, some cooked in the wok, some cooked in rice cooker, while others baked them. Wanting to try out something new with rice, I decided to cook mine in the oven.

It was one of those rare days when my house was in a total mess due to re-painting works. My helper was busy clearing, cleaning and packing the stuff. So as a good employer (ahem!) I decided to prepare dinner instead.

And so, I decided to make Pilaf Rice. Unfortunately, I didn't stir them to the right stage and some of the rice was not totally cooked. Fortunately, the taste was not too bad. No complaints received from the diners though. I shall try it again, it's not too difficult and the mixture of the nuts and raisins gave it a good mix of texture!
Recipe for Pilaf Rice, modified from Cooking-Ez.com
(Makes for 6 people)

Ingredients:
1 large Onion, chopped
2 cups Rice
2 1/2 cups Chicken stock
2 tbsp Olive oil
Some salt
Some pepper
Some paprika
50g Raisins
50g Cashew nuts, coarsely chopped

Method:
  1. In a large saucepan, put in the olive oil over moderate heat. When the oil is hot, add the chopped onion, mix well. Add in salt, pepper and paprika and stir well.
  2. Add in the rice all at once and stir continuously until the rice turned translucent. That will take about 5 minutes or more.
  3. Then transfer them to a baking dish.
  4. Add chicken stock in one go and mix thoroughly.
  5. Add in the cashew nuts and raisins on top.
  6. Cover  with a lid or aluminium foil, and put into the preheat oven of 190C for 30 minutes or until cooked.
  7. Serve hot with vegetables or fish or meat of your choice.
Before I end, here's the before and after of my living room.

Homemade Goodness at Bloggers' Gathering

Zhuoyuan initiated this gathering and I wasted no time in agreeing. Very often, we view and comment on each other's posts, share ideas or opinions offline, but seldom get a chance to meet up. Therefore, this is a good opportunity to meet my blogger friends and catch up on the bakes and buys and what's nots!

This time round, Eelin was our wonderful host. It seemed like with each gathering, the standard gets higher and higher! It was a brilliant idea to tag our foods so that we don't have to repeat ourselves to everyone else! And better still, I don't have to tag them in my blog post too!

In such a conducive environment, with wonderful homemade foods and great company, I was totally relaxed and stuffed. Thanks again to my blogger friends for a wonderful afternoon!

Here comes the buffet spread.
Host - Eelin
Initiator - Zhuoyuan
And mine.
Beautiful lunch set up, like a real buffet table.
You can find my Roti John recipe here, however, for this time, I added grated cheddar and mozzarella cheese. The recipe for Oriental Salad is here. I hope my friends like my food. :)

Chocolate Cupcakes

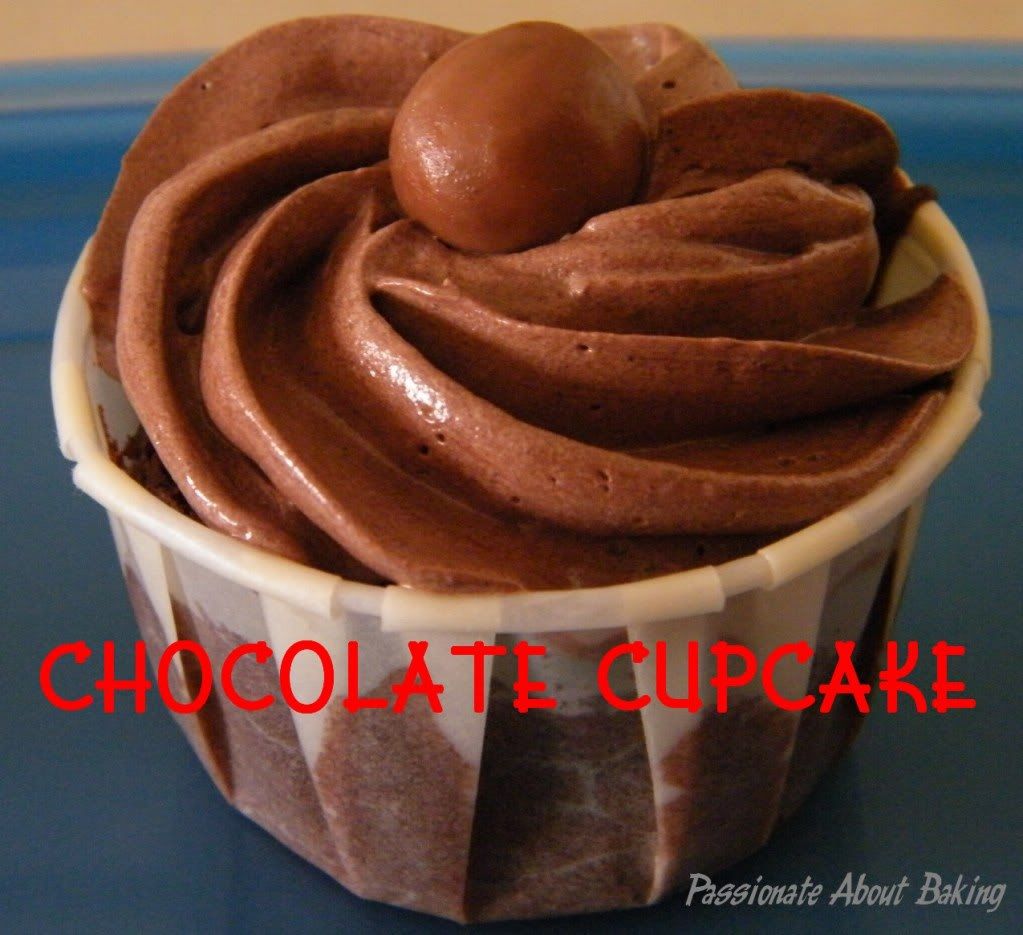
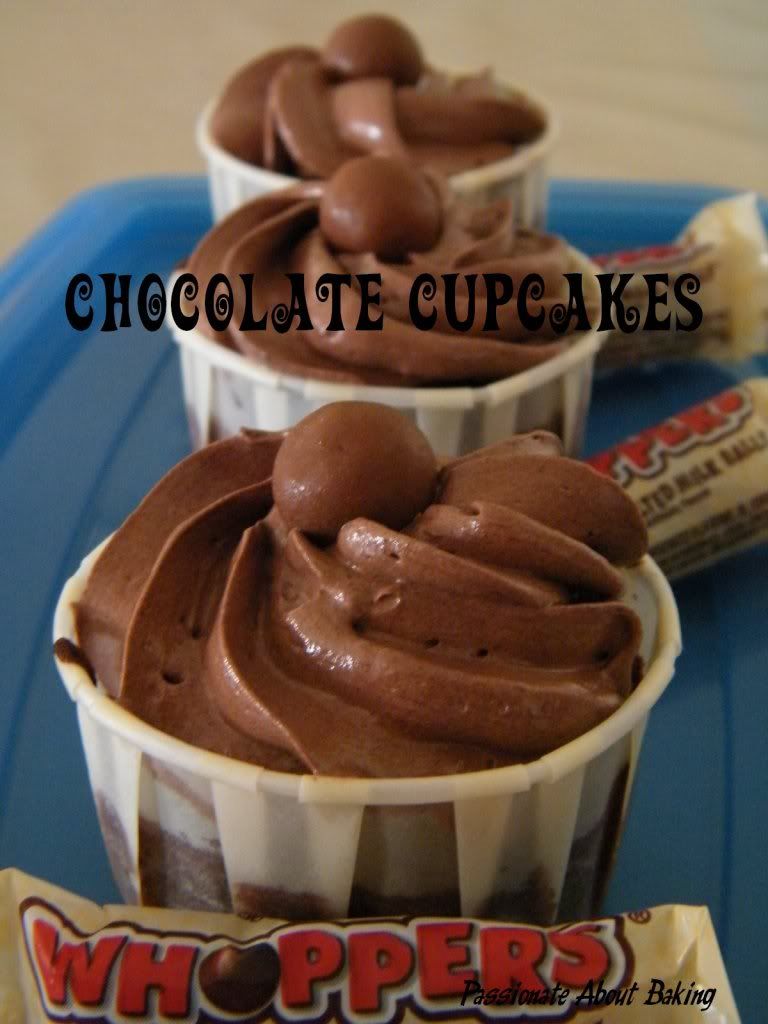
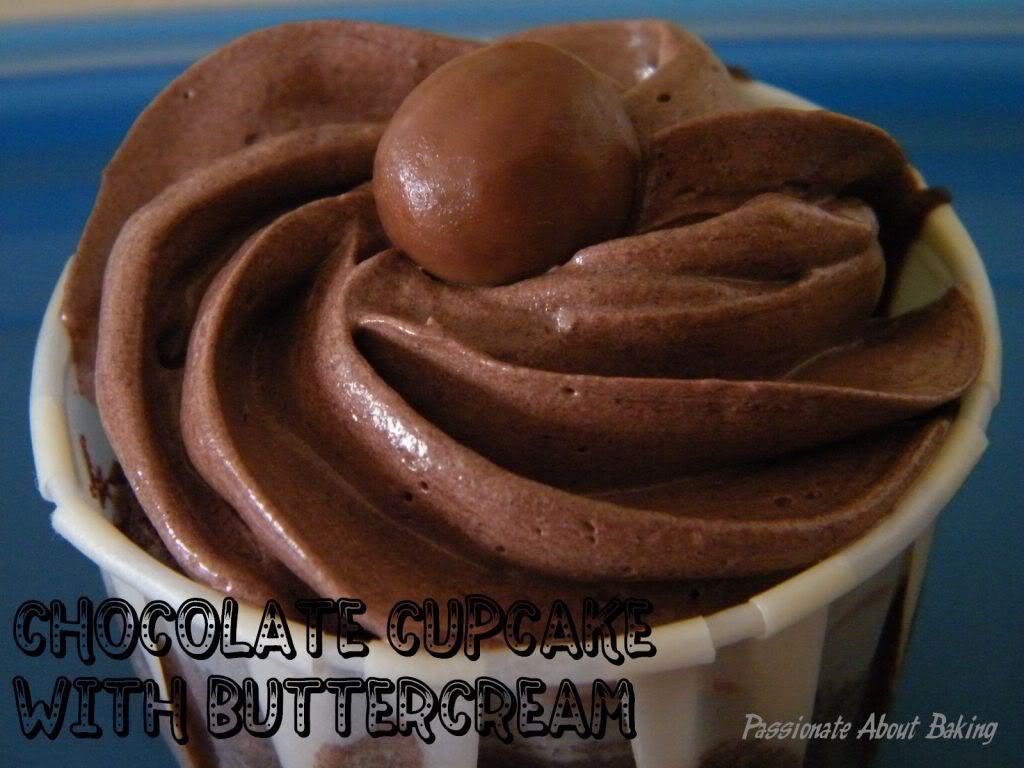
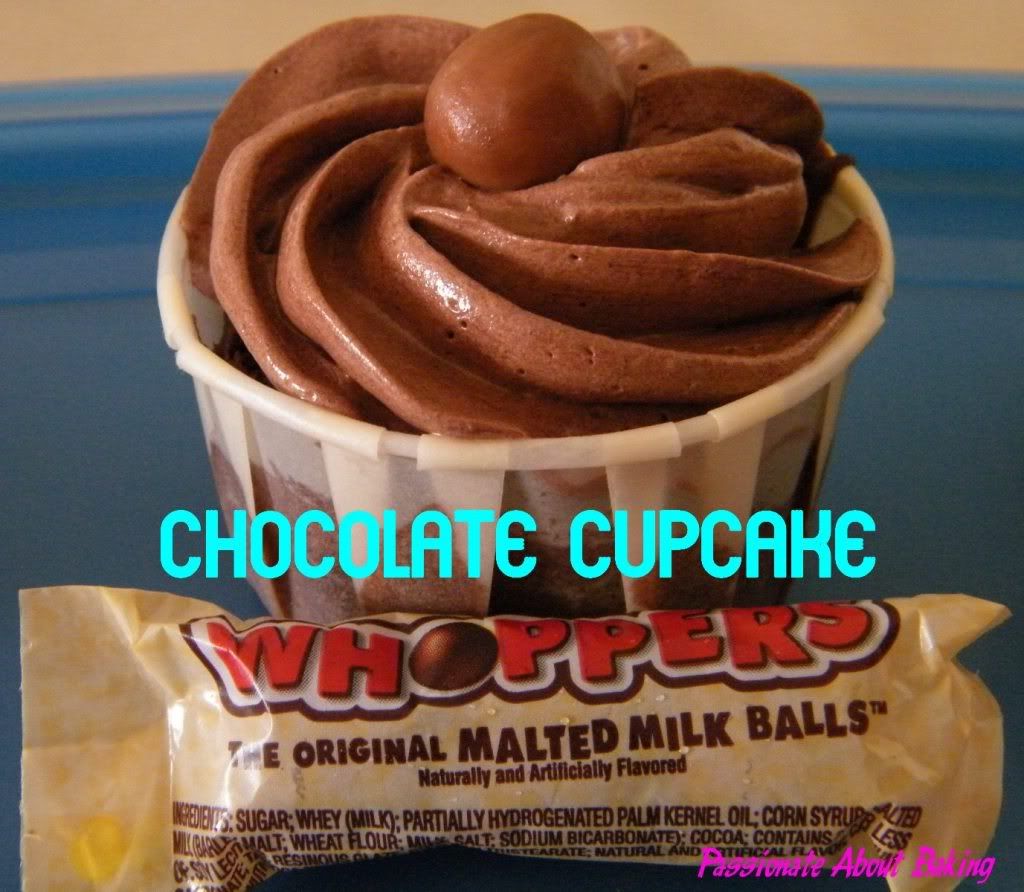
I've made chocolate cupcakes at least twice this month. Since I didn't have a chance to frost it, I've decided not to post them up. My sister loves her cupcakes to be frosted with buttercreams. Therefore, to make her happy, I finally have the time to make frosted cupcakes for her. It was her favourite - chocolate cupcakes with chocolate swiss meringue buttercream.
Recipe for Chocolate Cupcakes with Chocolate Swiss Meringue Buttercream. Cupcake recipe modified from "Rose's Heavenly Cakes".
(Makes 16 regular cupcakes)

Ingredients:
42g Cocoa Powder (alkalised)
118g Boiling water
2 Large eggs (approx. 100g)
44g Whole milk
1 1/2 tsp Vanilla extract
166g Top flour (or cake flour)
110g Caster sugar
2 tsp Baking powder
1/8 tsp Baking soda
1/2 tsp Fine salt
170g Unsalted butter, soften

Method:
  1. In a medium bowl, whisk the cocoa and boiling water until smooth.
  2. Let it cook to room temperature, about 30mins.
  3. In a small bowl, whisk the eggs, milk and the vanilla just until lightly combined.
  4. In the bowl of a stand mixer fitted with the flat beater, mix the sifted flour, baking powder, baking soda, sugar and salt on low speed for 30 secs.
  5. Add the butter and chocolate mixture and mix on low speed until the dry ingredients are moistened.
  6. Raise the speed to medium and beat for 1 1/2 mins. Scape down the sides of the bowl regularly.
  7. Starting on medium low speed, gradually add the egg mixture in two parts, beating on medium speed for 30 secs after each addition to incorporate the ingredients and strengthen the structure.
  8. Scrape down the sides of the bowl.
  9. Scoop the batter into the prepared paper cupcakes.
  10. Bake in a preheated oven of 180C for 15 mins or until a skewer inserted in the centre of the cake comes out clean.
  11. Let the cupcakes cool completely before frosting.
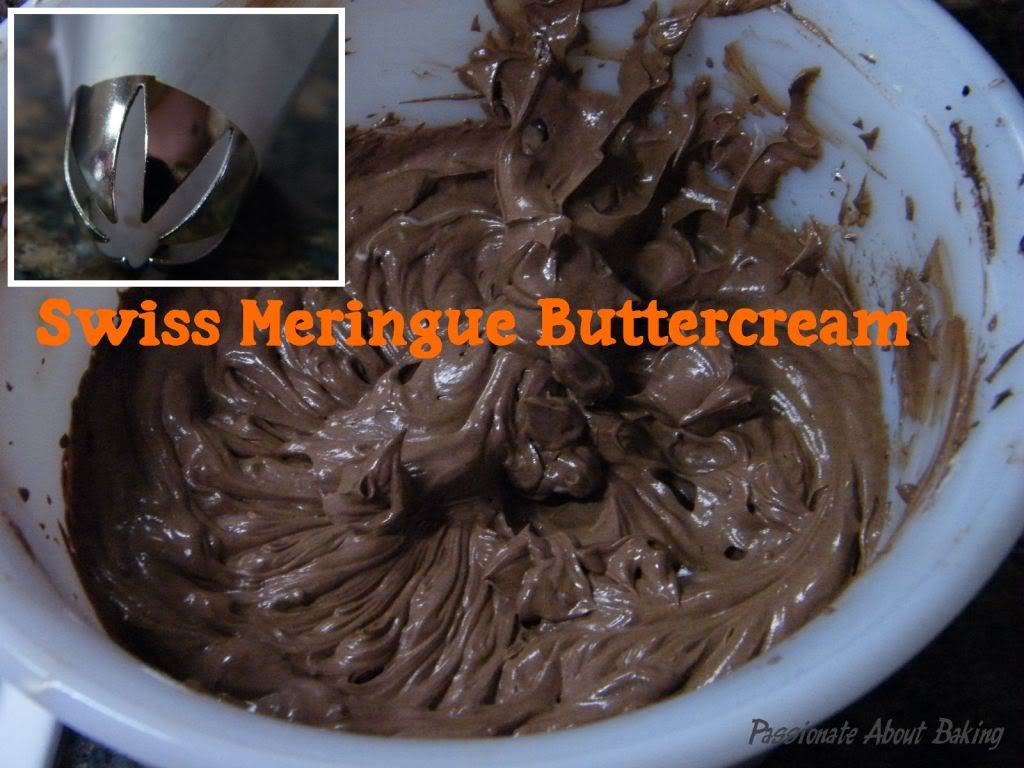
Chocolate Swiss Meringue Buttercream, modified from Batter Baker and Baking Library.
Ingredients:
2 Egg whites
80g Caster sugar
150g Unsalted butter, soft but still cold
25g Cocoa powder

Method:
  1. Whisk the egg whites and sugar over a double boiler until sugar has dissolved.
  2. Remove from heat and whisk continuously until it's cooled and the peaks are stiff and glossy.
  3. Add the butter in 3 batches, ensuring that it is well incorporated before adding another batch.
  4. Continue beating until it becomes creamy and fluffy.
  5. Lastly, sift in the cocoa powder and continue beating until the buttercream is uniformly smooth and chocky.
Pipe the buttercream on the cooled cupcake and topped it with Chocolate Maltese balls.

Povitica Buns

I was memerised by the Povitica from Wilde in the Kitchen! The swirls from the loaf looked so pretty! I googled for Povitica and found this in Wikipedia: 

"The povitica, a traditional Croatian and Slovenian pastry, is made from buttery pastry dough rolled into very thin layers and covered with a layer of brown sugar, spices, and walnuts."

Doesn't that sounds nice? When I looked at the recipe, the ingredients looked very similar for cinnamon rolls too! I don't mind having cinnamon rolls everyday! However, what I did differently was that I didn't baked it as a loaf, even though I would like to. I divided the dough and baked them separately as buns to giveaway.
The buns turned out to be soft and delicious. The ground walnuts dominated the paste. It will be better if more cinnamon powder or chocolate powder were added to enhance the flavour. The sweetness was just right for me. The paste really compliment the softness of the bread well. I will definitely try this again... Next time, I'll bake them in loaves as I would love to see the swirls they create!
Recipe for Povitica, modified slightly from Wilde in the Kitchen.
(Makes 20 buns or 2 loaves)


Ingredients:
(A)

1 tsp Fine sugar
1/2 tsp Plain flour
4 tsp warm water 
3 tsp Instant yeast

(B)
256g Whole milk
88g Fine sugar
1 1/2 tsp Fine salt
2 Eggs, large
30g Unsalted butter, melted
287g Bread flour

275g Plain flour

(C)
250g Walnuts, measure first, then grind in a food processor
70g Whole milk
80g Unsalted butter, melted
2 Egg yolks
1/2 tsp Vanilla extract
120g Fine sugar
1/2 tsp Cocoa powder
1/2 tsp Cinnamon powder

Method:

  1. In a small bowl, mix together the (A) ingredients and allow to sit at room temperature for at least 5 minutes. Make sure that your mixture is frothy.
  2. In a small saucepan, heat milk to 80C, remove from the heat and allow to cool to 43C. (I didn't use a thermometer, I just go by the feel.)
  3. In a large bowl, mix warm milk from #2 above, sugar and salt from (B) until dissolved.
  4. Add egg, yeast mixture, melted butter and 1/2 cup flour.
  5. Add the remaining flour, 1/4 cup at a time, until the dough comes together. Use a k-beater to do the mixing.
  6. Switch to the dough hook, and knead until smooth.
  7. Coat a bowl with cooking oil and add dough, roll the dough around to coat in oil.
  8. Cover the bowl with plastic wrap and allow to rise for an hour, or until doubled in size.
  9. Just before the dough is doubled, grind the walnuts from (C) in a food processor and add the remaining ingredients.
  10. Mix all the ingredients from C together. You'll get a thick but spreadable mixture.
  11. Spread flour on your worktop. Add the bread dough, and divide into two portions. Let it rest for 10mins.
  12. On a floured surface, roll out the dough thinly into a rectangular shape.
  13. Add the prepared topping and spread it thoroughly to cover the entire dough.
  14. Then gently lift up the dough and rolled it tightly towards you.
  15. Fold it in half and twist it. Then cut it evenly and place it in paper cup. (This step can be very messy. Might become difficult to manage. Skip the twist and just cut it and place it in a paper cup.)
  16. Do the same for the other dough.
  17. Let it proof for another 45mins.
  18. Brush them with milk.
  19. Bake it in a preheat oven at 180C for 14mins. (If baking loaves, bake it for 15mins at 180C, then continue baking at 150C for 30-45mins. Cover the bread with foil after 30mins to prevent being burnt.)
Don't ask me how I got those patterns. They were the result of the messy twists and turns!

Cinnamon Rolls

Over the past few weeks, I've seen so many bloggers baking the no-knead cinnamon rolls. It really tempted me to try this. There were so many good reviews about this recipe and the rolls.

Being a cinnamon roll lover, I attempted this recipe. Even though the rolls turned out to be really soft and good, the handling of the dough was rather messy. I also thought it wasn't  easy to add walnuts to it. I love my cinnamon rolls loaded with walnuts too! Therefore, I squeezed some miserable walnut bits to the rolled dough. Quite unsightly uneven as you can see.

Overall, this recipe is definitely good though. I might attempt this again, only if I want my cinnamon rolls without walnuts! :p