Friday, December 15, 2017

Passionfruit Chiffon Heart

I didn't realise it had been months since I updated my post. Baking scene for me was just the usual foolproof repeated bakes. There wasn't really anything that interesting, which was one of the result this blog is stagnant. :p 

I had been busy meeting friends, attending workshops and a few travels. Sometimes, I find it hard to embark on new recipes when nobody wants to try it, or no special occasion. Which also gave me the excuse to laze away from my kitchen.

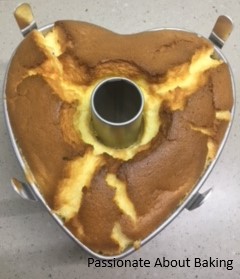
This is also a bake I made a couple of months back. However, I would like to keep this recipe since it turned out so well. I adapted this recipe from Cuisine Paradise and found it to be so lovely. The passion fruit taste was subtle and nice. And the cake was really soft and fluffy.
IMG_2701
Recipe for Passion fruit Chiffon Cake, adapted from Cuisine Paradise.
(Makes a 20cm heart, or use a 20cm tube pan)

Ingredients: 
5 Egg yolks 
20g Caster sugar 
60ml Passionfruit juice + all pulps
40ml Corn oil
100g Cake flour 
1/2 tsp Baking powder 
Zest of 1 lemon

5 Egg whites
80g Caster sugar 
1/2 tsp Corn flour
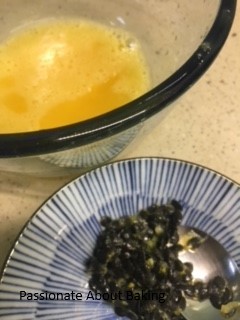
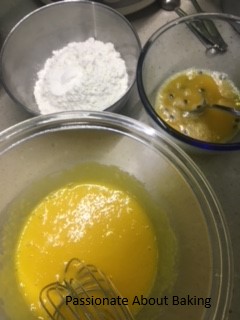
IMG_2691 IMG_2692
Method:
1. Using a hand whisk beat egg yolks and sugar till pale and creamy.

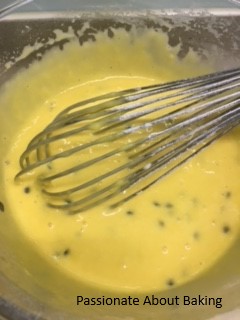
2. Stir in oil, passionfruit juice, pulp and sieved flour (plus baking powder) in sequence till well combined. Set aside.
IMG_2694
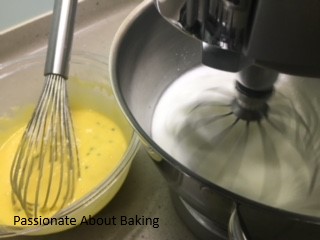
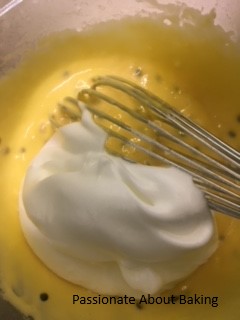
3. Next using an electric mixer, whisk egg whites till foamy. Add in the corn flour in the sugar and add the sugar into the whites gradually. Continue to whisk on till almost stiff peak and glossy.
IMG_2696
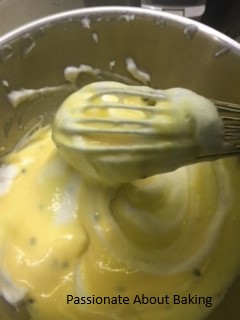
4. Gently fold whites into flour batter in 3 batches till combined.
IMG_2697 IMG_2698
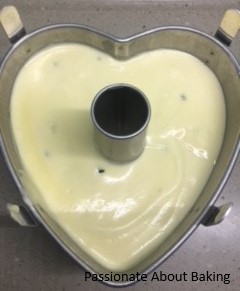
5. Pour batter from height into the ungreased tube pan. Bake in preheated 160 degree oven (2nd lower rack) for about 40 minutes or until a skewer inserted in the centre & comes out clean. 
IMG_2699
6. Invert cake tin immediately to cool completely before removing. Then enjoy!
IMG_2700 IMG_2702

Tuesday, July 25, 2017

Cravings for Churros

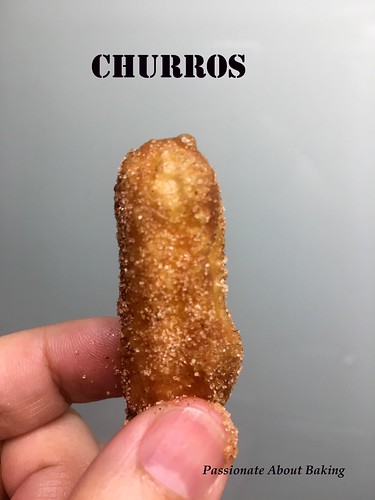
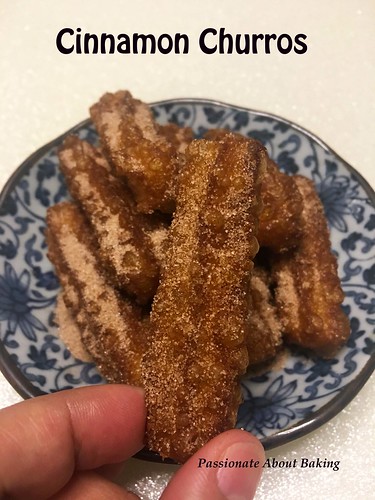
These few months, I had cravings for churros so badly, I just buy them to satisfy my cravings regardless of where I am. I must say, this little choux pastry is not very cheap. I know that I can make it easily, but I got put off when I had to fry them.
churros06
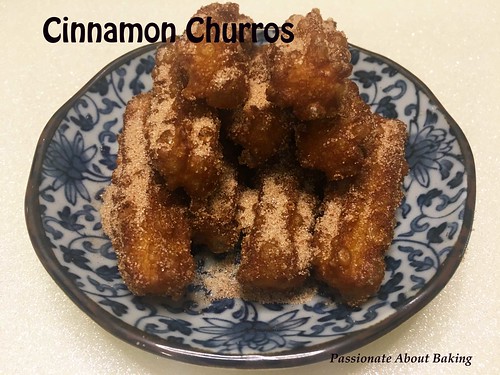
Somehow, the cravings got the better of me. I finally threw in the towel - I made it myself. No regrets for doing it this once. Because after an overdose of making and eating this, it curbed my cravings for a long time now. After searching for a few recipes, I found Martha Stewart's recipe more comfortable to achieve. Although there were blistles on my churros after frying, it was crispy on the outside and very light inside. It's different from the ones I purchased outside, where the inside is dense and thick. I fell in love with this churros immediately. Coat with sugar and cinnamon and it was truly heaven for me. When the next time my cravings return, I shall try with other flavours. But my favourite shall always be the classic - sugar and cinnamon.


churros08 

Recipe for Churros, adapted from Martha Stewart.

Ingredients:

113g Unsalted butter
1 cup Water
2 tbsp Granulated sugar
1/4 tsp Sea salt
1 cup Plain flour
3 large Eggs
Vegetable oil, for frying
Granulated sugar
Cinnamon powder 

Method:
1. 
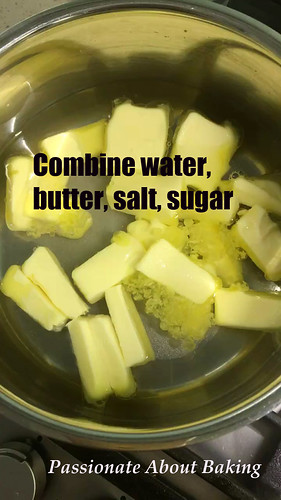
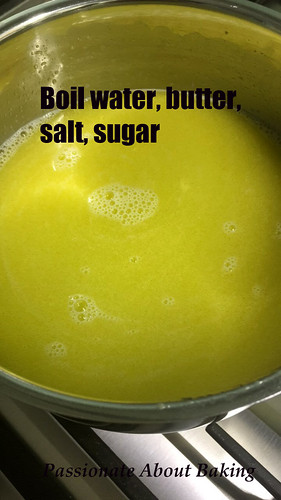
In a medium saucepan, combine 1 cup water, butter, sugar, and salt; bring to a boil over medium-high heat. 

churros01 churros02
2. Reduce heat to low, and sift in flour, stirring for 1 minute.
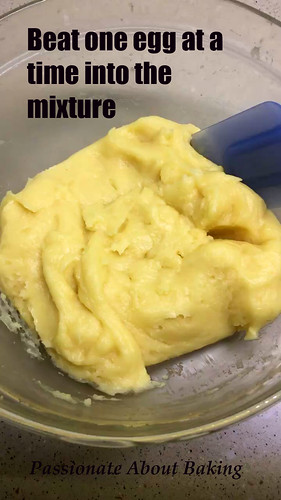
3. Transfer flour mixture to bowl of an electric mixer fitted with a paddle attachment. On low speed, add eggs, 1 at a time, beating until incorporated after each addition. [I used a spatula to beat in the eggs one at a time.]
churros03
4. Spoon mixture into a pastry bag fitted with a large open-star tip.
5. Heat 3 inches oil in a small pot.
6. Holding pastry bag a few inches above the oil, squeeze out batter, snipping off 4-inch lengths with a knife.
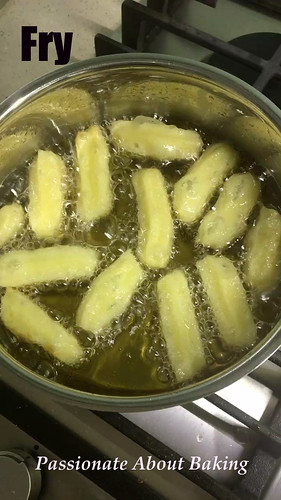
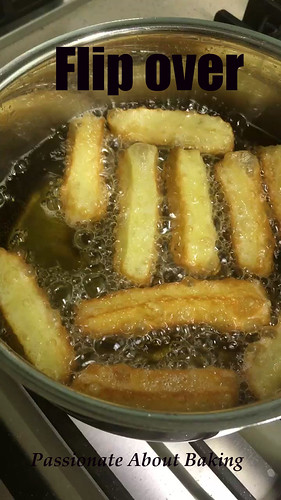
7. Fry, flipping once, until deep golden brown all over, about 4 minutes. 
churros04 churros05
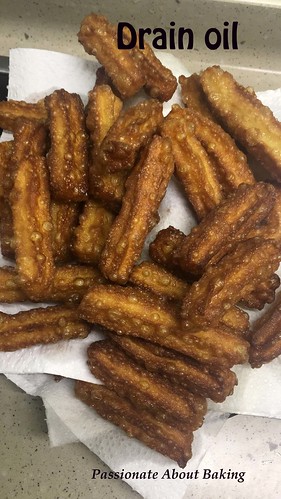
8. Using a slotted spoon, transfer churros to a paper towel-lined baking sheet to drain.
churros07
9. Roll churros in sugar and cinnamon while still warm. 
10. Serve with chocolate sauce if required.

Enjoy your homemade churros! And say goodbye to storebought ones!
churros09

Sunday, July 9, 2017

Jaime Oliver's Roast Chicken

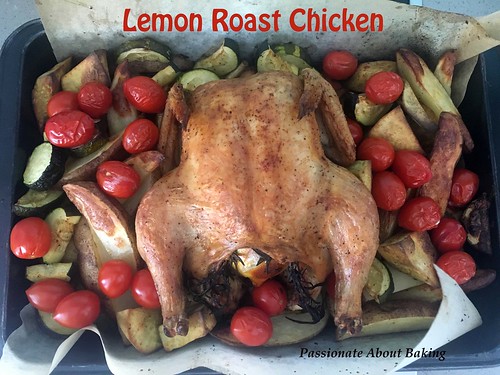
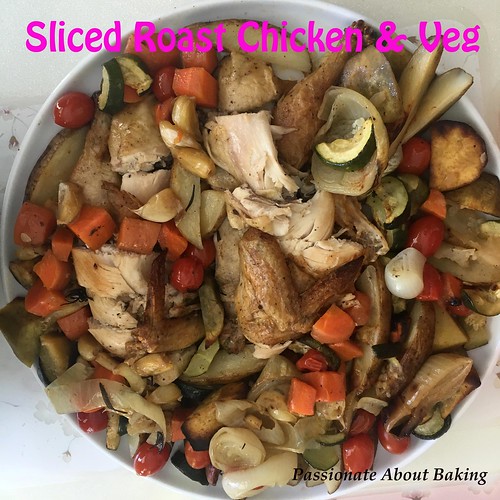
It had been a while since my baking friends and I had a gathering. I suggested to come to my house this time for our gathering since I had moved to a new place last year. It was a simple gathering with potluck where they cook and bake very delicious food. We had curry devil, scotch eggs, chutney, mango cake and sakura panna cotta. I also made lemongrass drink and a salad. They were all yummy homemade goodies. And of course, we also had some store bought food too! With these group of baking and cooking experts, I decided baking a roast chicken might suit their taste. So I made Jamie Oliver's Roast Chicken with roast vegetables. I was glad they like it! The roast chicken was soft and tender and flavourful. The roast vegetables were crisp but soft. This is truly one easy and impressive dish to whip up for a function!
chickenroast03
Recipe for Roast Chicken with roast vegetables, adapted from Jamie Oliver.

Ingredients:
1 large fresh Chicken 
2 medium onions 
2 carrots 
1 bulb garlic 
1 lemon 
1 bunch of fresh Rosemary herbs
Olive oil
Sea salt
Black pepper
Paprika

2 large Sweet Potatoes, cut randomly
3 Potatoes, cut in wedges
2 Zucchini
1 packet Cherry tomatoes 

Method:
1. Remove the chicken from the fridge 30 minutes before you want to cook it, to let it come up to room temperature.
2. Preheat the oven to 220°C.
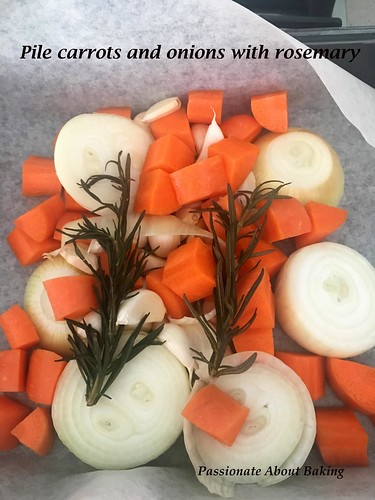
3. Wash and roughly chop the vegetables.Break the garlic bulb into cloves, leaving them unpeeled.
4. Pile all the veg, garlic and herbs into the middle of a large roasting tray and drizzle with oil.
chickenroast01
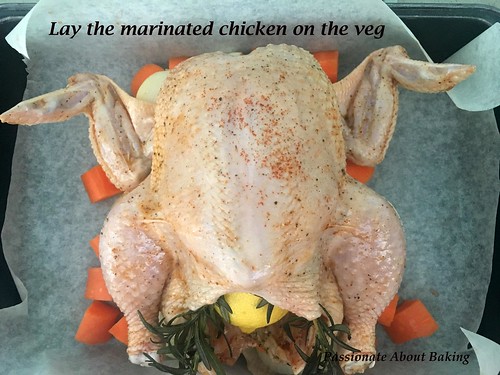
5. Drizzle the chicken with oil and season well with sea salt, black pepper and paprika, then rub all over the bird. Place the chicken on top of the vegetables.
6. Carefully prick the lemon all over, using the tip of a sharp knife. Put the lemon inside the chicken’s cavity, with the bunch of herbs.
chickenroast02
7. Place the tray in the oven, then turn the heat down immediately to 200°C and cook for 45mins.
8. Add in the vegetables after 45mins of cooking. The vegetables would have been mixed with olive oil, black pepper, salt and paprika.
9.  Continue cooking for another 45mins.
10. When the chicken is cooked, take the tray out of the oven and transfer the chicken to a board to rest for 15 minutes or so. 
11. To carve your chicken, carefully cut down between the leg and the breast. Cut through the joint and pull the leg off.
12. Repeat on the other side, then cut each leg between the thigh and the drumstick.
13. Finally, arrange the chicken and the vegetable on a plate and serve.
chickenroast04

Monday, July 3, 2017

Homemade Chicken Nuggets

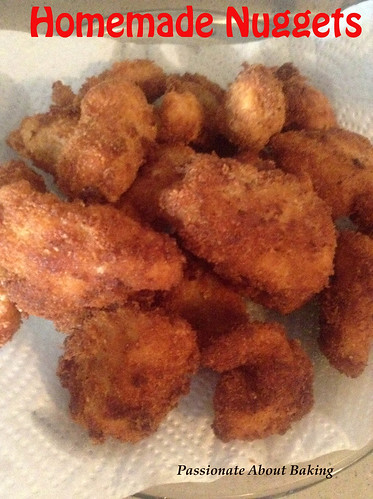
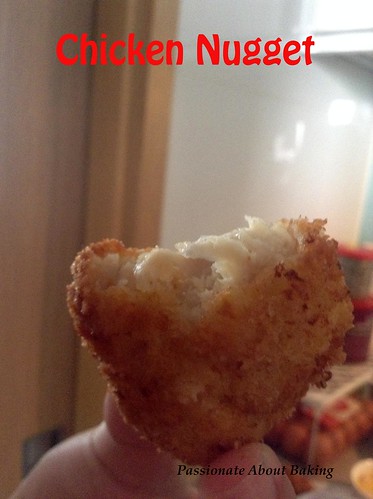
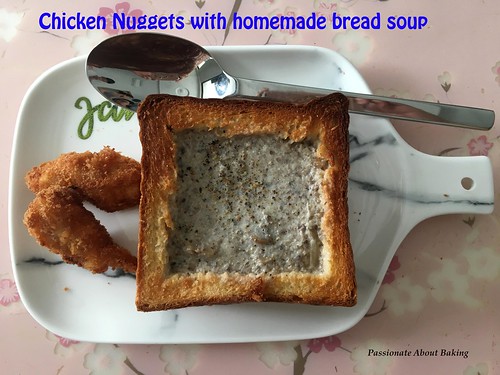
On my previous post, I made soup with chicken nuggets. Here, I'll be sharing on how good and easy the chicken nuggets are! I didn't realise chicken nuggets can be so easy and good making it myself. I would try not to buy ready ones in future! 
nuggets08
Recipe for Chicken Nuggets, adapted from Food Network.
(Serves 6 persons as appetiser)

Ingredients:
1/2 cup Plain flour (Can reduce to 1/3 cup)
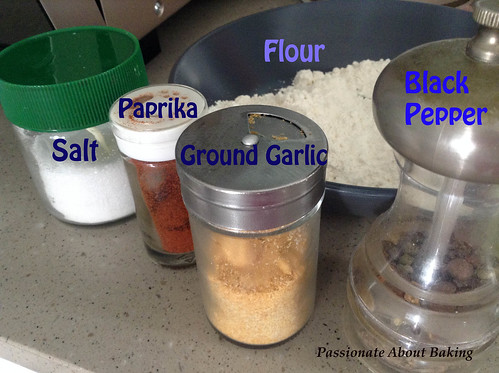
1 tsp Ground garlic
Fine salt
Freshly ground black pepper
Paprika
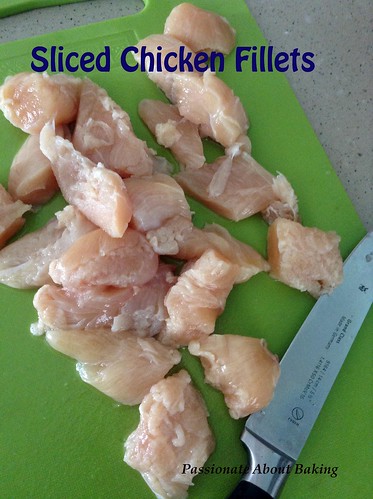
1 packet chicken fillets (approx. 250g, cut into 1 1/2-inch pieces)
1 cup homemade breadcrumbs (refer to below recipe)
1 large Egg (I used 2 eggs)
1 cup Vegetable oil 
nuggets03 nuggets04
Method:

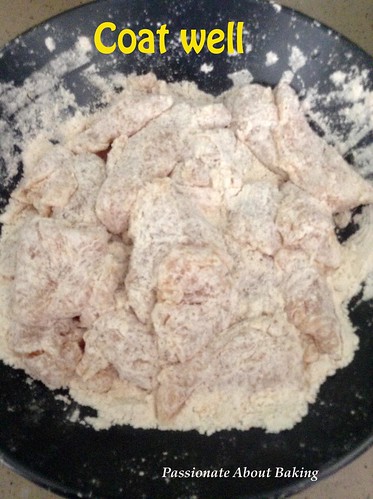
1. Place the flour and the spices in a bowl.
2. Put the chicken pieces in and toss to coat all. Set aside to rest.
nuggets05
3. Place the breadcrumbs on a plate and set aside.  
4. Whisk the egg in a medium bowl. 
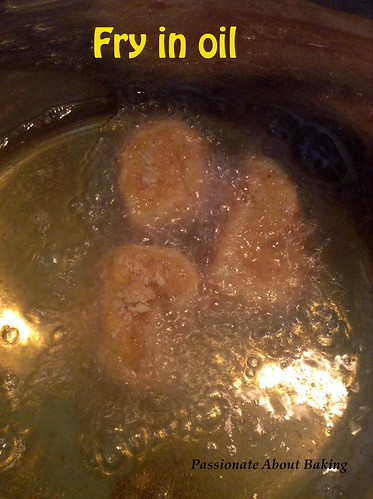
5. Heat the vegetable oil in a large frying pan over medium-high heat.
6. Remove a piece of chicken from the flour, dip in the egg mixture, then the breadcrumbs, gently pressing the crumbs into the chicken and place in the oil to fry till brown.
nuggets06
7. Use a tong to transfer the chicken nuggets to a paper-towel-lined plate. 
8. Salt, if desired, while hot and serve.
nuggets07

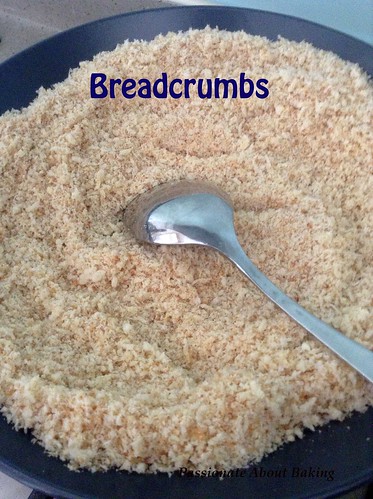
Recipe for Homemade Breadcrumbs

Use stale bread, or I used  bread from my bread bowls.
5 slices of stale bread, if using it.

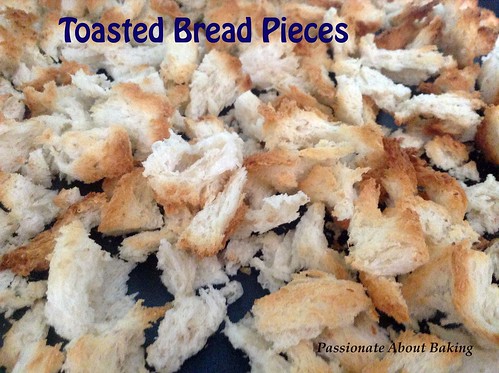
1. Bake in 140C fan oven for 10mins till browned.

2. Cool it.
nuggets01
3. Blend them in a blender till fine.
nuggets02
4. Use as desired.

nuggets09

Monday, June 26, 2017

Mushroom Soup on Wholemeal Bread Bowl

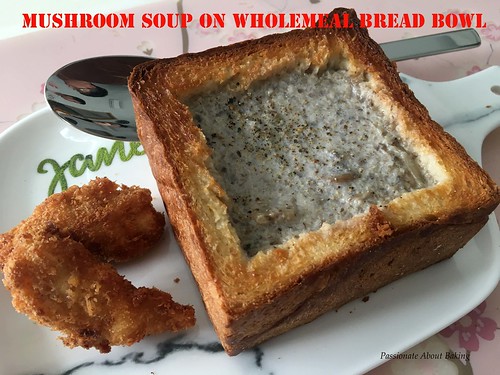
I have been neglecting this blog for quite a while. Have been busy with repeated bakes, attending workshops and also watching my Korean dramas. All these are pretty addictive. On this public holiday, I have decided to make bread bowl soup for lunch for my children. I like to explore baking foods.

I was glad the food turned out pretty well though I would like my soup to be thicker. I guessed I must've added a bit more water. But the overall taste was good. And everyone polished off their bread bowls too!

breadbowl_mushroom04
Recipe for Mushroom Soup on Wholemeal Square Bread Bowl
(Serves 6 persons)

Wholemeal Square Bread Bowls, modified from here.
(Makes four 4" square bread loaves)

Ingredients:
50g Wholemeal flour
450g Bread flour
40g Castor sugar
9g Salt
50g LIV unsalted butter
360g Fresh milk
6g Instant yeast

Method :
1. Mix all ingredients (except butter) into a dough using low speed for 3mins.
2. Add in the butter and continue to knead until the dough is pliable (smooth, soft and elastic), about 5-6mins on medium speed.
3. Shape into a ball, cover to rest dough for about 1 hour or double in size.   
4. Flatten the dough into a rectangular shape.  Divide equally into 8, approximately 140g each. 
5. Pre-shape it and let it rest for 10mins. 
6. Roll up swiss-roll style and tighten the dough.
7. Place 2 doughs into one loaf pan.
8. Cover and leave to proof for about 50-60 minutes.
9. Bake in a preheated oven, fan forced, at 200°C for 30 minutes with cover. (I baked them on a baking stone, on the lowest rack.)
10. Remove from the mould and let it cool completely before slicing.

Mushroom Soup
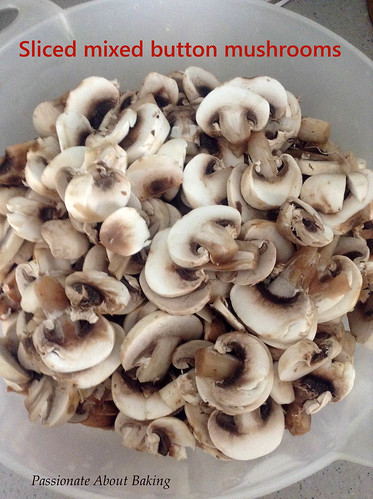
4 punnets of Button mushrooms (a mixed of brown and white), approximate 150g each, sliced
2 large Onions, sliced
1 cube Chicken vegetable stock
1.5 litres Water
400ml Cream (I used heavy cream)
Olive oil
4 cloves Garlic, chopped

Method:
1. Heat up a medium pot on low. Add olive oil.
2. When it's hot, add chopped garlic to cook till browned. Add onions and cooked till soft.
3. Add in mushrooms and cooked till it reduced to half the quantity, and soft. Turn up the heat to medium.
breadbowl_mushroom01 breadbowl_mushroom02
4. Spoon out 5 tablespoon of mushrooms to keep for later.
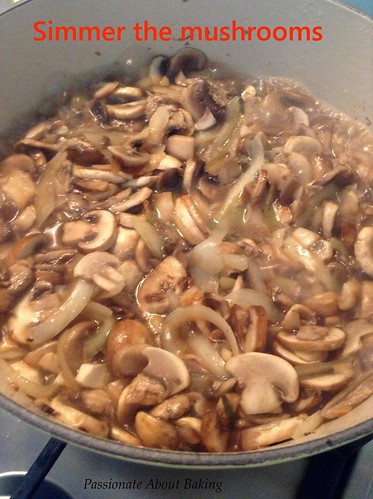
5. Add in the water and chicken vegetable stock. Close the lid and let it simmer on medium heat.
6. Lower the fire. Use a handheld blender to blend the soup. Then add in the mushrooms from #4.
7. On low heat, add in the cream, and stir.
8. Simmer and bring it to a boil, then turn off the heat.

Prepare the Bread Bowl
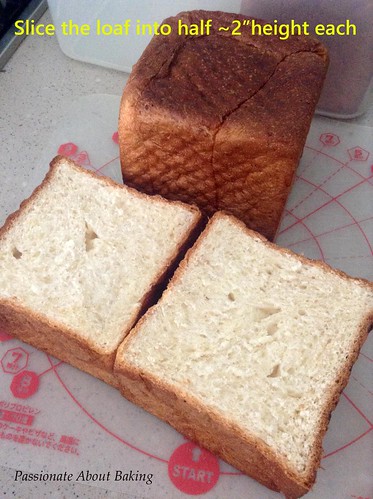
1. Cut the loaf bread two 2, each about a height of 2".
breadbowl01
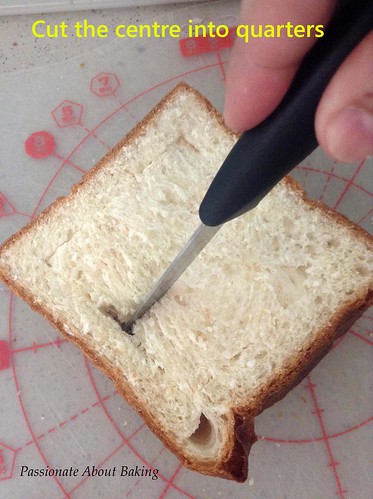
2. Use a short knife, cut into the bread about 1 cm from the sides. Then cut into quarters into the centre.
breadbowl02
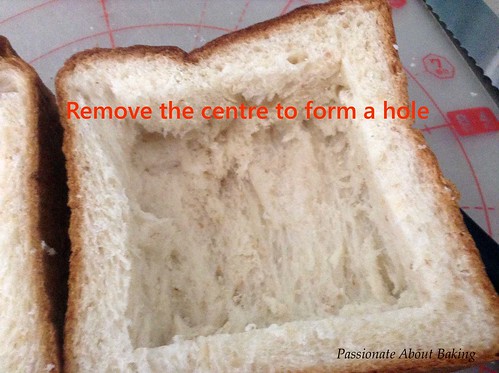
3. Remove the soft breads to make a hole in the centre.
breadbowl03
4. Spread the sides with butter.
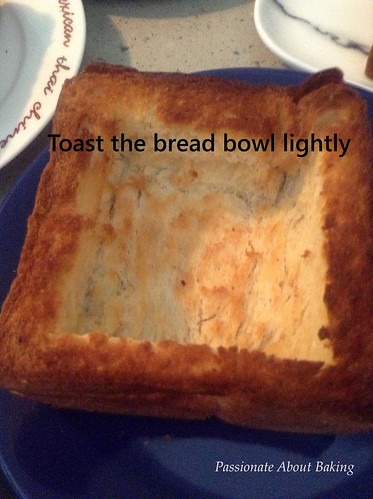
5. Toast the bread lightly to make it crispy so as to hold the soup.
6. Toast in fan forced oven at 160C for 8 mins.
7. Remove immediately.
breadbowl04
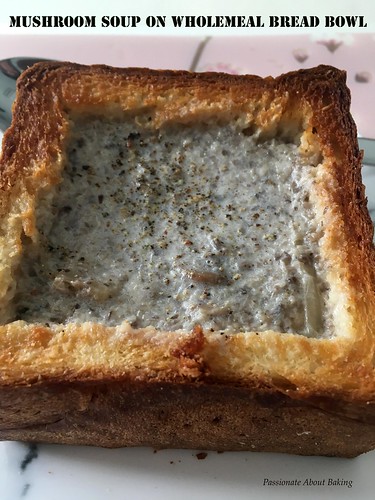
8. Scoop the mushroom soup directly into the bread bowl.
9. Sprinkle with black pepper and serve.

Enjoy!
breadbowl_mushroom03

Sunday, April 23, 2017

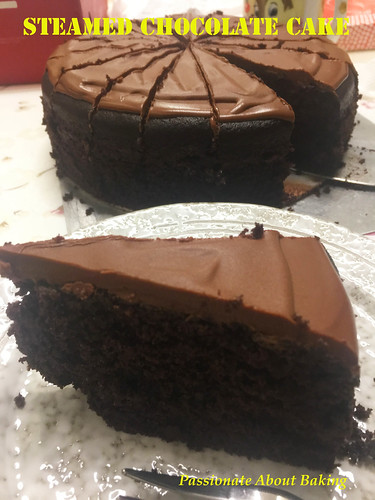
Steamed Chocolate Cake

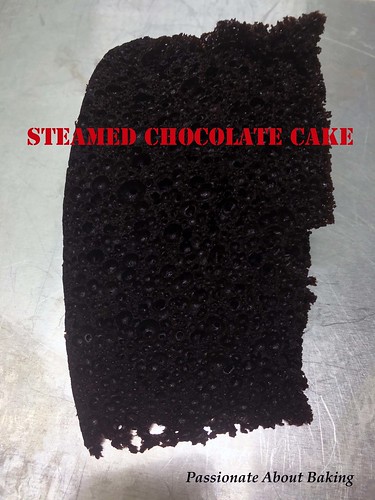
A frosted cake is made usually with an occasion or a request. However, I had a sudden urge to bake a nice chocolate cake recently. One recipe that got me tempted was this One-Bowl Milk Chocolate cake. But at that time, my helper was on home leave, so I couldn't find the time to bake it. Then, I saw Zoe's post on this Steamed Chocolate Cake and I was sold! 
cake_steamedchoc01
It answered my temptation for baking a good chocolate cake. So I decided to bake Zoe's cake instead. It was really simple, and it tasted moist and soft too! I really like her recipe and I'm sure to make it often to satisfy my craving for chocolate cakes! Recording the recipe for my own reference. I strongly encourage you to try this cake. You'll be hooked.
cake_steamedchoc02
Recipe for Steamed Chocolate Cake, adapted from Bake for Happy Kids.
(Makes an 8" round cake)

Ingredients:
180g Unsalted butter
60g Caster sugar
60g Light brown sugar
180g Evaporated milk
2 Large eggs, about 70g each with shell and lightly beaten
1 tsp Vanilla extract
100g Plain flour
50g Dutch process cocoa powder
1 tsp Baking powder
1/2 tsp Baking soda
1/4 tsp Fine sea salt

Method:

1. Line the bottom of the pan with a piece of baking paper. Preheat steam oven.
2. Add butter, both sugars and evaporated milk in a large saucepan. Place the saucepan over a low heat and use a hand whisk to whisk mixture while cooking until sugar is completely dissolved and mixture is smooth.
3. Remove saucepan from the heat. Allow mixture to cool until it is nearly like room temperature or cool enough to touch.
4. Add eggs and vanilla into the butter mixture and whisk until combined.
5. In another bowl, combine flour, cocoa powder, baking powder, baking soda and salt. 
6. Sift flour mixture into the butter mixture and whisk until all are just combined. Do not over mix. Cake batter is runny.
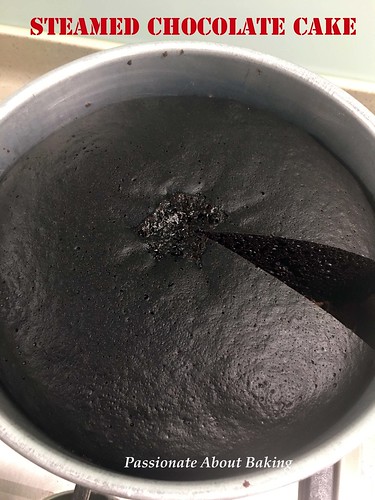
7. Pour batter into the prepared pan and place the pan into the steamer. Cover pan with a large piece of foil.
8. Set the steam oven for 70mins at 100C. 
9. Remove the cake from the oven and allow it to cool completely in the pan before removing it onto a wire rack. 

Chocolate Frosting

Ingredients:
50g Dark chocolate, 55% cocoa & above
60g Unsalted butter, soften at room temperature
1/4 tsp Vanilla extract
30g Icing sugar, sifted
1 tsp Boiling hot water

Method:

1. Place chocolate in a heat-proof bowl and melt chocolate by stirring it over a pot of simmering water until just melted. Set aside for the chocolate to cool slightly.
2. Using a whisk, beat butter, vanilla and icing sugar until light and creamy. 
3. Add warm chocolate and hot water into the mixture and mix until just blended. 
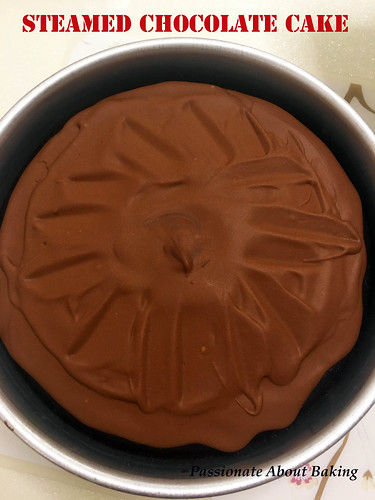
4. Do not whip! Spread immediately on the completely cooled cake.
cake_steamedchoc03
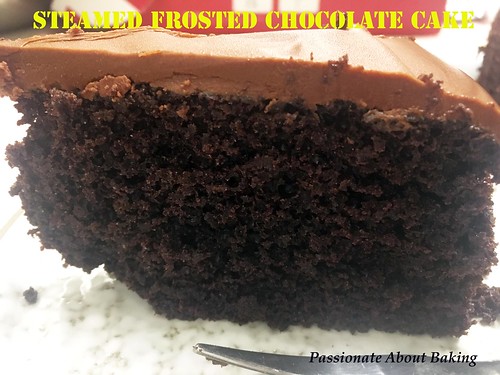
The frosting was very runny. However, it hardens when refrigerated. What is nice about the frosting is, even after taking out from the fridge, it turns soft and can be eaten immediately. I find that the proportion of the frosting to the cake is just nice...on the surface is more than sufficient. Enjoy!
cake_steamedchoc04
Updated  a week later:
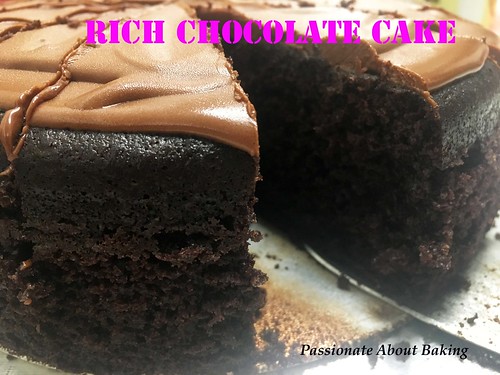
After finishing this cake, I was addicted and tempted to bake this again. I tried the 2nd recipe this time, and it tastes just as good (on its own too!) However, I found that this 2nd recipe yields a more "holey" texture and feels fluffier. I made it into a 8" cake without frosting and it was just as nice. My conclusion is, the 2nd recipe seems to yield a lighter cake for me. I will stick to it for now. 😄 You just have to try it
cake_steamedchoc05 cake_steamedchoc06

Sunday, March 19, 2017

Lingonberry Coconut Scones

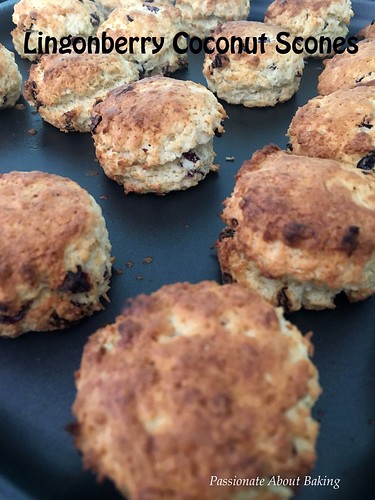
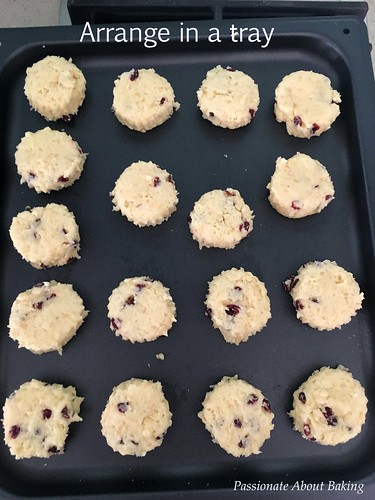
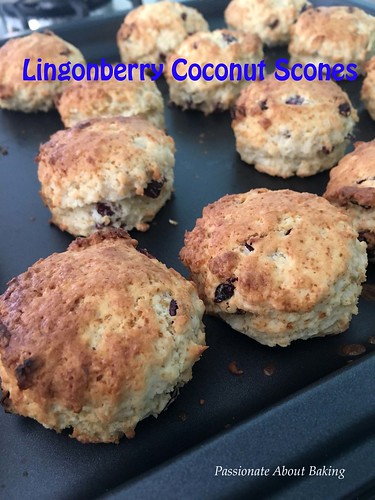
It's been a long while since my last blog post. My hiatus was mainly because (1) I was busy with house shifting in December, (2) January was busy baking for Chinese New Year, (3) February was away for a holiday in Europe. Finally I get to settle down now. Testing out my new oven with existing recipes. I also bought a new steam bake oven and trying it out with existing recipes. So many things to try, but so little time on hand!
In order to test out my new smaller oven, I try it with scones. The heat was more intense than the bigger oven. Has to watch the oven very closely. Needs to do more recipes in order to understand my new ovens.
scones_lingonberry4

Recipe for Lingonberry Coconut Scones, adapted from Delia.
(Makes 17 minis, approx. 1.5" diameter)

Ingredients:
225g Self-raising flour
40g Caster sugar
75g Salted butter, cold, cubed
20g Lingonberries (or other dried berries)
40g Toasted desiccated coconuts
1 Whole egg, approx. 55g, beaten
45g Whole milk
Some milk for brushing

Method:
1. Place flour and sugar into a bowl.
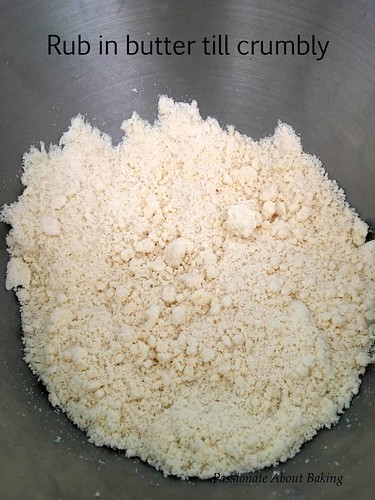
2. Rub the butter into the dry ingredients until the mixture looks crumbly.
scones_lingonberry1
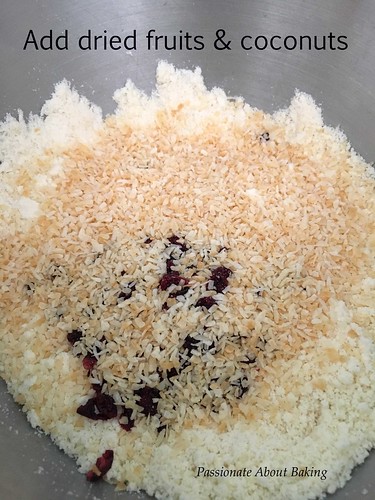
3. Add in dried fruit and desiccated coconuts.
scones_lingonberry2
4. Pour in the beaten egg and milk.
5. Mix with a spatula, bringing the mixture together using your hands. The dough should come together.
6. Form the dough into a ball and turn it out onto a lightly floured working surface.
7. With a floured rolling pin, roll it out very lightly to a thickness of about 3cm. 
8. Then take the pastry cutter and tap it sharply so that it goes straight through the dough – do not twist or the scones will turn out a strange shape!
9. When you have cut as many as you can, knead the remaining dough together again and repeat. 
9. Then place the scones on the baking sheet, and brush with milk.
scones_lingonberry3
10. Bake in a preheat oven of 200C for approximately 10mins. 
11. When they’re done they will have risen and turned a golden brown. 
12. Remove them to a cooling tray and serve very fresh, split and spread with butter and jam.

scones_lingonberry5