
You can find the recipe from Channel U Ladies Nite, or from his blog post. Or watch the video from Ladies Nite.
Here's sharing how I made it, though quite a fair bit of work, but the result was satisfactory, considering this was the first time I made roti prata!
(Makes approx 16 pcs)
Ingredients:
1000g Prima Plain flour
450g Water
130g Condensed milk
25g Oil (or melted butter)
2tsp Salt
83g Eggs
Method:
- Mix all the liquid ingredients together - water, condensed milk, oil, eggs and salt.
- Pour the flour into a large mixing bowl. Then add in the liquid mixture into the mixing bowl.
- Using a dough hook, start mixing at low for 5mins. Rest for 5mins. Then repeat it for another 2 times. (So total 15mins kneading time, 10mins rest time)
- Using a cling wrap, let the dough rest for 30mins.
- After the resting time, floured a worktop, and knead the dough till smooth.
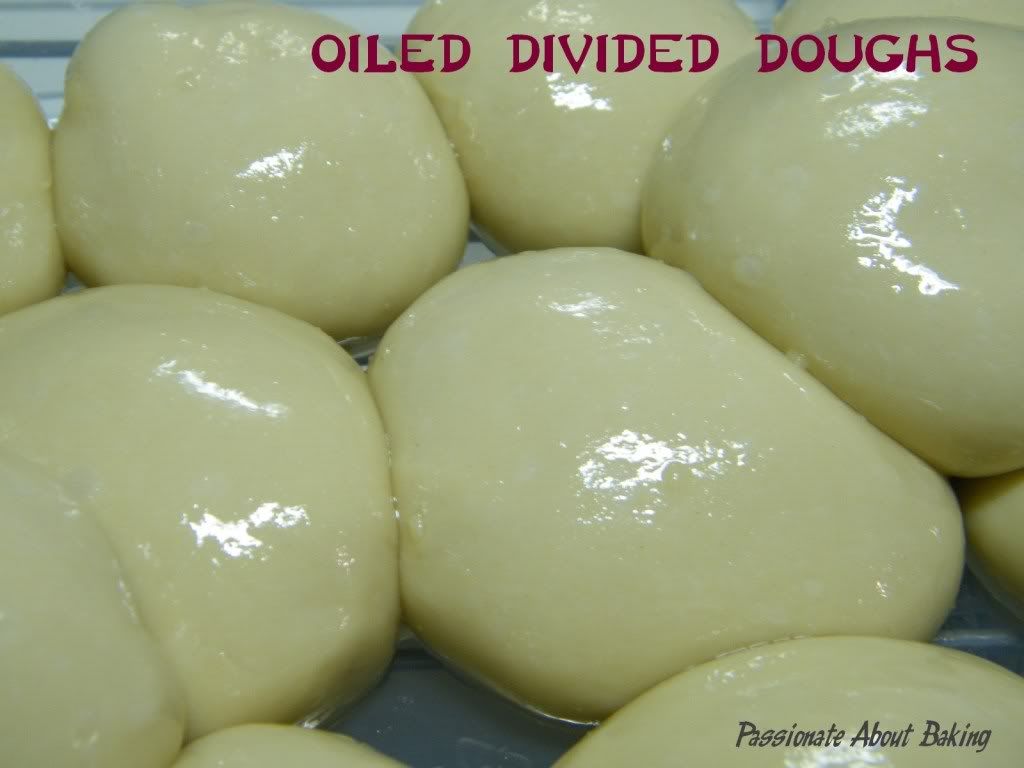
- Divide the dough equally, weighing approx. 100g per dough ball.
- Shaped it round, then oil it and place into a container.
- Leave it in the refrigerator overnight, or at least 8 hours.
Fillings (your personal preference)
Variations of what I made:
- Egg only
- Cheese only
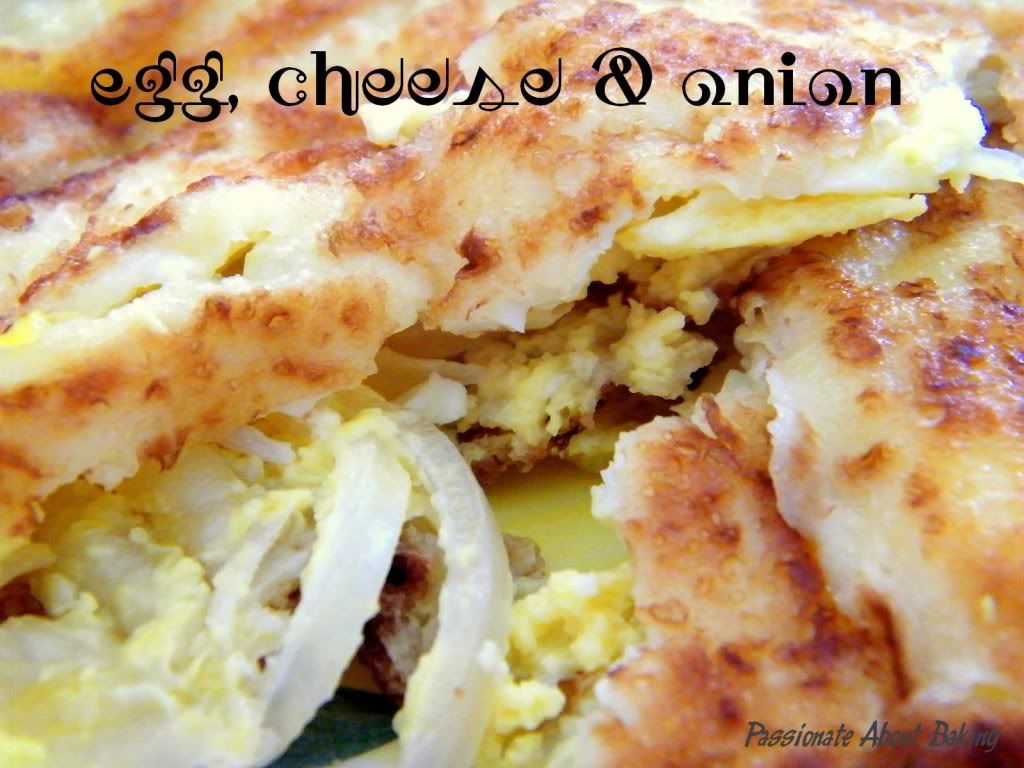
- Egg, cheese and onions
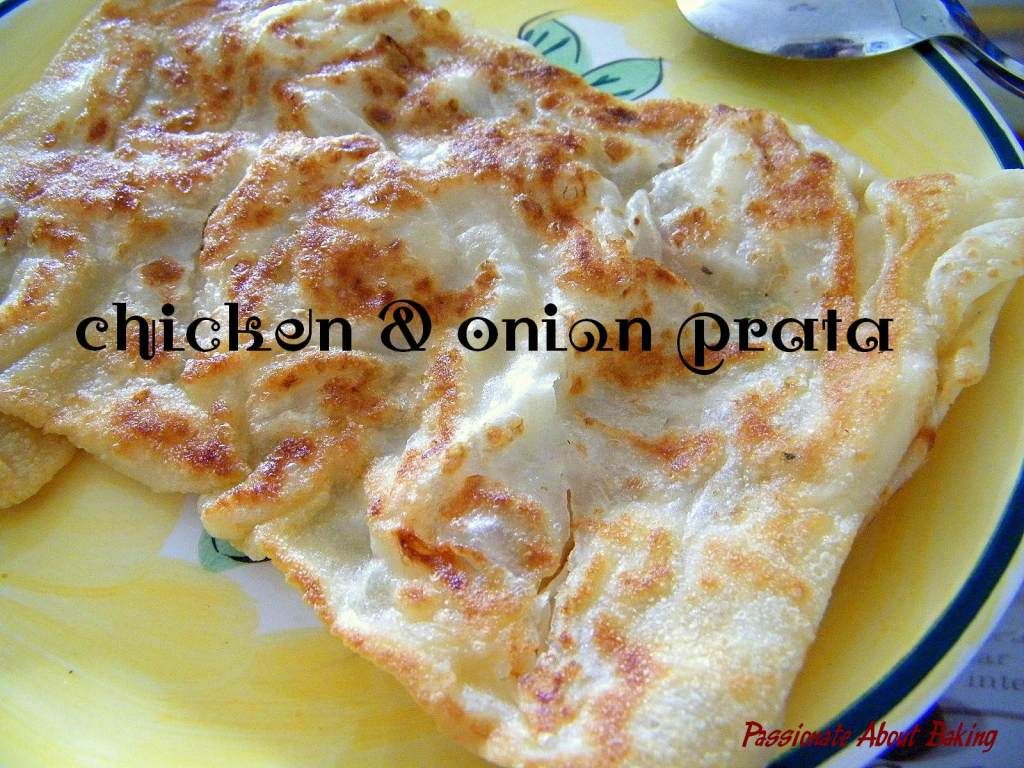
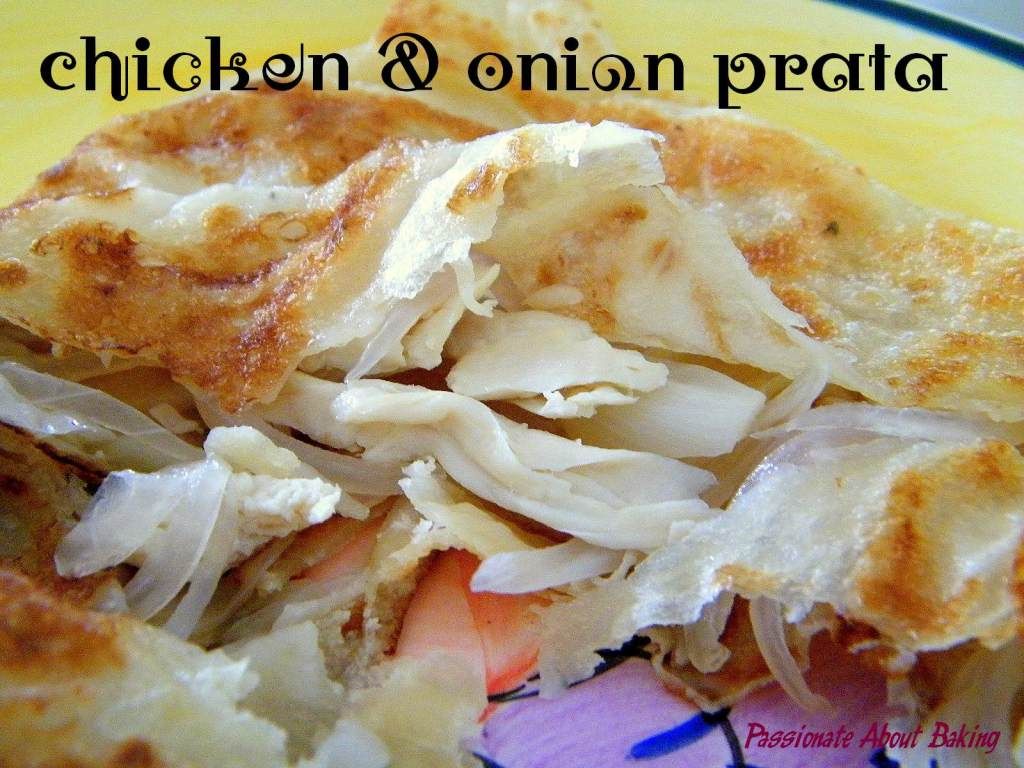
- Shredded roast chicken (leftover from the night before) and onions
- Plain
- Bring out the dough from the fridge one hour before making.
- Oil your worktop well. Prepare your frying pan.
- Refer to the below video for the novice way to make the stretched dough. If you want to try flipping like a pro, refer to this video link.
One of my nicer membrane dough (limited by the space I have!!)
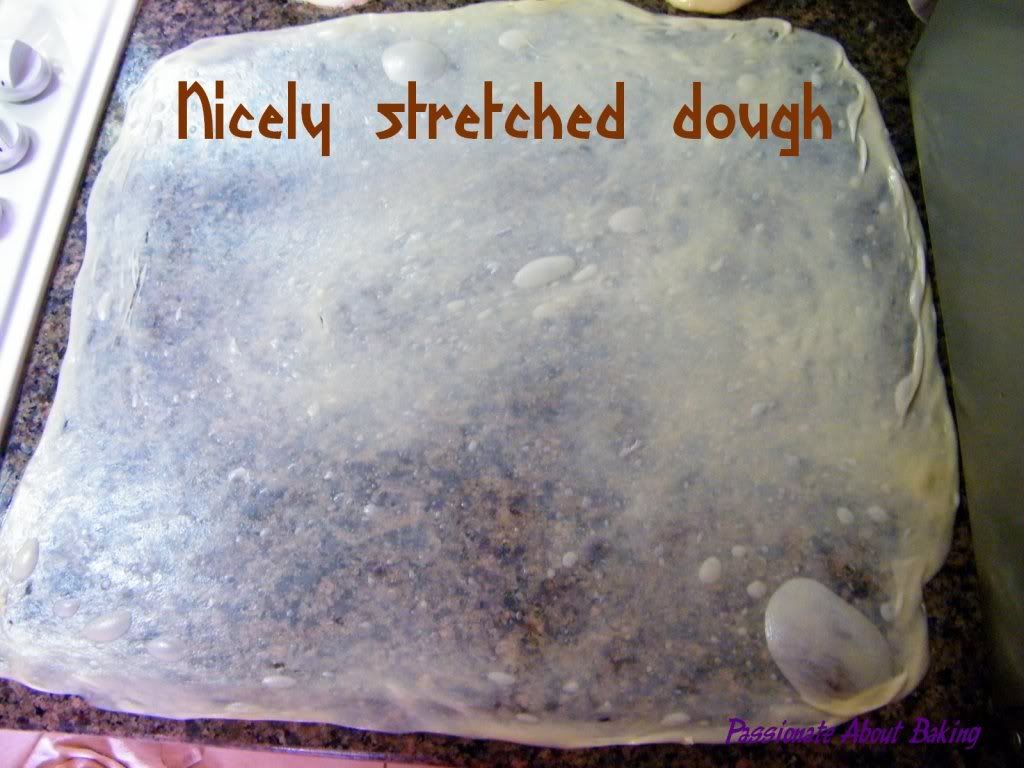
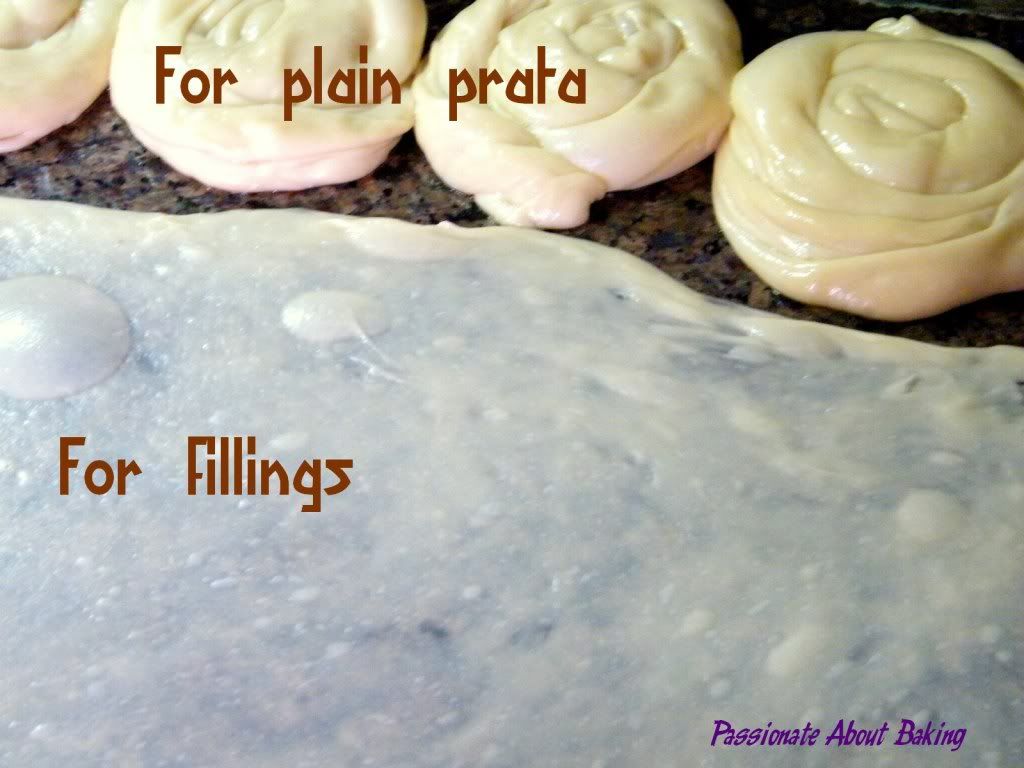
Once you have expanded your dough into a thin membrane, you can start adding the fillings in the centre.
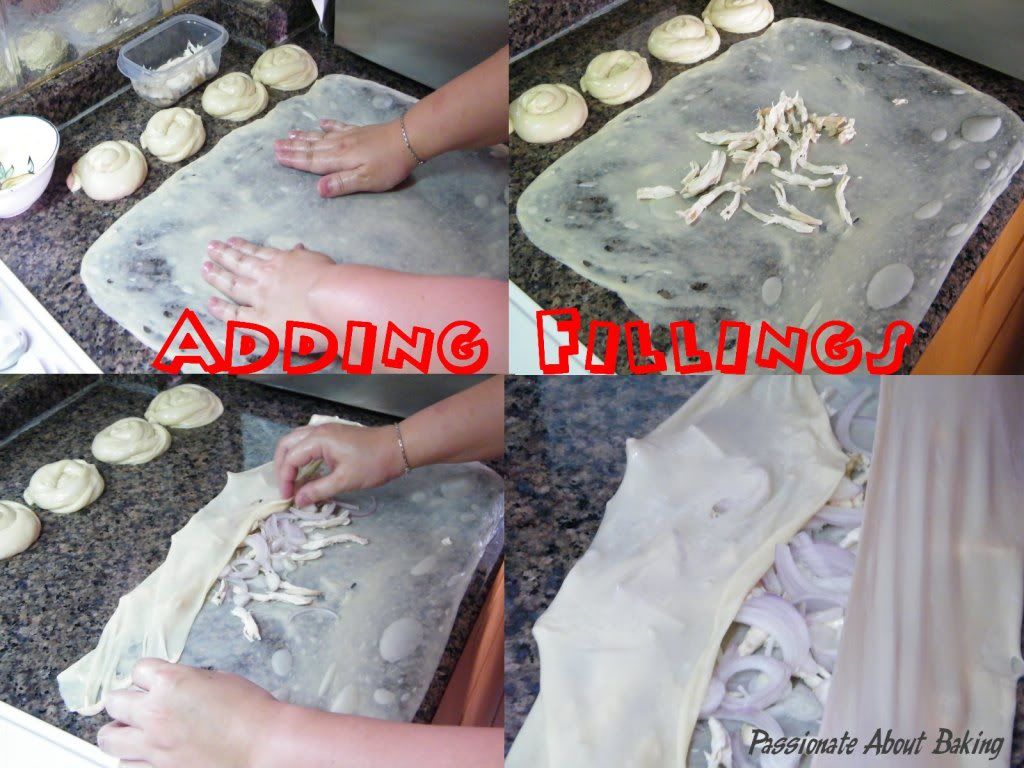
Then fold up the dough and fried it until brown.
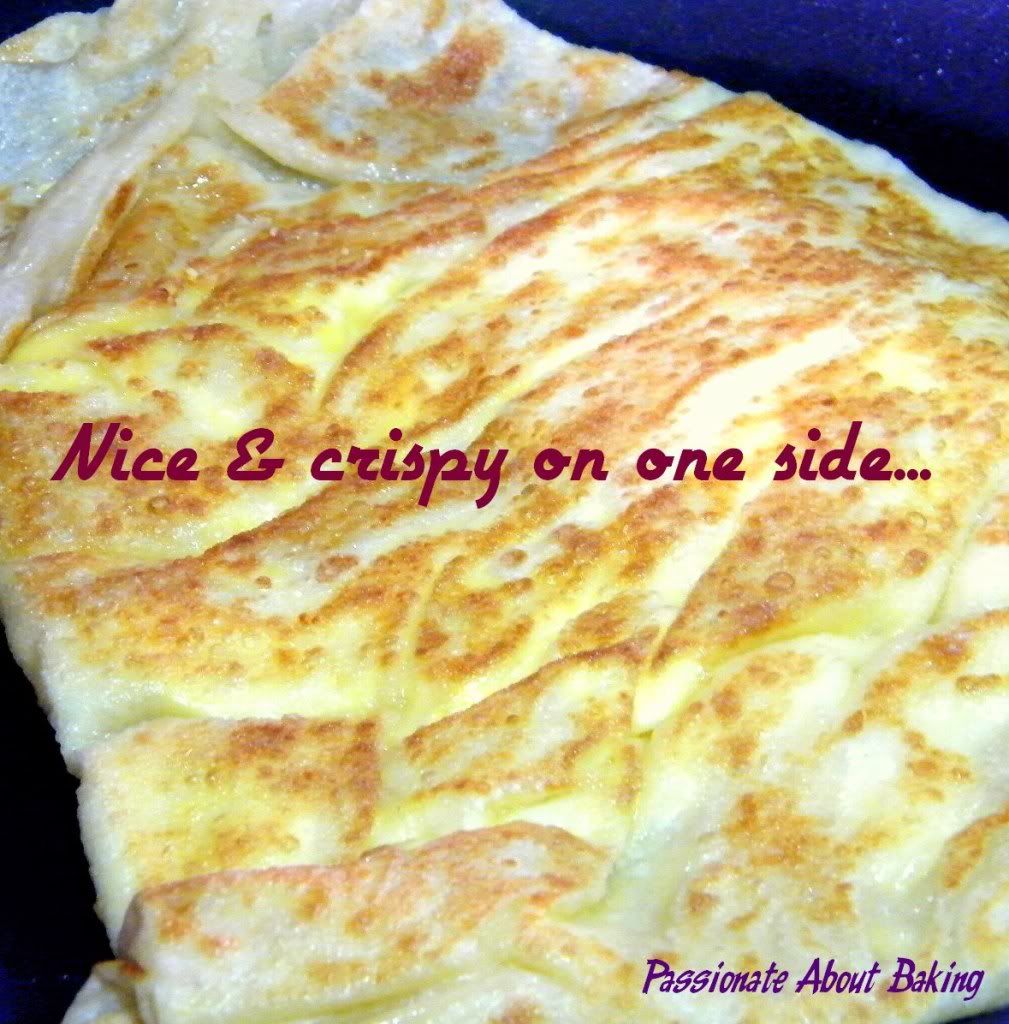
Enjoy while hot!
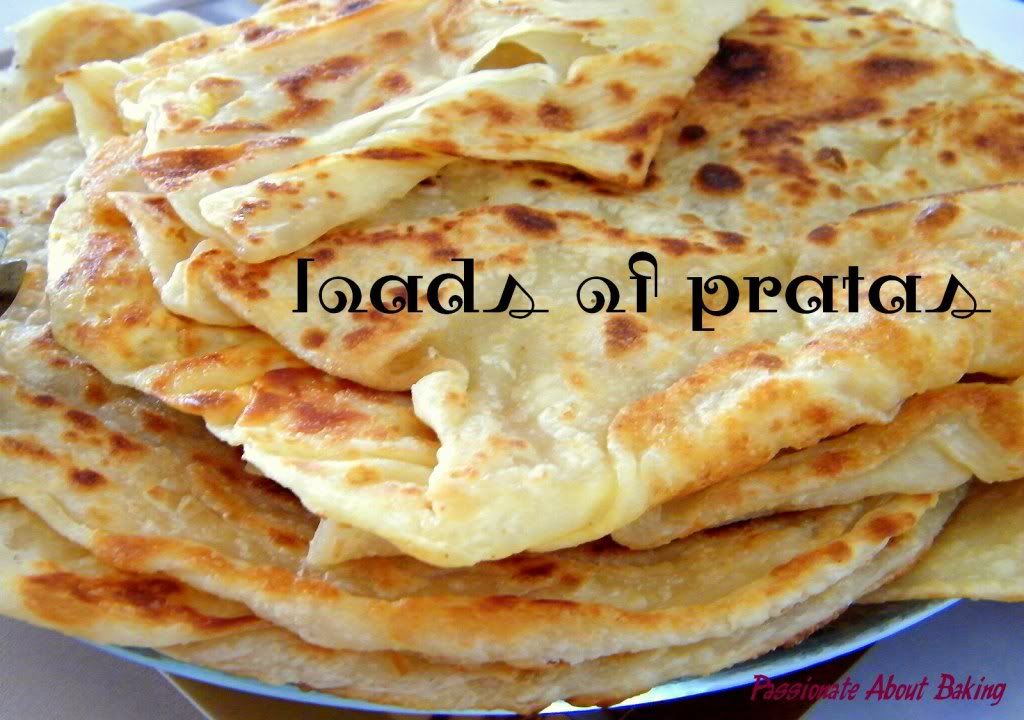
I thought that since I have fillings in my pratas, I can omit the curry gravy. However, when I tasted it, I found something amiss. Curry gravy is still needed somehow! The prata was thin, sweet and crispy, even though the folded sides were a bit chewy and thick though. As I only tried it after I finished frying all, they had turned cold. I believe when consumed hot, it will be even nicer!
Have enough oil in the pan when frying the prata, otherwise, it can get charred pretty fast. Also, when stretching the dough, try to stretch it as thin as possible. Don't worry about the pockets of breakages. As long as the breakages are not in the centre, you can safely fold it and cover them.
My favourite combination was the egg, cheese and onion prata. The egg was moist, and the onion was sweet. It was very appetising. My children had their plain pratas with chocolate syrup, and they loved it!
Hey, I made the prata this morning. But it was not very successful. It was quite thick and although the outside was crispy the inside seems chewy and uncooked. I use the same folding and coiling method. The dough is good and easy to stretch though. I think I need more practice. :)
ReplyDeleteYes SSB! I totally agree that the dough is good! It's rather easy to stretch yah? When my helper did the frying, she open up the sides to let it cook through. Otherwise like you mentioned, the inside can be uncooked. :p We all learn from experience, don't we? Yes, more practice will make us roti prata pro! ;)
ReplyDeleteYes, the stretching is easy, no need to flip like roti prata man also can. :) Forget to mention, yours looks so delicious and more fluffy, so much better than mine!
ReplyDeleteSSB, you're just too modest! I believe yours is good too, except maybe it was just undercooked. You could have open it up like what I did, and try to fry again?
ReplyDeleteYour roti pratha looks really good....very authentic. Congrats for trying :))
ReplyDeleteThanks Zurin!
ReplyDeleteJane - This looks great! Can't believe that you've actually made this! I have to try it one day!
ReplyDeleteWow Jane!! You made your own prata!!! bravoooooo!!! Speechless!! :x
ReplyDeleteYou made your own prata? You're officially a Supermum in my books, Jane!
ReplyDeleteHi Shirley, yes, I was actually craving for it! So I had to make it to curb my cravings! LOL. You really have to try this!
ReplyDeleteYes Grace! I finally tried it! But of course, not as pro as the prata man!
ReplyDeleteHey Laureen, you really flattered me! It wasn't difficult to make, only difficult to flip! :p
ReplyDeleteYay! Looks yummy. I would want to try this at home. Thank you for sharing your Roti Prata food experience. ;)
ReplyDelete---
http://www.kampong.sg
Hi AJ,
ReplyDeleteIf you are not afraid hassles, you could definitely try this! Don't forget your curry gravy too!
This is Great Article
ReplyDeleteThanks for the recipe
i will try to cook it