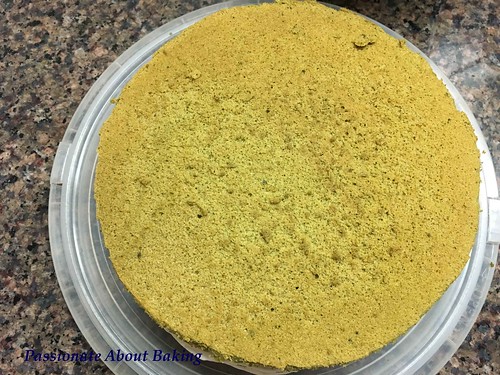
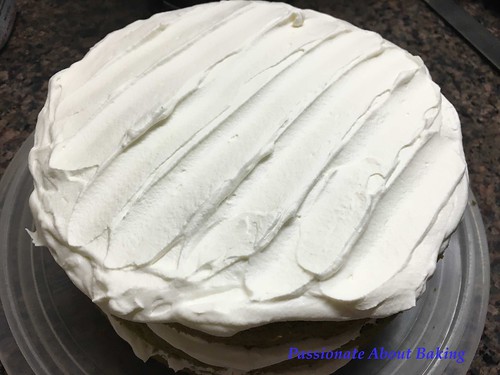
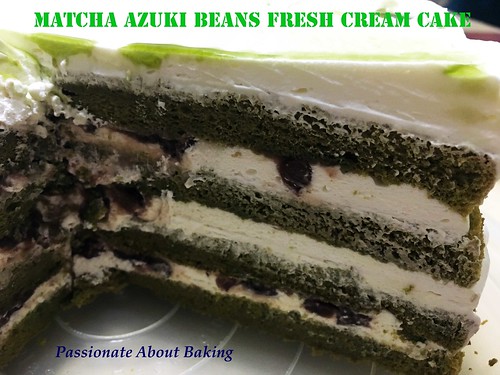
Recently I discovered a nice blog - Jeannie Tay's blog which she shared many recipes. Her pictures showed how lovely her bakes turned out, which prompted me to try some. Since it's Mother's Day weekend, I decided to bake a Walnut Maple buttercream cake for my mum.
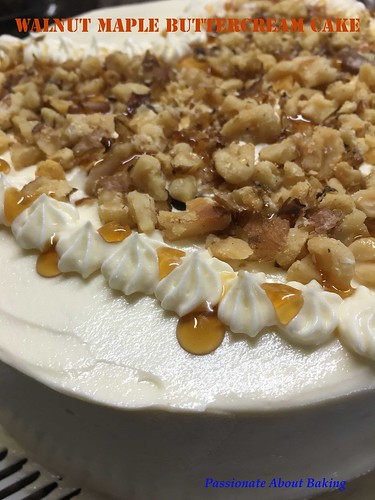
 Recipe for Walnut Maple Buttercream Cake
Walnut butter cake, adapted from Jeannie.
(Makes a 7" round cake)
Ingredients:
3 Egg yolks (70g with shell)
20g Castor sugar
113g Unsalted butter, melted n cooled
1 tsp Vanilla Extract
70g Plain flour
56g Walnuts, roasted and chopped
1/2 tsp Baking powder
3 Egg whites
70g Castor sugar
1/4 tsp Corn flour
Method:
1. Line the bottom of two 7" round cake pans. Preheat oven to 150C.
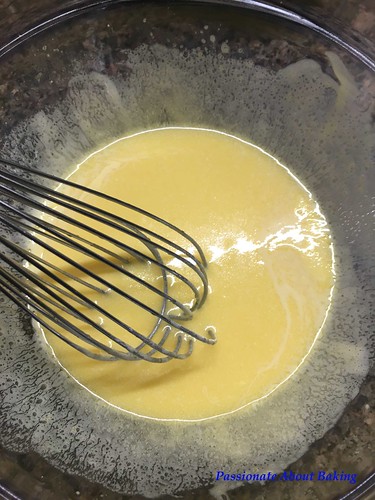
2. Whisk yolks and sugar till light and fluffy. Add melted butter, and vanilla extract. Set aside.
 3. Mix the corn flour into the sugar. Whisk egg whites until frothy, then gradually add sugar into the whites and beat till firm peaks.
4. Sift flour into yolk mixture and mix. Add in chopped walnuts. Batter is very thick and almost unfoldable at this stage.
5. Add 1/3 meringue to loosen the gluten. Continue to fold in the remaining meringue 1/3 at a time.
6. Pour equally into two baking pans. Shake gently from side to side to level the batter.
7. Baked at 150 degrees at lowest rack for 30mins or till golden brown. Test with a skewer for doneness before removing from the oven.
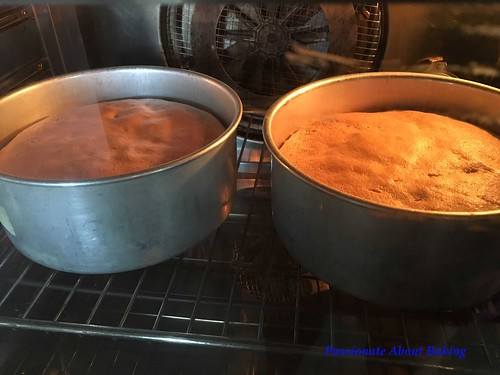 8. Unmould immediately and place them onto a cooling rack to cool completely.
Maple Italian Meringue Buttercream
(Makes enough to frost a 3 layer 7" cake or a 2 layer 8" cake)
Ingredients:
60g Water
150g Sugar
3 Egg whites
250g Unsalted butter
2 tbsp Maple Syrup
Method:
1. Boil water and sugar till rolling ball stage, which is about 115C. This takes approximately 5mins on medium heat.
2. At 3mins, whisk egg whites on the mixer on low speed till frothy.
3. When the sugar solution is ready, turn the mixer speed on medium-low and start pouring in the sugar gradually, slowly and steadily.
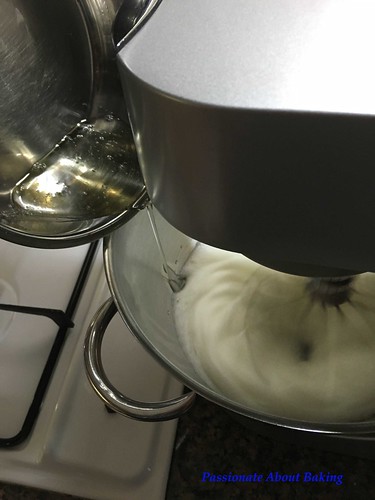 4. Then turn the mixer speed to medium and continue beating till the meringue cools down.
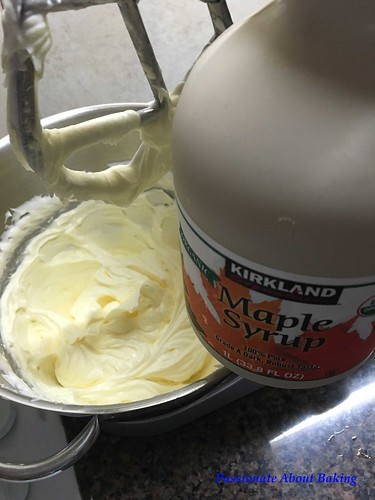
5. Change the whisk to k-beater and add in butter in three batches.
6. Continue beating till butter is incorporated into the meringue.
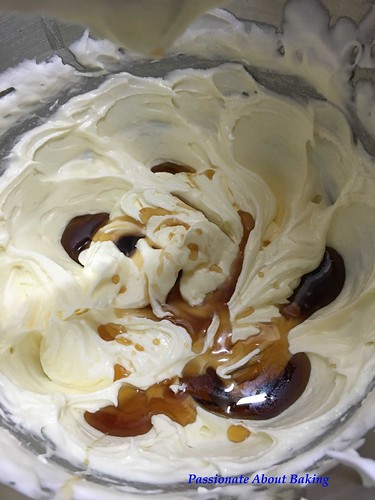
7. Add in maple syrup and mix well.
Assembly:
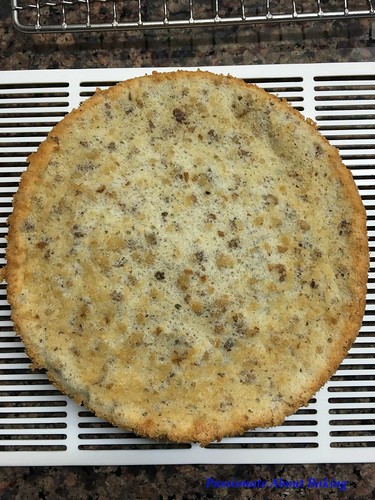
1. Place one cake layer on the cake board.
 2. Spread with maple buttercream generously and evenly.
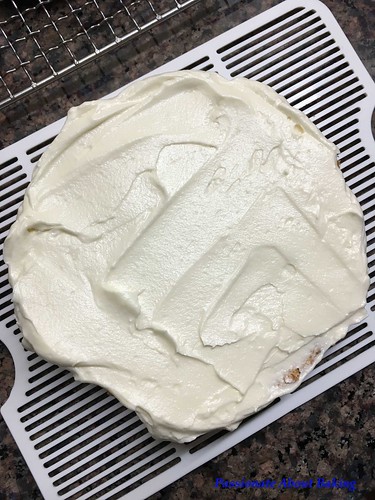 3. Place another layer on top.
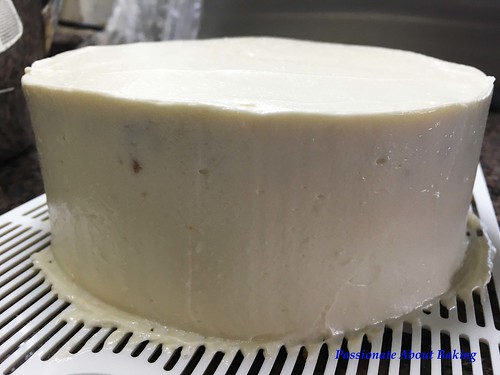
4. Coat the sides with buttercream and even it out.
5. Spread the top with buttercream and even it out.
 6. Pipe a heart shape on the cake top and add toasted chopped walnuts.
7. Sprinkle with maple syrup and decorate as desired.
8. Chill in the fridge.
9. Remove from the fridge 15mins before serving.
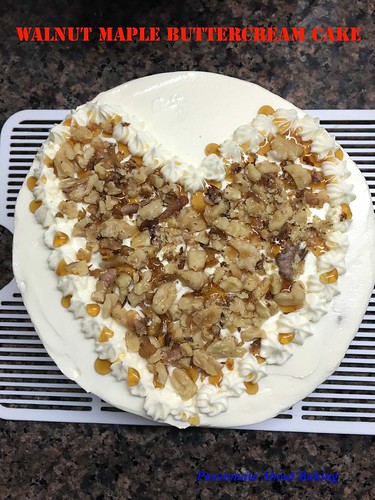
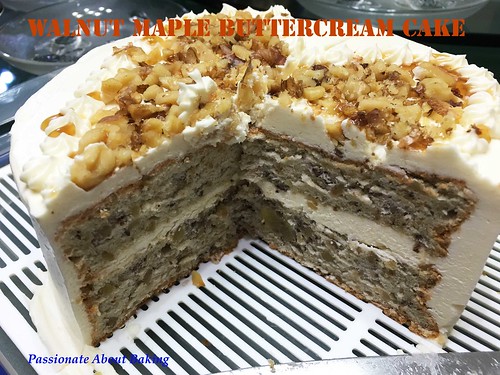
Happy Mother's Day!
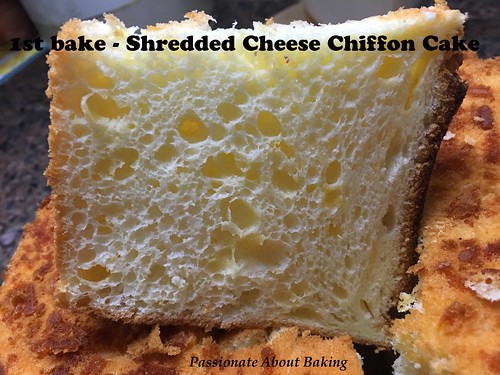
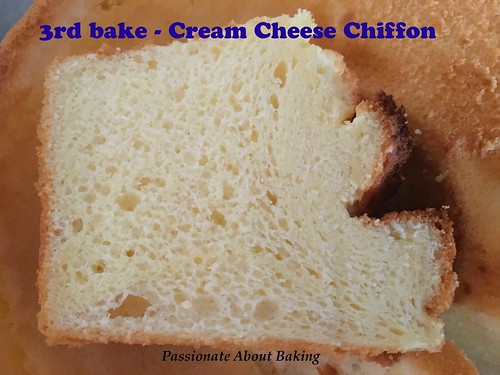
Chiffon cakes have always been a challenge for me. Sometimes I got it right, many times I just eat it! Still, I like to make chiffon cakes because even though the texture might not be right, it is still soft and light. For this recipe, I made three times, twice with cream cheese and once with shredded cheese. The results are all different! That is why I said chiffons are a challenge! It just won't be consistent...for me!
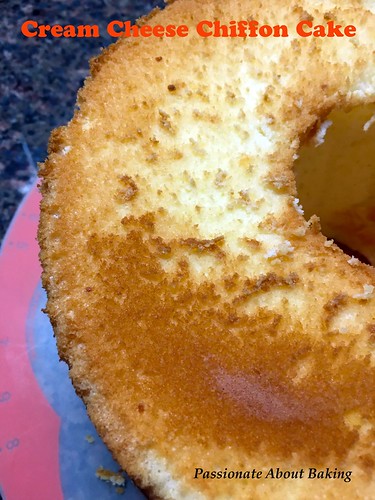 Recipe for Cream Cheese Chiffon Cake, adapted from "初學者也ok !自己作職人配方的戚風蛋糕” by 青井聰子
(Makes a 20cm tube pan)
Ingredients:
6 Large eggs yolks (at least 70g with shell)
90g Cooking oil
60g Whole milk
100g Cream cheese
100g Sour cream
110g Cake flour
6 Egg whites
110g Caster sugar
Method:
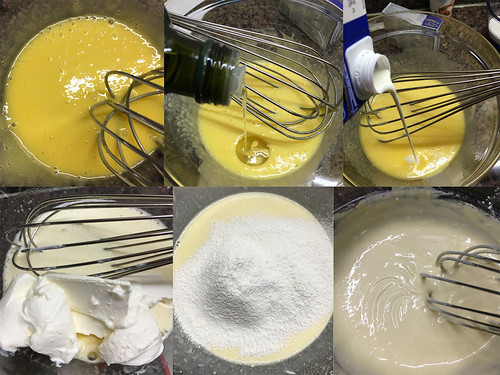
1. In a mixing bowl, beat egg yolks lightly before adding oil and mix well.
2. Add in milk and mix to incorporate.
3. Add in cream cheese and sour cream and mix well till no lumps, if possible.
4. Sift in flour to incorporate.
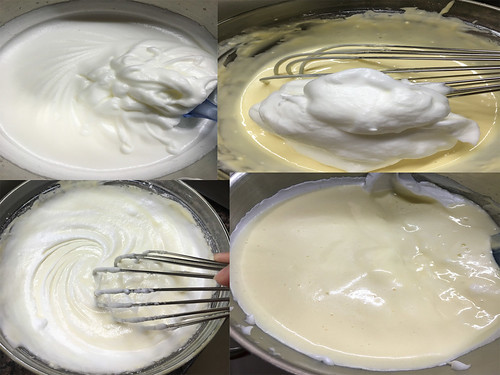
 5. In a separate bowl, whisk egg whites till frothy. Gradually add in sugar. Continue to whisk till egg whites reach firm peak stage.
6. Add egg whites to yolk mixture in 3 batches. Mix with whisk till almost even after each batch. Scrape down and fold with spatula till just evenly mixed.
 6. Pour batter into the prepared chiffon pan. Bake in preheated oven of 160C for about 45mins, till cake is well browned.
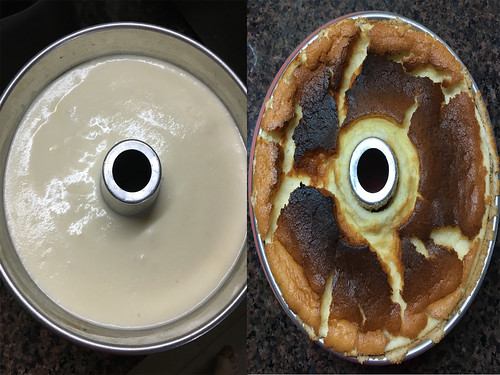 7. Remove from the oven and invert before unmoulding.
Second bake yields the best taste and texture.
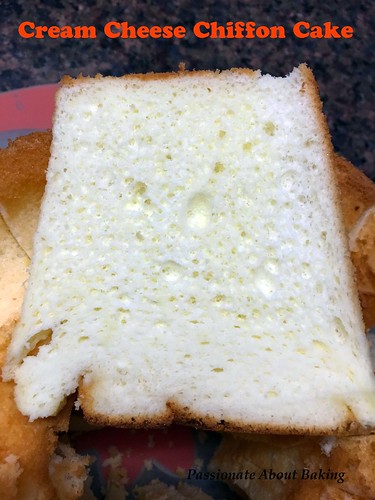
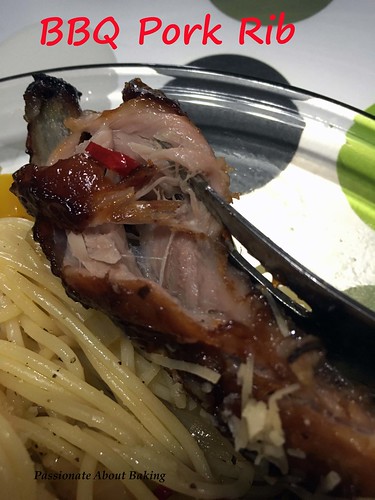
Some weeks back, my mother-in-law fried some sweet and sour pork ribs. The taste was good, but the meat was tough. We discussed about the cooking method to make it soft on which the meat can come off the bones easily, like how we like our bak ku teh. At that point, I didn't have much idea too. So I went to do a search how to make it like Chili's pork ribs. My father-in-law loves it! And so, I decided to explore it, in hope that I can make for them in future, if I am successful.
A search on the internet provides this recipe from All Recipes - Simple BBQ Ribs. Reading through the comments really provides good guide on producing a good bbq rib. I can't wait to try it out! It turns out to be really good! The quantity I cooked didn't even have enough for all of us. Next time, I must make thrice the amount so that everyone will be finger-licking them!
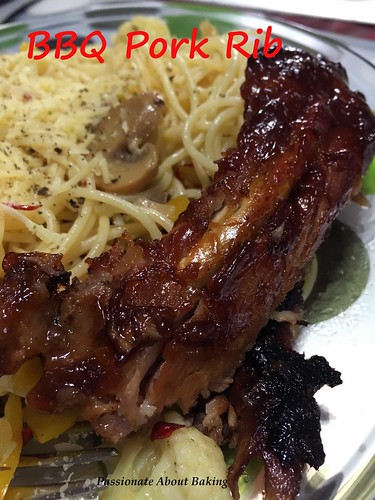 Recipe for BBQ Pork Ribs, adapted from All Recipes.
Ingredients:
900g Pork ribs, whole
1 tbsp Garlic powder
1 tsp Ground black pepper
2 tbsp Salt
1 cup BBQ sauce
Method:
1. Place ribs in a large pot with enough water to cover.
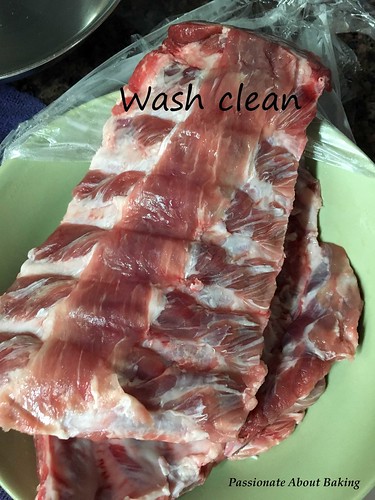 2. Season with garlic powder, black pepper and salt.
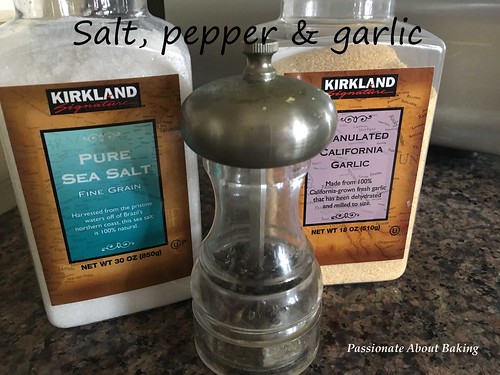 3. Bring water to a boil, and cook ribs until tender.
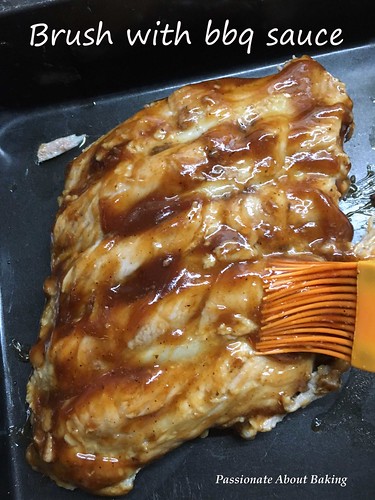
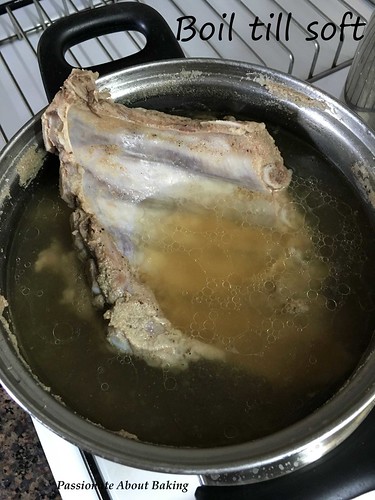 4. Preheat oven to 170C. Remove ribs from pot, and place them in a baking dish.
5. Generously brush BBQ sauce on the ribs. Cover dish with aluminum foil, and bake in the preheated oven for 40mins.
 6. Take out the dish and brush the ribs with more sauce, cover with aluminum foil. Bake for another 20mins.
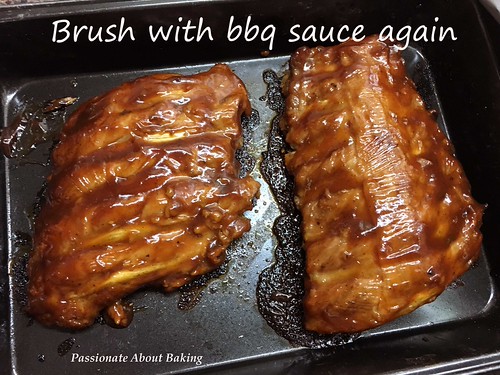 7. Remove the foil, placed it on the higher rack and continue baking for another 8 mins.
8. Rest for 5mins before cut and serve. The meat will fall off the bones easily!
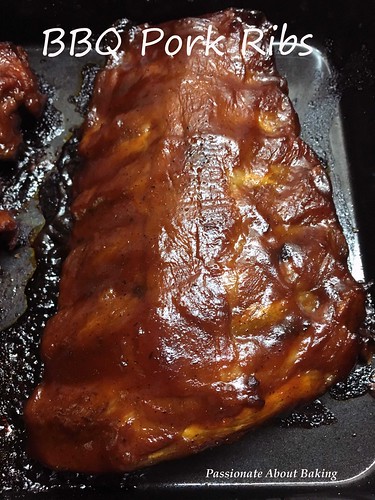
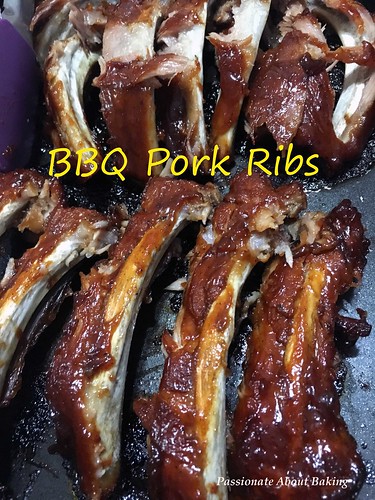 We had our bbq ribs with oligo alio and it was really good!
