Today is Chinese New Year (CNY) eve. My usual CNY goodies bakes will be pineapple tarts and almond cookies. As years passed, I find myself baking less and less cookies. Mainly because my family members are more health conscious and decided to eat less goodies, and also, I've become lazier. Was it no demand equals no supply or vice versa? I'm not so sure too.
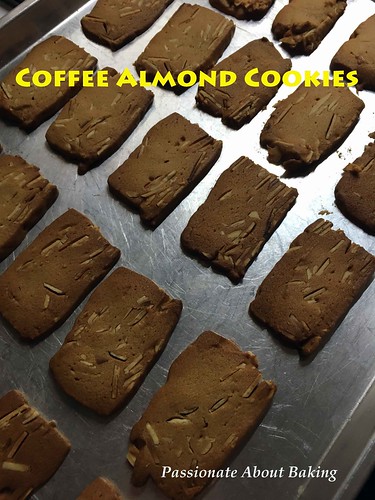
With some sliced almonds on hand, I decided to try Wendy's Coffee Almond Cookies as it looks really good. The cookies were thin, crispy and tasted good with the almonds. They were really nice.
 Recipe for Coffee Almond Cookies, adapted from Table for 2... or more.
(Makes for 2 small canisters)
Ingredients:
2 tsp Nescafé instant coffee
1 tsp Hot water
1 tsp Coffee extract
150g Salted butter
50g Brown sugar
1 Egg
200g Plain flour
50g Corn flour
100g Icing sugar
30g Full cream milk powder
100g Almond flakes, toasted
Method:
1. Mix instant coffee, hot water and coffee extract and stir to dissolve.
2. Sift plain flour, corn flour and icing sugar together. Then mix in full cream milk powder. Set aside.
3. Cream butter with brown sugar for about a minute on medium speed. Add in egg and beat until combined. Pour in the coffee mixture and beat until combined.
4. Add in flour mixture and mix until combined. Fold in almond flakes and mix until combined.
5. Spoon the dough into a full lined 8 inch square pan. Press down the dough and cover with another piece of baking paper. Fold down the overlaps and apply some pressure to level the dough. (I spooned it into a lined plastic container.)
6. Chill for 2 to 3 hours.
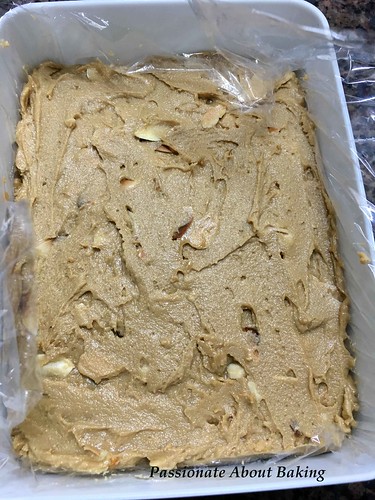
7. Preheat oven to 160(fan)/180C. Line 2 large baking trays with non stick baking paper
8. Remove chilled dough from fridge and cut into 4 long bars. Cut the bars evenly.
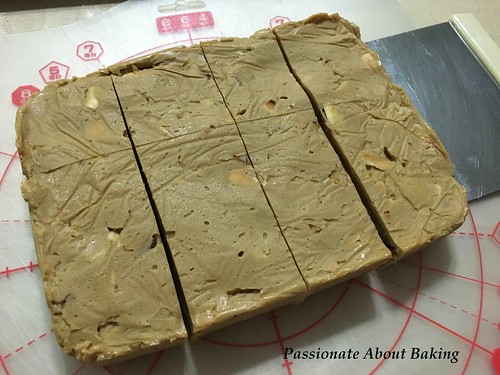
9. Arrange the dough slices with some space allocated for expansion. Keep balance of dough in fridge if not baked immediately.
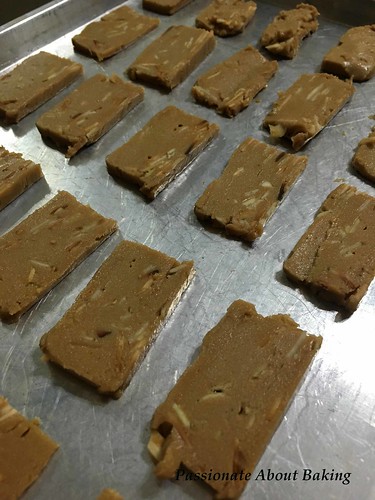
10 Bake for 15-17 minutes or until the edges take some some colour.
11. Let the cookies cool down and store them in air tight containers.
 Wishing everyone
新年快乐, 猴年大吉, 红运当头, 心想事成, 岁岁平安!
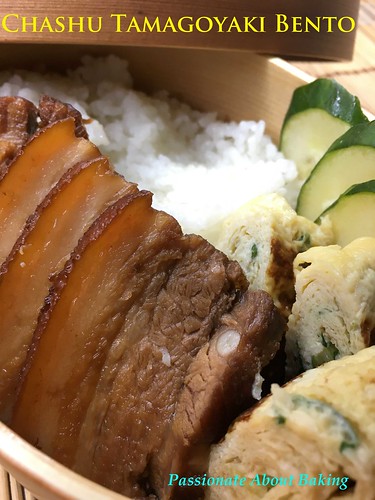
Recently I have been attending customised Japanese cuisine workshops. So when my husband went to Shanghai few weeks back, I requested him to buy some bento boxes for me from JD.com. Although they were smaller than the ones I used during my workshops, the quality was good. Therefore, it was worth to get them.
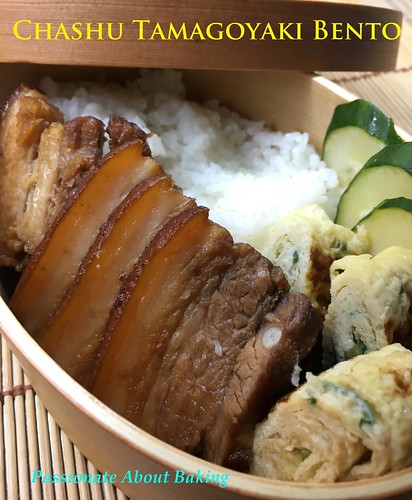
Many of us like to buy such kitchen wares or baking wares, thinking we will use them one day. Well, some became white elephants, while others were used past their usefulness. In order for my husband to see that I will use what I bought, I decided to make a bento set lunch. I made Chashu with tamagoyaki bento set lunch. The chashu was really tender and juicy. I overcooked my tamago and it tasted a bit dry. Overall, I must say it was a good attempt on my first bento set.
Recipe for Chashu, adapted from Just One Cookbook.
(Makes for 6 persons)
Ingredients:
1kg Pork belly block (I cut into half)
3 tsp Salt
1½ tbsp Cooking oil
2 inch Ginger, sliced
Seasonings
570g Kombu Dashi (original use water)
1 cup Cooking sake
1 cup Soy sauce
9 tbsp Sugar
Method:
1. Peel and slice ginger.
2. Sprinkle and rub the salt on the pork belly.
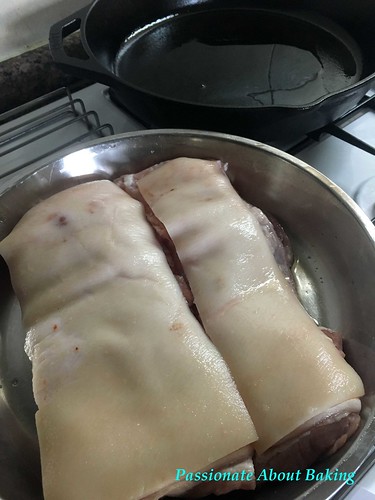 3. Heat the oil in a cast iron skillet over high heat and brown the fat side first, then flip over to brown the other side. It’ll take about 15 mins.
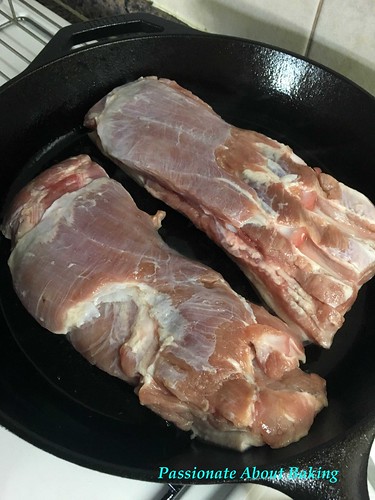
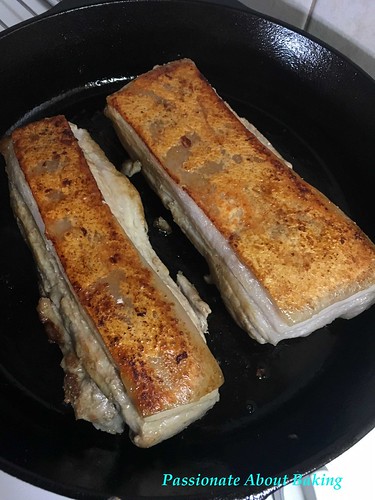 4. While browning, put all the ingredients for seasonings in a heavy-bottom pot, including sliced ginger.
5. Place the pork belly in the pot and bring it to a boil.
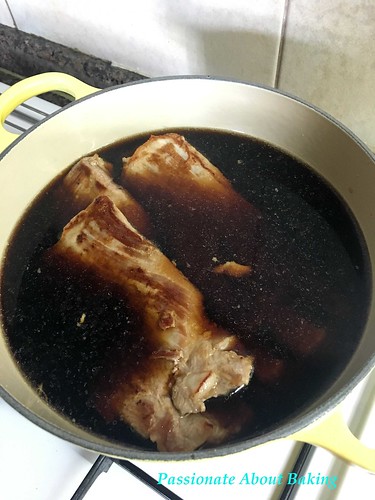 6. Place an otoshibuta (drop lid) on top of the meat. If you don’t have one, make one out of aluminum foil (and here’s how). To learn more about what Otoshibuta does, click here. (I used a loose cake pan base as the cover.)
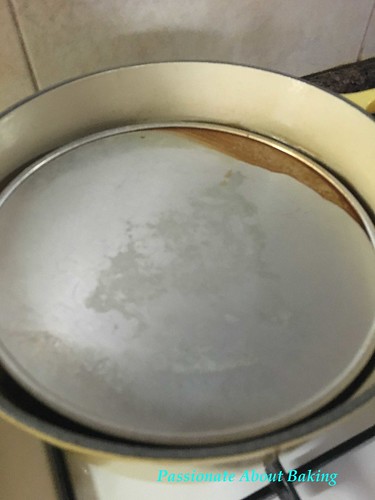 7. Lower the heat to medium low and simmer, occasionally turning, for about one hour.
8. Remove the otoshibuta and take out the meat and cut into thin slices.
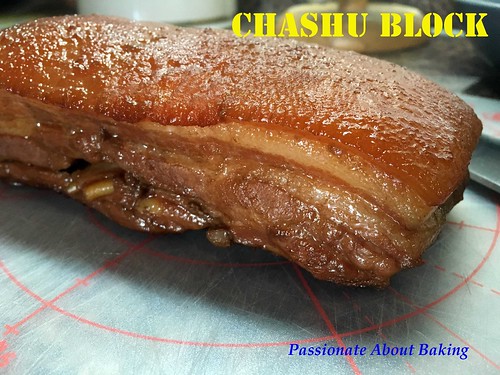
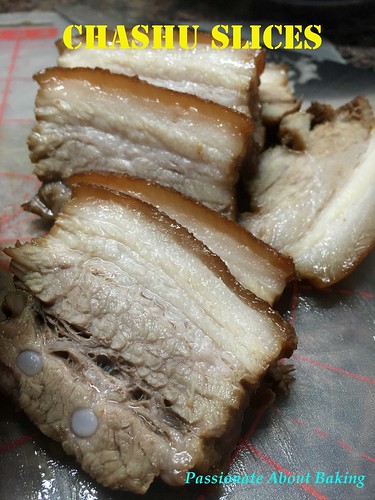 9. Reheat your skillet and place some sauces into it. Place the cut meat into the skillet and let it coat with the sauces, turning it. Total time to simmer is about 2 mins.
10. Remove them and set aside.
11. Reserve the thicken sauces for the rice later.
To make tamagoyaki, click here. I used the recipe from my workshop and made spring onion tamago. I also use dashi for my tamago.
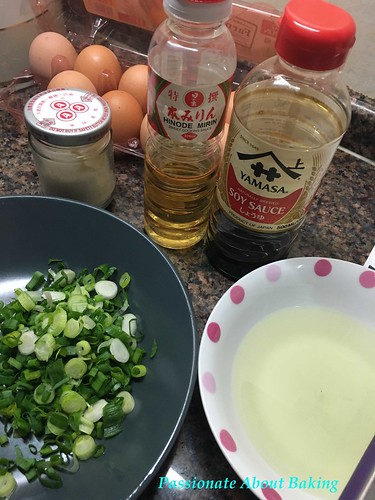
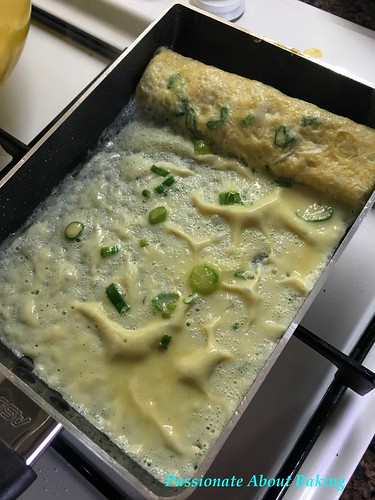
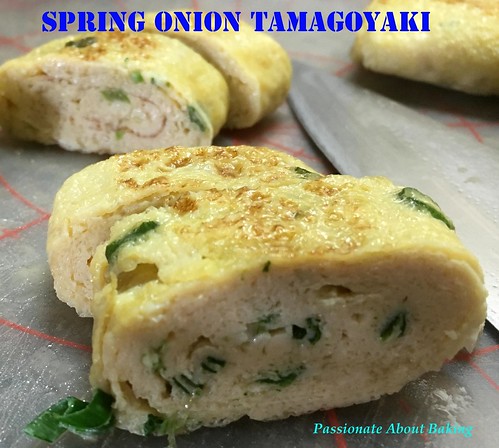
To make sushi rice, click here.
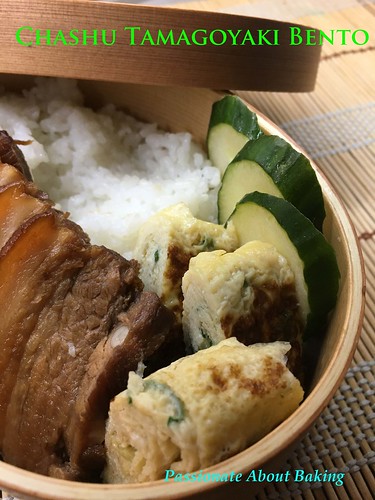
To assemble, scoop the rice to the left corner of the bento box. Then arrange chashu and tamagoyaki on the sides and the right side of the bento box. Add sliced cucumber or any other fresh vegetables of your preference. Serve and enjoy.
