Upon arrival in Los Angeles, we stayed at an acquaintance house. From acquaintance, we become friends now. Heehee...it was really sweet of her not just to offer her beautiful house to accommodate us, she also drove us around in Los Angeles, spending her time with us and bringing us to explore the neighbourhood.
From Los Angeles, we took a package tour to Las Vegas and Grand Canyon. Grand Canyon was really magnificent! I had wanted to see how grand it was, and true enough, it didn't fail to awe me with it's structure, stretching as far as the eyes could see.
This was a wonderful holiday. We stayed with friends, we drove and we explore. The best part of our USA was usually the shopping. We love shopping at premium outlets. In fact, we went to four different outlets during our holiday. I found that Tanger outlets are not as competitive as Simon Premium Outlets. My favourite is still Simon Premium Outlets. I never fail to buy from something when I come out of the shops. I'm missing the shopping there!
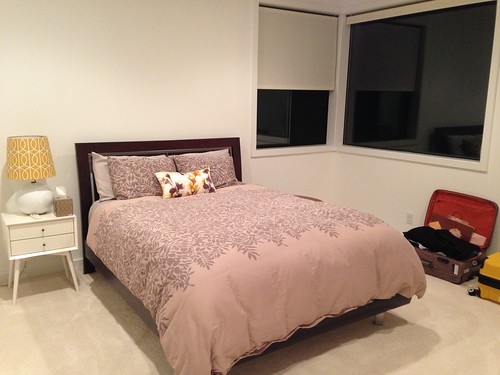
Our nice big room in host's house.
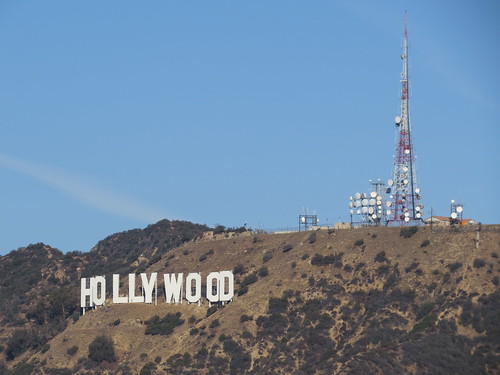
 "Hollywood" sign from Griffith Observatory.
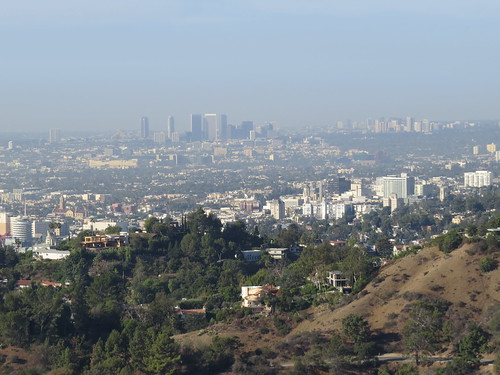
 View of Los Angeles city.
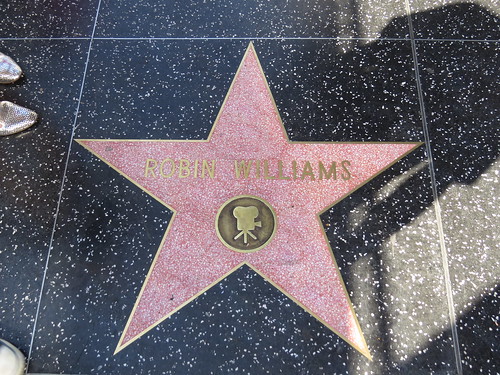
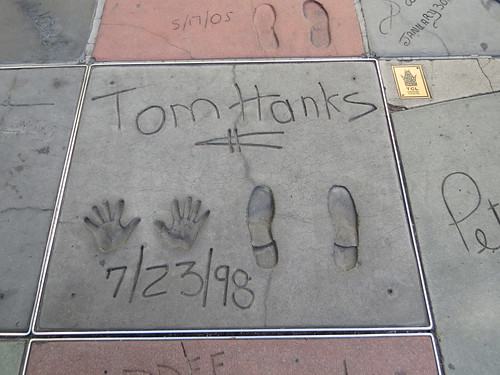
 Hollywood Walk of fame.
 TCL Chinese Theatre.
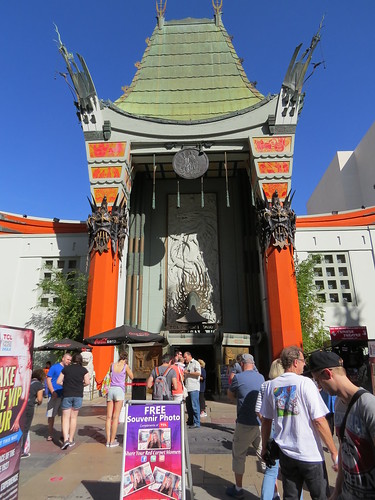 Outside TCL Chinese Theatre.
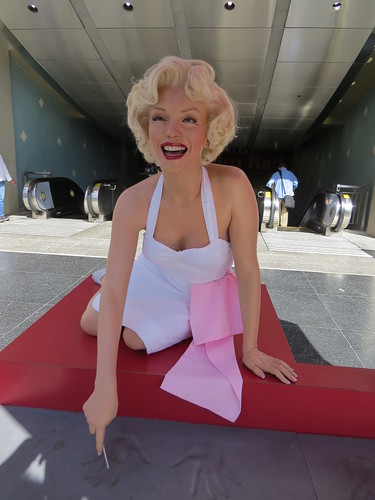
 Outside Madame Tussaud Museum.
 Spotted along Beverley Hills shopping street (Rodeo Drive).
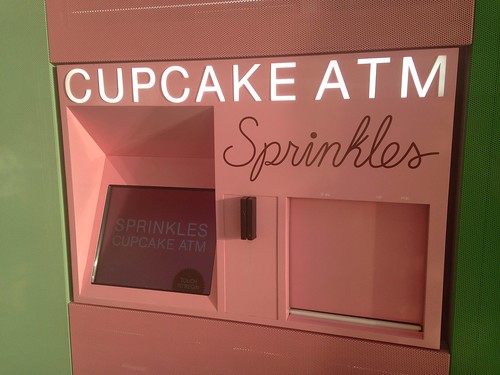
 Cupcake ATM at Americana Shopping Mall.
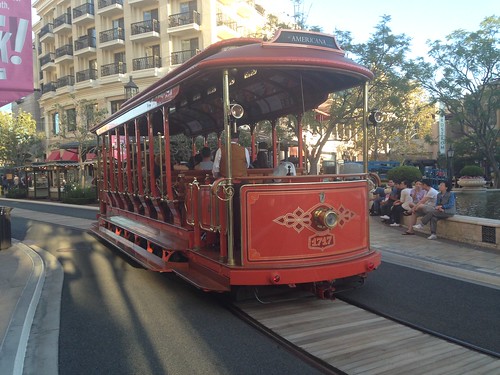
 Trolley bus at Americana Shopping Mall.
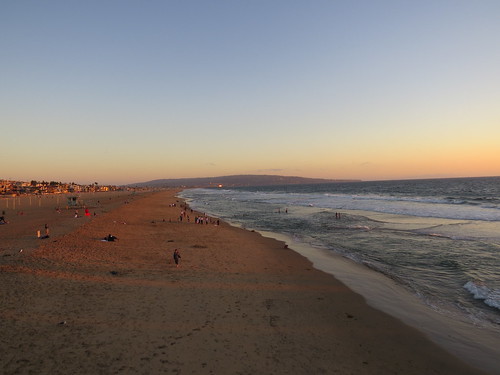
 Manhattan Beach.
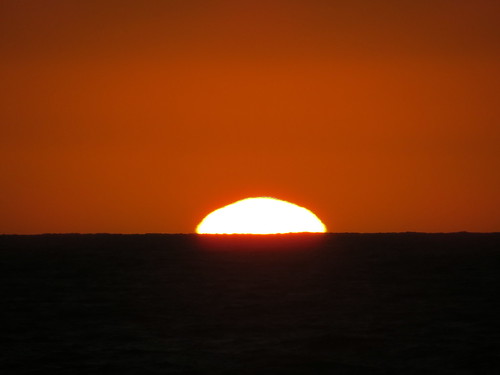
 Sunset at Manhattan Beach.
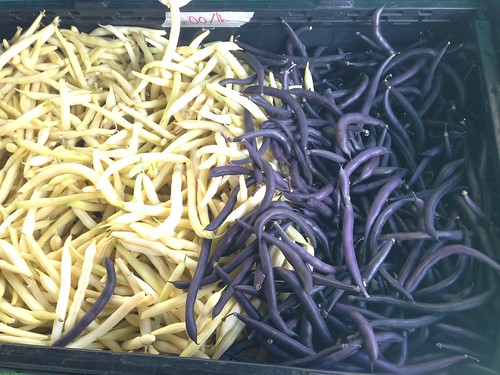
 Special french beans spotted at Silverlake Farmers' Market.
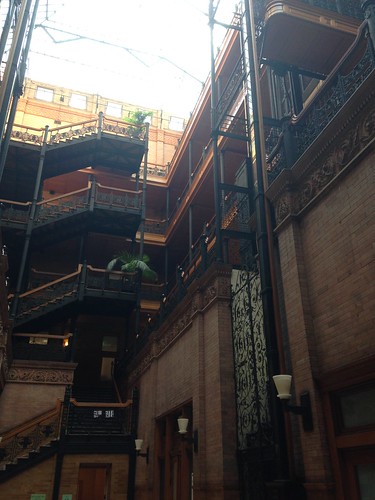
 Bradbury Building, opened in 1893.
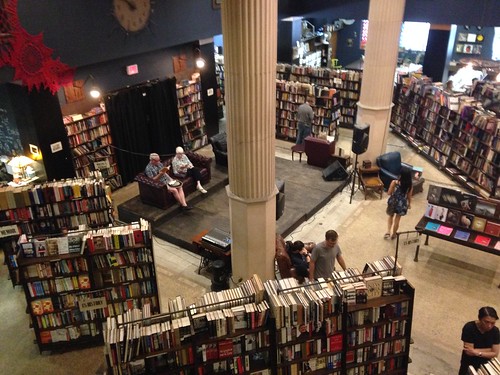
 The last bookstore standing. Selling second hand books.
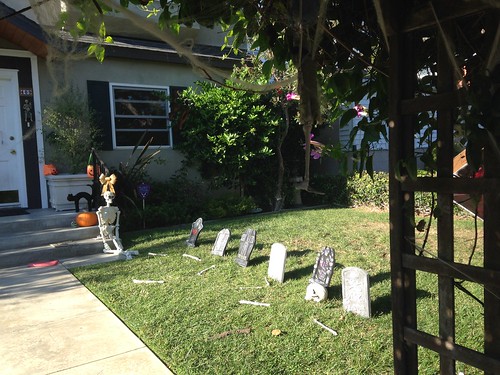
 Halloween decoration spotted at "Venice Canal Historic District".
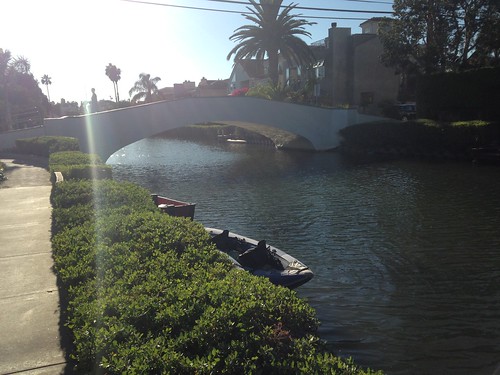
 Venice Canal Historic District.
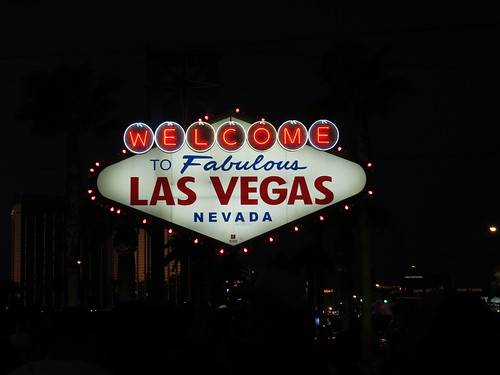
 Welcome to Las Vegas.
 Fremont Street Experience.
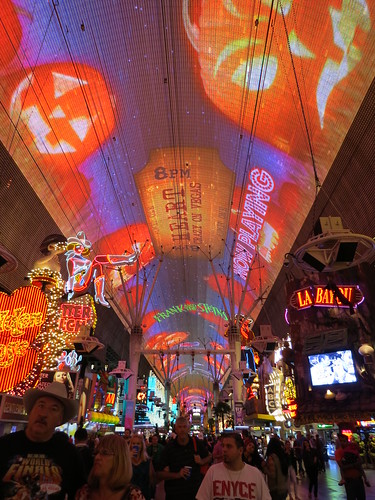 Table top dancing at Fremont Street.
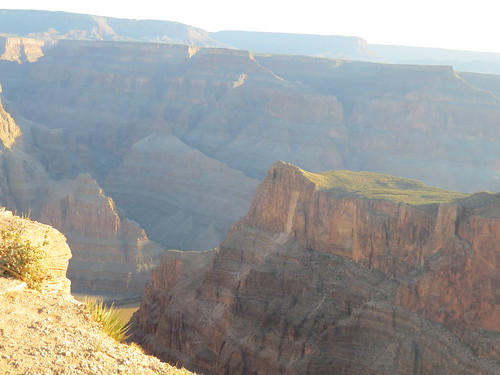
 West Grand Canyon at Eagle Point.
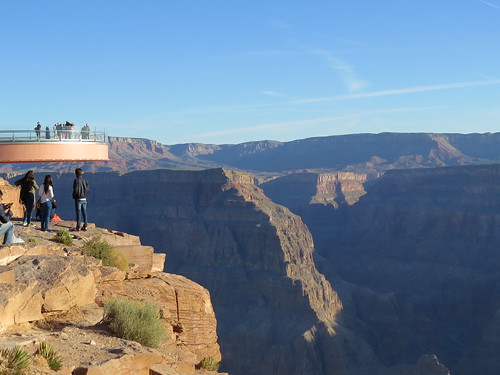
 The Skywalk experience at West Grand Canyon.
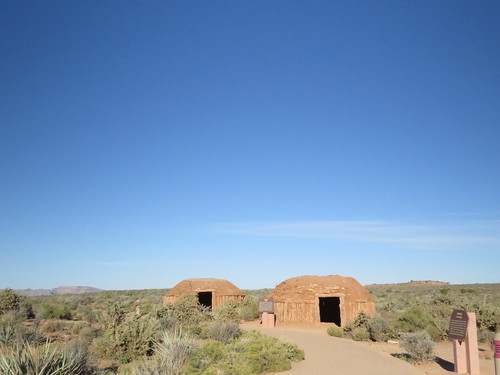
 Native American Village
 West Grand Canyon at Guano Point
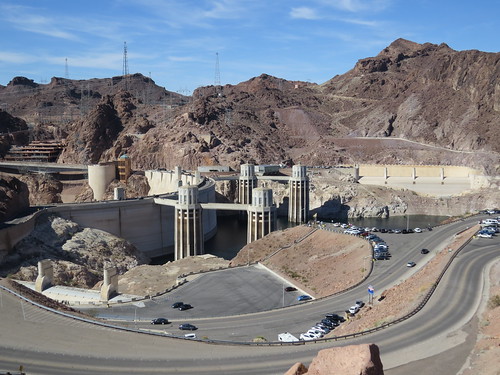
 Hoover Dam
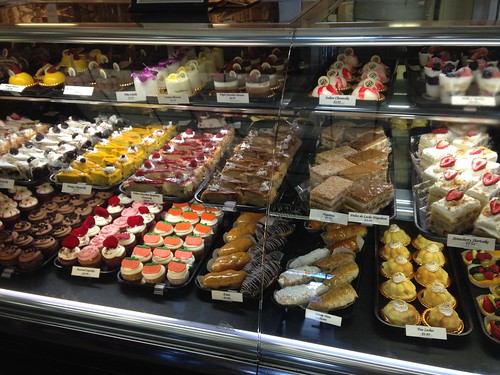
 Porto's Cafe & Bakery.
This post is sponsored by Liv butter. Try Liv today!
 Since my return from my USA trip, I have been feeling very lethargy. I haven't been doing any baking, nor taking an interest in baking. Hahaha... I felt it was probably because I was still trying to recover from my jetlag (excuses) as I tend to sleep very early and needing a lot of rest. Perhaps the lack of exercise reduced my energy level.
Finally, I decided I should bake some bread. Not ordinary bread, but rich bread - Brioche. I adapted this recipe from Anna Olson, one of my favourite celebrity chef.
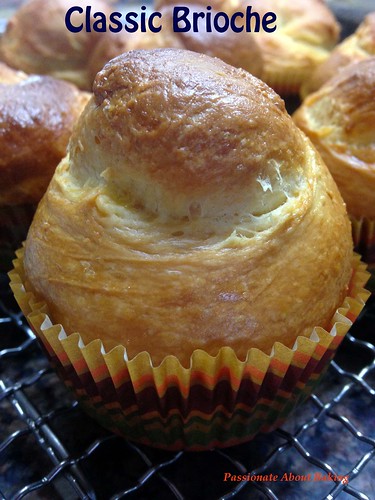 Recipe for Classic Brioche, from Food Network.
Ingredients:
1/4 cup + 2 tbsp Whole milk, just above body temperature (40C)
2 tbsp + 1 1/2 cups All-purpose flour (Plain)
1 tbsp Instant yeast
2 tbsp Icing sugar, sifted
2 large Eggs, at room temperature
¼ tsp Salt
90g LIV unsalted butter, at room temperature (6tbsp)
1 egg whisked with 2 Tbsp of water, for brushing
Method:
1. Stir ¼ cup of the milk, 2 Tbsp of the flour and the yeast together and let sit for about 5 minutes.
2. Add the remaining milk, flour, sugar, eggs and salt to the first mixture and stir using a wooden spoon or in the bowl of a mixer fitted with the paddle attachment, mixing until blended (about 6 minutes by hand and 3 minutes in a mixer). Add the butter while mixing and once incorporated, switch to a dough hook attachment (or increasing action if by hand) and beat until the butter is fully incorporated and the dough is smooth. Place the dough in a large oiled bowl, cover with plastic and let rise at room temperature for 30 minutes, then chill for at least 8 hours (overnight), up to 24 hours.
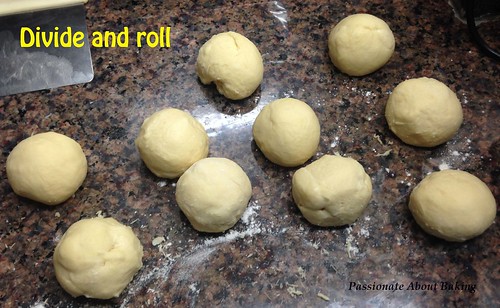
3. To shape the brioche, turn the chilled dough out onto a lightly floured work surface and divide it into 10 pieces, each weigh approximately 52g. Shape each piece into a ball, flouring your hands and the dough as needed.
4. Then shape each piece into a slight oblong shape, sort of like a snowman, with a head and body. Use your finger to poke a hole through the centre of the larger “body” of the brioche and poke the smaller ball through it. Place each piece in a muffin tray. Cover the tins with a tea towel and let rise for 90 minutes, until doubled in size.
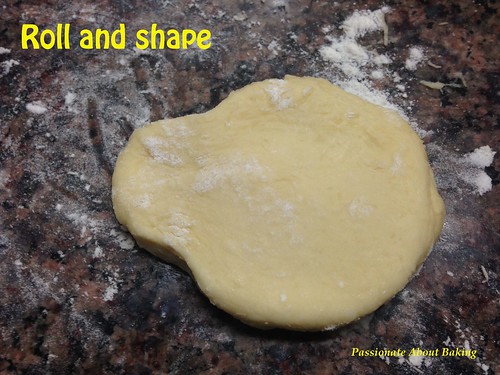
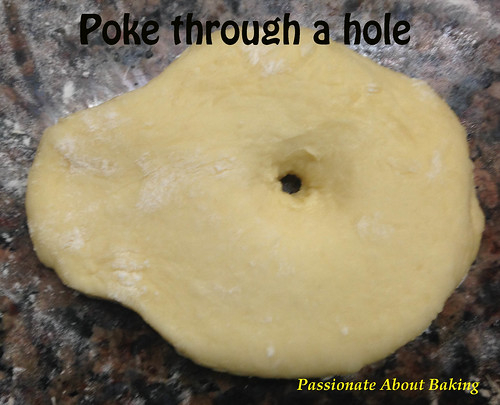
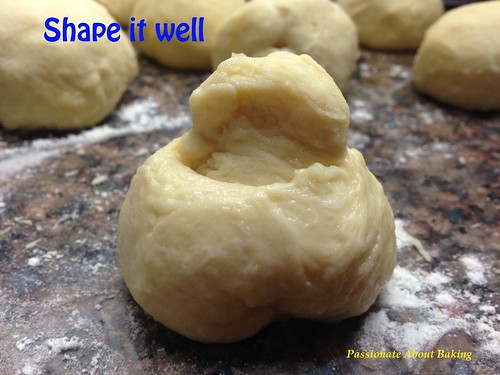
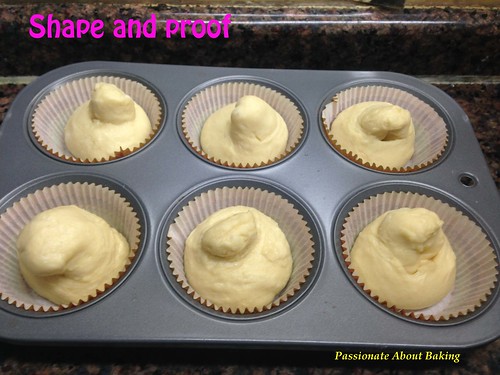
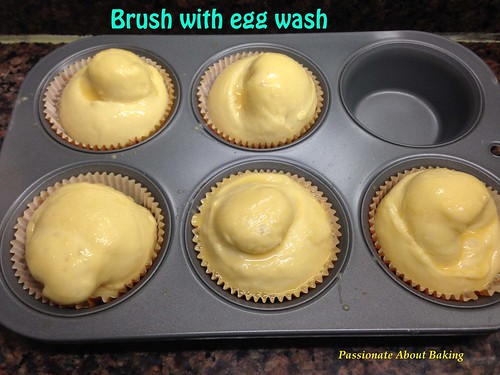
5. Preheat the oven to 180C. Brush the tops of the brioche with the egg wash; place the tins on a baking tray and bake for about 22 minutes, until an even rich brown colour. Cool the brioche for 15 minutes, then turn the brioche out of the tins to cool completely. [Baking time should be reduced to about 18mins.]
6. The brioches are best enjoyed the day they are baked, but they will keep for a day in an airtight container, or can be frozen for up to 2 months.
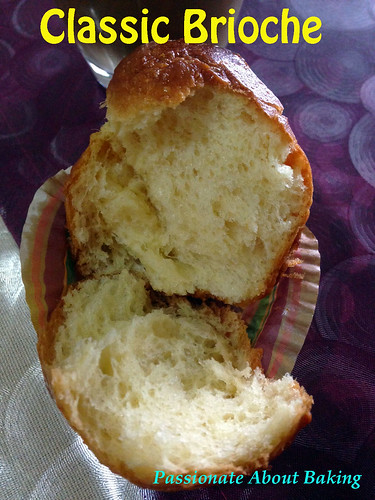
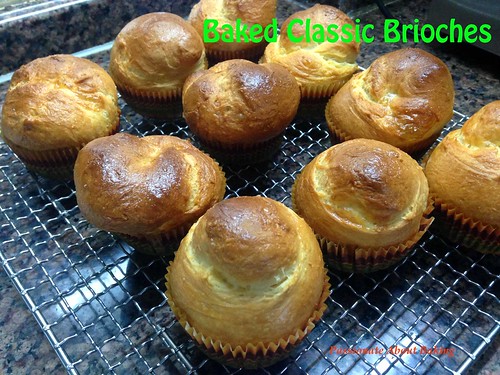 I didn't do a good job on the shaping, therefore, some brioches were really out of shape. Needs to practice on the shaping. I also think I might have a overbaked on the brioche as it was quite dry inside, though soft. But the "skin" was crispy with buttery fragrant.
Gee, I just realised how much I have neglected my blog! I haven't been baking for a while, mainly because I was busy planning for trips and going for trips. I've done some baking, but they are the same old bakes. Nothing new has been ventured.
When my spouse went for his business trip in Detroit, we jumped at the opportunity to have our vacations in USA-West Coast. We decided to go San Francisco, Los Angeles, Las Vegas and to Grand Canyon. This was my first time to US West Coast, though my hubby has been there at least 20 years ago. I was hoping the weather will be cooling, but it was not. I was disappointed at the hotness when we were there. If only the weather was good, I would have love it more!
For this post, I'll highlight our trip in San Francisco and our coastal drive to Los Angeles.
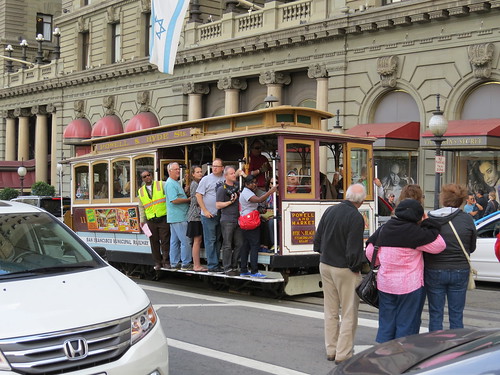
San Francisco Union Square
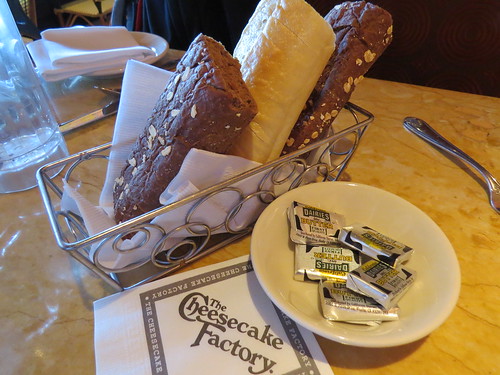
 The famous and must try "The Cheesecake Factory"
 Golden Gate Bridge
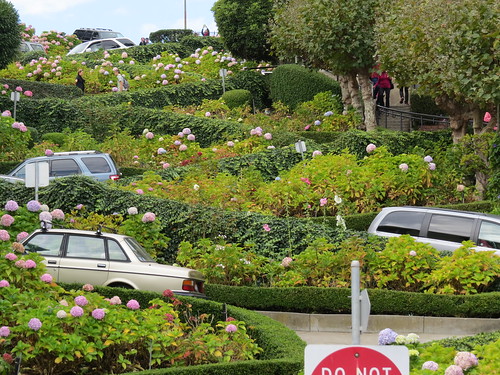
 Famous Lombard Street where road is curvy
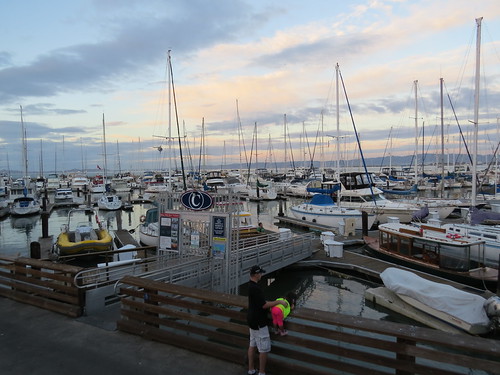
 San Francisco Fisherman's Wharf
 San Francisco "Boudin Bistro" at Fisherman's Wharf
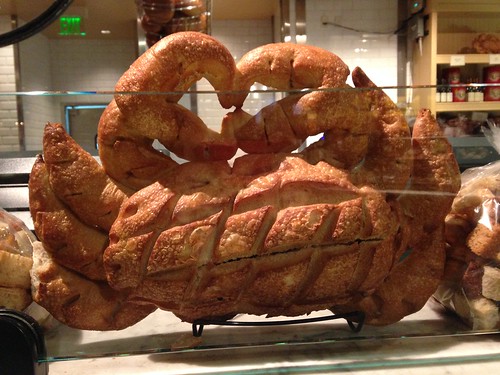 San Francisco World Famous "Tartine Bakery"
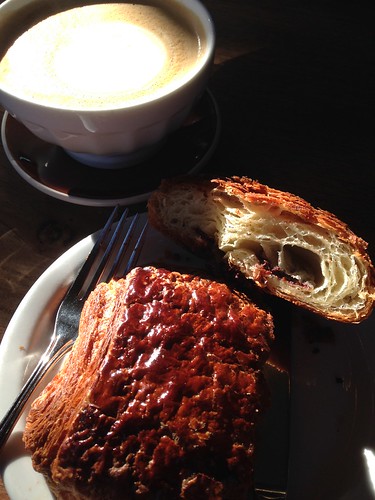 Stayed with my friend in Livermore. Livermore neighbourhood.
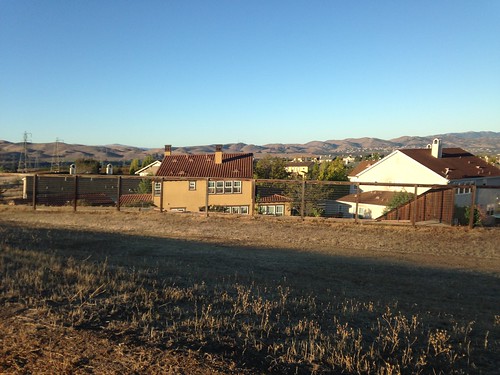 "Johnny Garlic" by Guy Fieri in Dublin. Super yummy garlic fries.
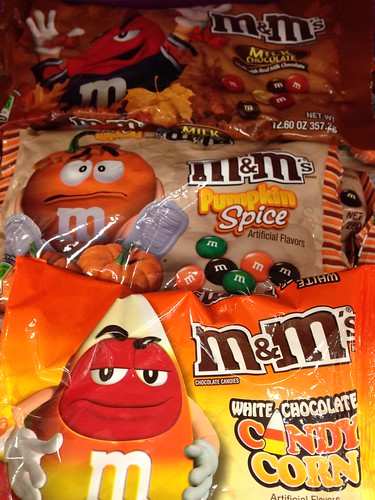
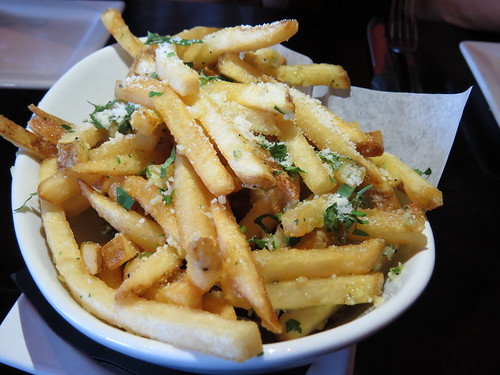 Spotted at Costco. For M&M fanatics! Halloween selection.
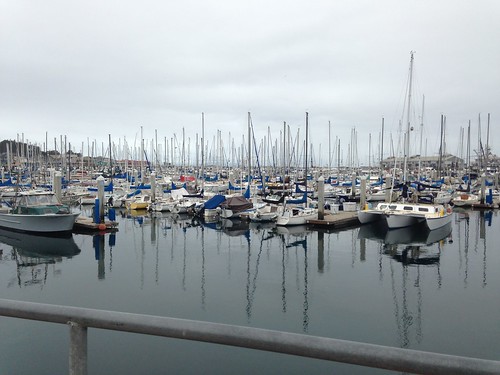
 Monterey Fisherman's Wharf
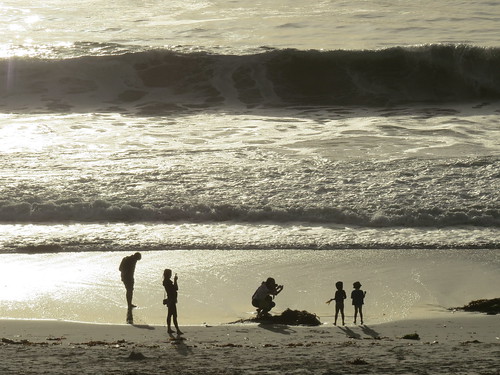
 Carmel-by-the-Beach
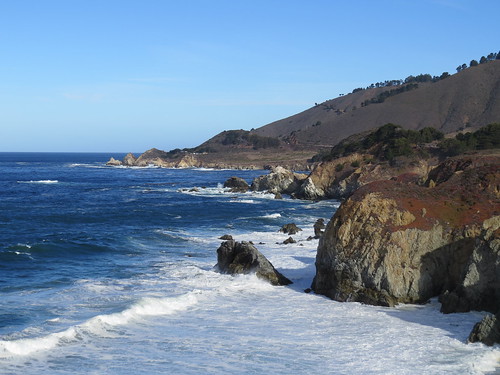
 Big Sur - Coastal Drive view
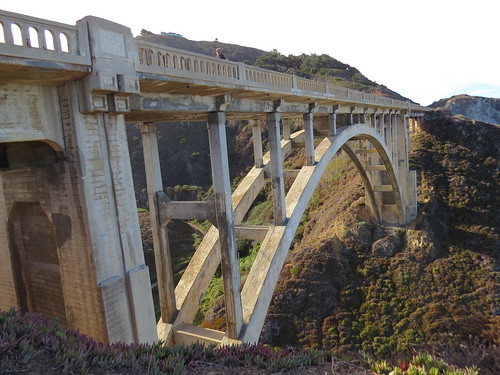
 Rocky Creek Bridge
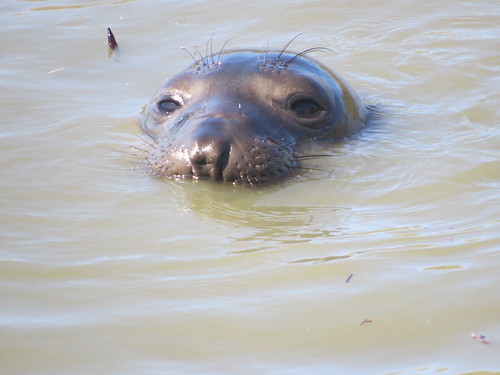
 Elephant Seals spotted along the drive
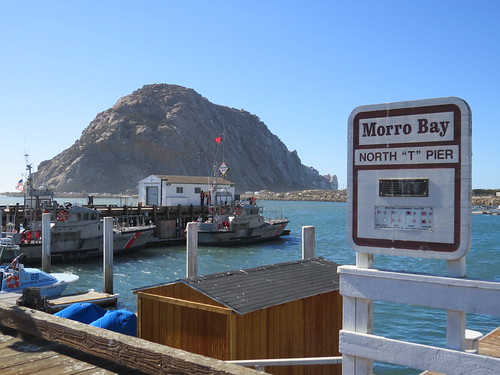
 Morro Rock at Morro Bay
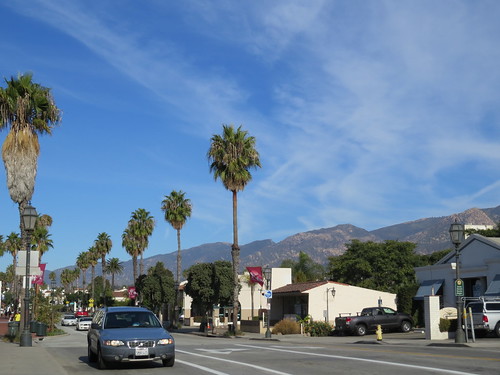
 Santa Barbara
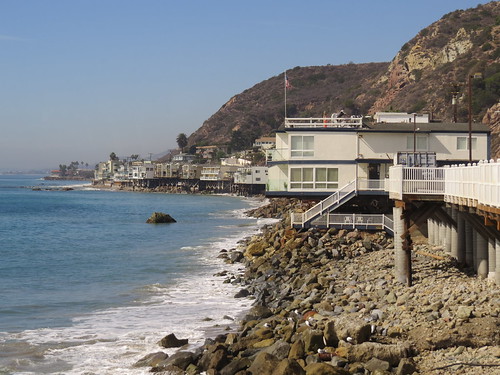
 Malibu along the coast
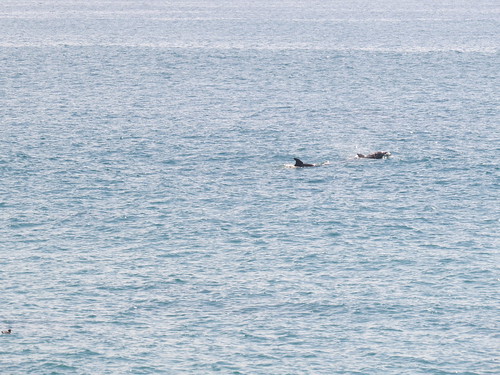
 Dolphins spotted at "Moonshadow" restaurant while having lunch
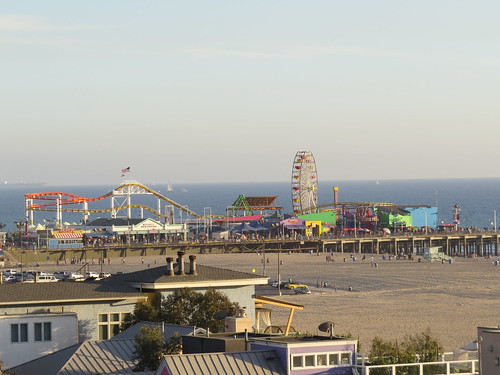
 Santa Monica Pier
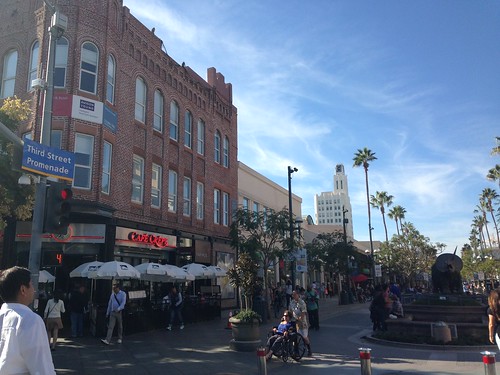
 Third Promenade Shopping Street in Santa Monica
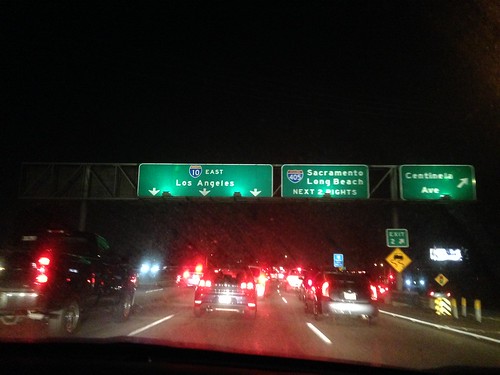
 Night drive from Santa Monica to Los Angeles. GPS indicate 30mins, took us more than an hour as highway in Los Angeles was jammed during peak hours.
 For travellers who drives overseas for your holiday, I highly recommend you to download this app in your smart phone. Available in iOS and Android, and for USA and Europe (I think). With this, you don't even need to bring your own GPS or rent a GPS from the car rental company. I used this during our road trip and it brought us everywhere we need to go. A tip for travellers, make sure you get the full address of your location, and if possible, plan the day before when you have wifi, so that you can check through Google map if you cannot find it in this GPS. No data plan is required to use this, but you need to turn on the location services. Enjoy your self-drive holiday!


